
1. Introduction
This manual provides detailed instructions for the installation, operation, and maintenance of the Hellwig 7270 Solid Heat Treated Chromoly 1-5/16" Big Wig Rear Sway Bar. This product is designed to enhance vehicle stability and control by reducing body roll, improving traction, and optimizing handling characteristics.
Please read all instructions carefully before beginning installation. Ensure all components are present and that you have the necessary tools and safety equipment.

Image 1.1: Overview of the Hellwig 7270 Rear Sway Bar kit, showing the main sway bar, end links, mounting brackets, U-bolts, and associated hardware. This image displays all components included in the package.
2. Safety Information
- Always wear appropriate personal protective equipment (PPE), including safety glasses and gloves, during installation.
- Ensure the vehicle is securely supported on jack stands or a lift before working underneath it. Never rely solely on a jack.
- Do not modify any components of the sway bar kit. Unauthorized modifications can compromise safety and performance.
- If you are unsure about any step of the installation process, consult a qualified automotive technician.

Image 2.1: A depiction of the manufacturing process for Hellwig products, highlighting the "American Made" aspect and commitment to quality control.
3. Setup and Installation
The Hellwig 7270 sway bar is designed for a bolt-on installation. While specific steps may vary slightly depending on the vehicle model (GM 11-19 2500/3500 HD 2WD/4WD SRW&Dually), the general procedure involves mounting the sway bar to the vehicle's rear axle and connecting it to the frame using end links and brackets.
3.1. Required Tools
- Standard wrench set
- Socket set
- Torque wrench
- Vehicle lift or jack stands
- Safety glasses and gloves

Image 3.1: An image depicting a person using simple hand tools to install a Hellwig sway bar component onto a vehicle's undercarriage, highlighting the ease of installation.
3.2. General Installation Steps
- Prepare Vehicle: Park the vehicle on a level surface. Engage the parking brake. Lift the rear of the vehicle and support it securely with jack stands.
- Remove Existing Components (if applicable): If your vehicle has a factory rear sway bar, carefully remove it according to the vehicle manufacturer's instructions.
- Position Sway Bar: Place the Hellwig 7270 sway bar into its approximate mounting position on the rear axle.
- Install Axle Brackets: Secure the axle brackets to the rear axle using the provided U-bolts and hardware. Ensure a snug fit, but do not fully tighten at this stage.
- Attach End Links: Connect the end links to the sway bar and the vehicle's frame mounting points. Some vehicles may require specific frame attachment methods. Refer to the detailed instructions provided with your kit for exact mounting locations and hardware.
- Adjust and Torque: With all components loosely installed, ensure the sway bar is centered and has adequate clearance from other vehicle components. Once properly aligned, progressively tighten all nuts and bolts to the manufacturer's specified torque values.
- Final Check: Lower the vehicle to the ground. Bounce the vehicle a few times to settle the suspension. Re-check all fasteners for tightness after driving a short distance.
Note: Some installations, particularly on the driver's side, may require careful maneuvering or temporary removal of other components (e.g., gas tank cover) to access mounting points. A longer bolt may be helpful for catching nuts in difficult-to-reach frame sections.
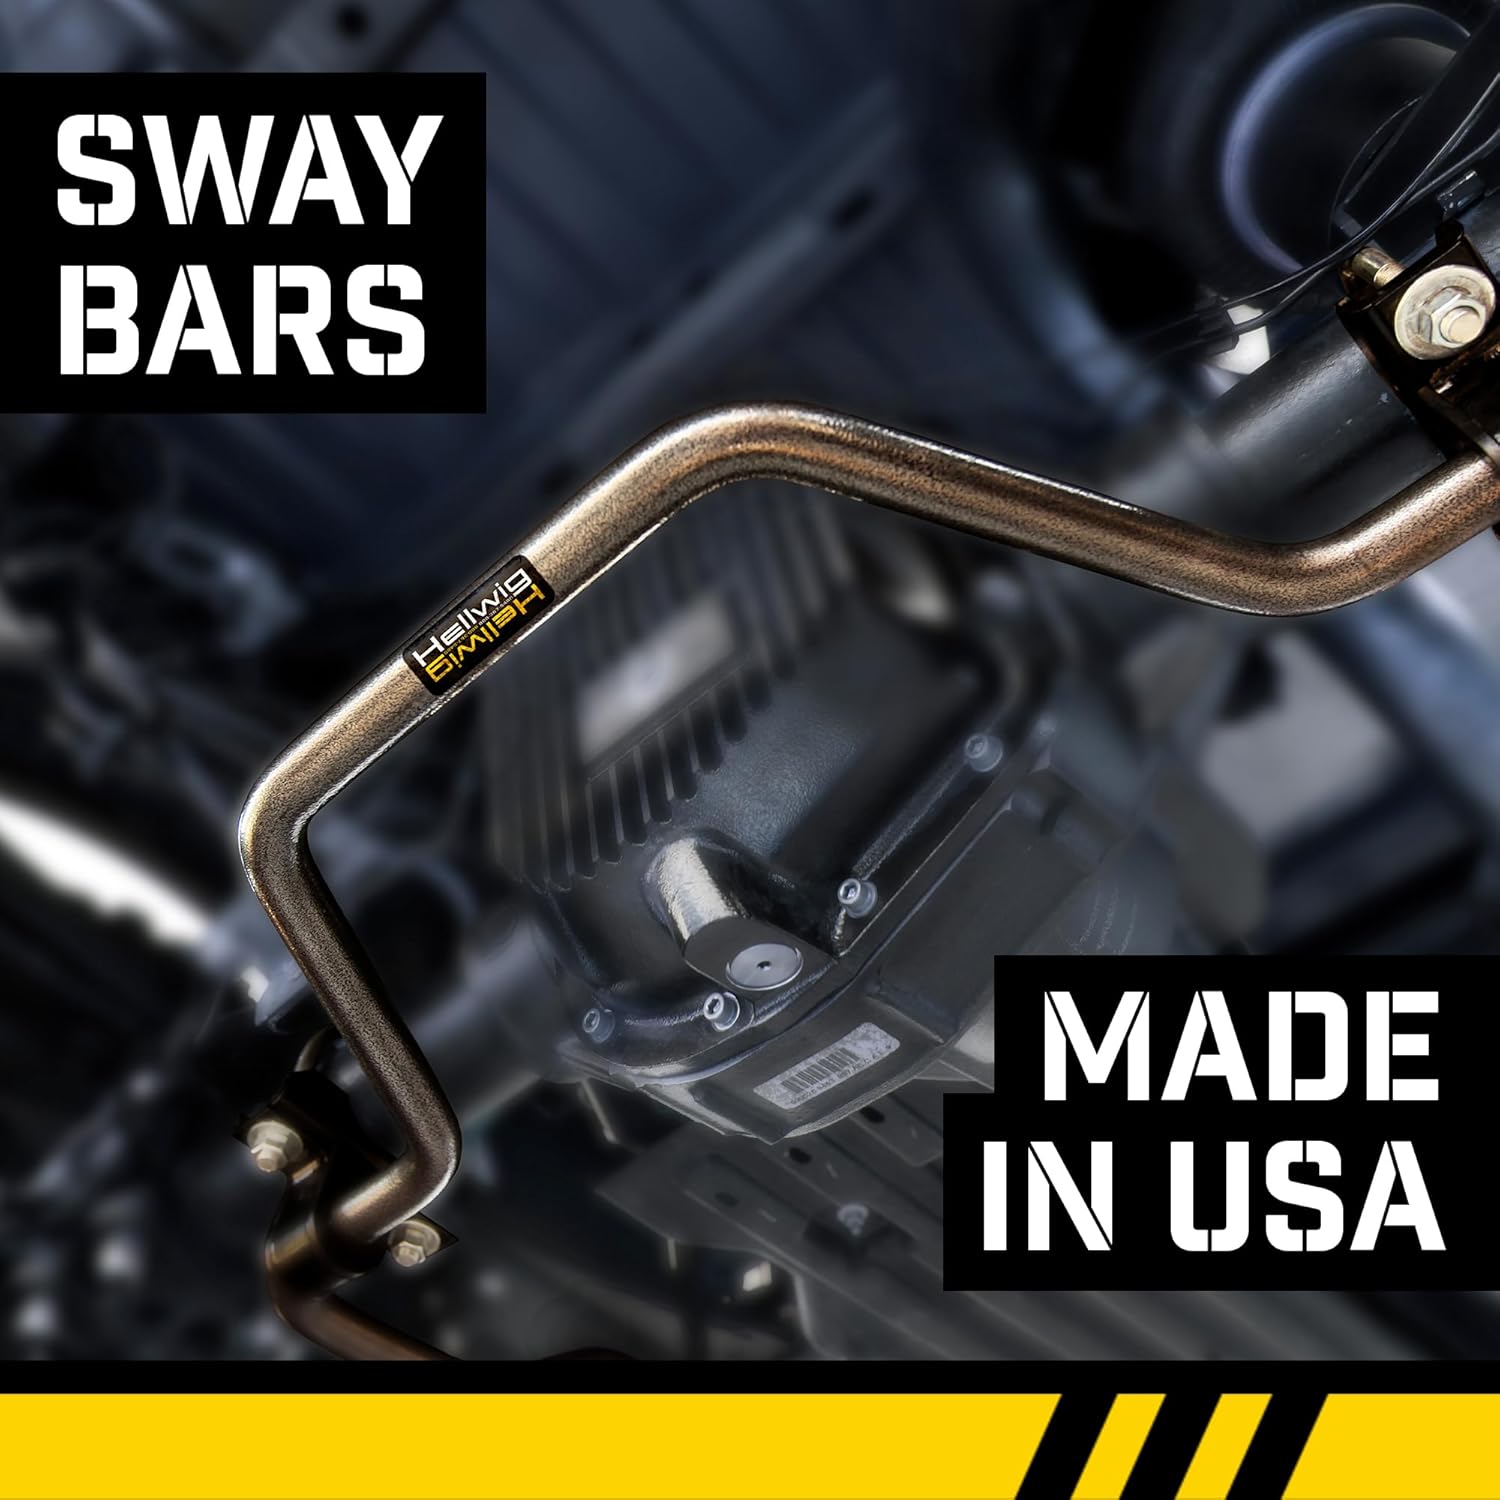
Image 3.2: A close-up view of a Hellwig sway bar installed on the underside of a vehicle, showcasing its robust construction and proper fitment near the differential.
4. Operating Principles
The Hellwig 7270 Rear Sway Bar works by connecting the suspension on opposite sides of the vehicle. When the vehicle corners, the suspension on one side compresses while the other extends, causing body roll. The sway bar resists this twisting motion, transferring force from the loaded side to the unloaded side. This action:
- Reduces Body Roll: Keeps the vehicle flatter during turns, improving stability.
- Enhances Traction: Maintains more even tire contact with the road surface.
- Improves Control: Provides a more predictable and responsive driving experience, especially when carrying heavy loads or towing.
The 1-5/16" diameter, solid, heat-treated chromoly construction ensures superior strength and effectiveness compared to smaller, hollow, or less robust factory sway bars.

Image 4.1: A truck, potentially equipped with Hellwig suspension components, driving on a road, illustrating the improved stability and control provided by such upgrades.
5. Maintenance
To ensure the longevity and optimal performance of your Hellwig 7270 Rear Sway Bar, follow these maintenance guidelines:
- Regular Inspection: Periodically inspect all mounting hardware, bushings, and end links for signs of wear, damage, or looseness.
- Tighten Fasteners: Re-torque all nuts and bolts to the specified values at regular intervals, especially after the first few hundred miles of operation.
- Lubrication: If your kit includes greaseable bushings, lubricate them according to the manufacturer's recommendations using appropriate grease.
- Cleaning: Keep the sway bar and its components free from excessive dirt, salt, and debris, which can accelerate wear.
6. Troubleshooting
| Symptom | Possible Cause | Solution |
|---|---|---|
| Increased noise (clunking, squeaking) | Loose hardware, worn bushings, lack of lubrication. | Inspect and tighten all fasteners. Lubricate bushings if applicable. Replace worn components. |
| Reduced effectiveness of sway bar | Loose mounting, damaged components, incorrect installation. | Verify all components are securely mounted and torqued. Inspect for damage. Review installation steps. |
| Difficulty during installation | Limited access to mounting points, misaligned components. | Refer to specific vehicle instructions. Consider using specialized tools (e.g., longer bolts for nuts in frame rails). Ensure proper alignment before tightening. |
| Missing hardware | Packaging error. | Contact Hellwig customer support or your retailer for replacement parts. |
7. Specifications
| Feature | Detail |
|---|---|
| Brand | Hellwig |
| Model Number | 7270 |
| Sway Bar Diameter | 1-5/16 inches |
| Material | Solid, Heat Treated Chromoly Steel |
| Application | GM 11-19 2500/3500 HD 2WD/4WD SRW&Dually |
| Item Weight | Approximately 0.01 ounces (Note: This weight is likely a placeholder or incorrect in source data, actual product weight will be significantly higher) |
| Product Dimensions | 46 x 2 x 28 inches |
| Exterior Finish | Machined |

Image 7.1: A graphic displaying the Hellwig Suspension Products logo, emphasizing the brand's commitment to quality and performance in suspension components.
8. Warranty Information
For detailed warranty information regarding the Hellwig 7270 Rear Sway Bar, please refer to the official warranty documentation provided by Hellwig Suspension Products at the time of purchase or visit the official Hellwig website. Warranty terms and conditions may vary.
9. Customer Support
If you have any questions, require technical assistance, or need to report missing parts, please contact Hellwig Suspension Products directly through their official website or customer service channels. Provide your product model number (7270) and purchase details for efficient support.
You can visit the Hellwig Store on Amazon for more information: Hellwig Suspension Store