Introduction
The Brinno TLC200 is a specialized camera designed to simplify HD time lapse photography. It offers flexibility for advanced users with interchangeable lenses and custom programmable time intervals. This camera features advanced power management, allowing for extended capture periods over several months on a single set of batteries. It includes a 1.44-inch LCD preview screen for precise framing and targeting of subjects. The TLC200 generates an AVI video file directly in the camera, eliminating the need for post-processing.
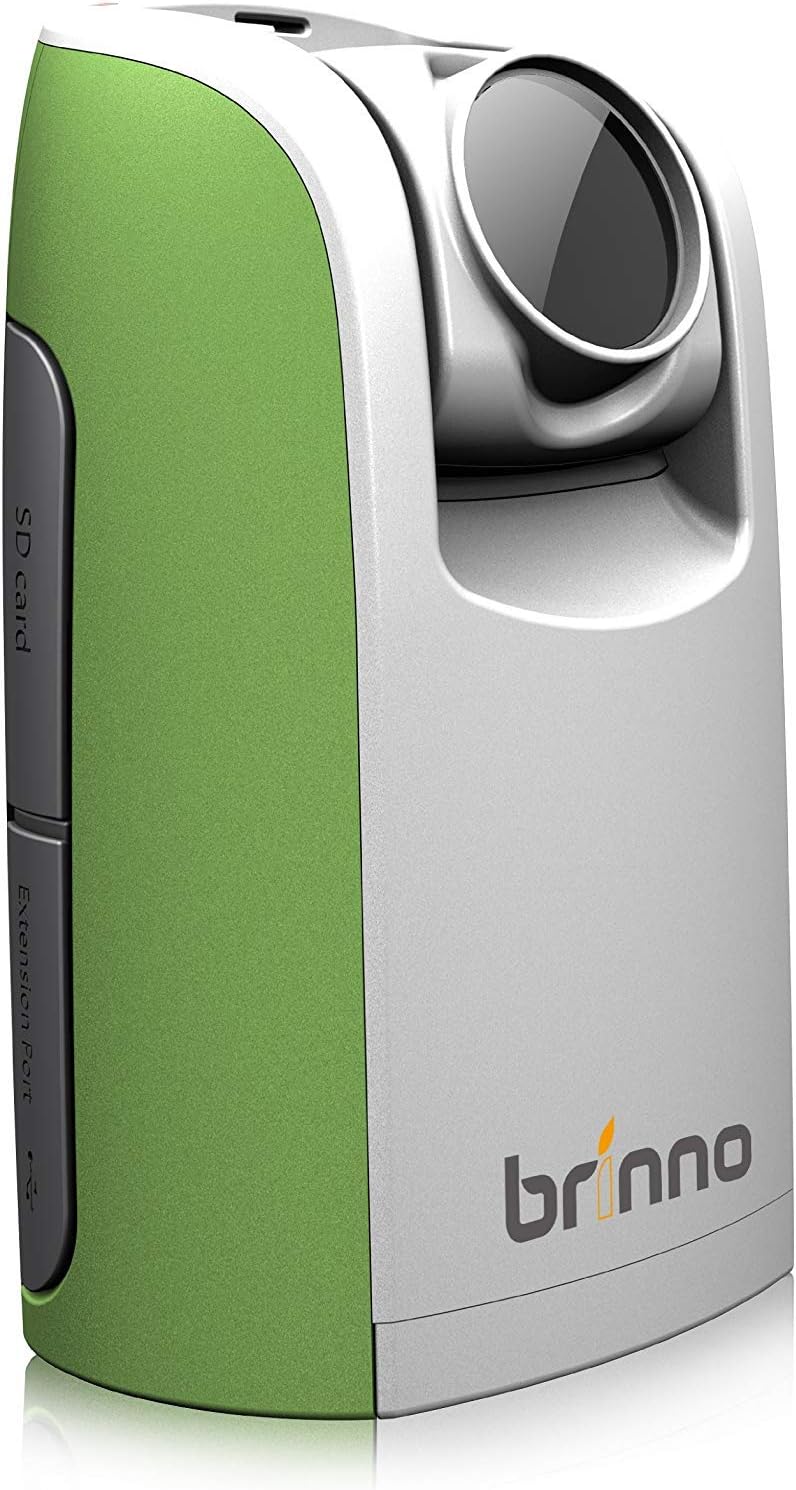
Figure 1: Brinno TLC200 Time Lapse Video Camera, showing its compact design.
What's in the Box
Upon unboxing your Brinno TLC200, please verify that all components are present:
- Brinno TLC200 Time Lapse Video Camera
- 4 x AA Batteries
- 1 x 2GB SD Card
- 1 x Vertical Release Buckle
Note: An optional external shutter release (model ATS100) and a wide-angle lens (model ATL045) are sold separately and are not included in the standard package.
Setup
1. Battery Installation
The Brinno TLC200 operates on 4 AA batteries. These are included in the package. Locate the battery compartment on the camera, open it, and insert the batteries according to the polarity indicators (+/-). Close the compartment securely.
2. SD Card Installation
The camera requires an SD card for storing time lapse videos and still images. A 2GB SD card is included, and the camera supports cards up to 32GB. Insert the SD card into the designated SD card slot until it clicks into place. Ensure the card is inserted correctly to avoid damage.

Figure 2: Side view of the Brinno TLC200, highlighting the SD card slot and extension port.
3. Powering On/Off
To power on the camera, slide the power switch to the 'on' position. The 1.44-inch TFT LCD screen will illuminate. To power off, slide the switch back to the 'off' position.
4. Initial Settings
Upon first use or after battery replacement, you may need to set the date and time. Use the 'MENU' button to navigate through settings and the 'OK/START' button to confirm selections. Key settings to configure include:
- Date and Time: Essential for accurate time lapse metadata.
- Resolution: Select between 1280 x 720 (HD) or 640 x 480.
- Time Interval: Set the interval between captured frames, ranging from 1 second to 24 hours.

Figure 3: The Brinno TLC200's LCD screen displaying resolution and control buttons.
Operating the Camera
1. Basic Time Lapse Recording
- Aim the Camera: Position the camera to capture your desired scene. Use the 1.44-inch LCD screen for accurate targeting and framing.
- Set Interval: Ensure your desired time interval is set (e.g., 1 second, 1 minute, 1 hour).
- Start Recording: Press the 'OK/START' button to begin the time lapse recording. The camera will automatically capture images at your set interval and compile them into an AVI video file.
- Stop Recording: Press the 'OK/START' button again to stop the recording. The video file will be finalized and saved to the SD card.
2. Advanced Features
- Step Video: This feature allows you to record short video clips at specified time intervals, which are then automatically combined into a single video. Consult the camera's menu for Step Video settings.
- Timer Function: The new Timer feature enables you to program specific start and end times for recording, allowing for automated capture sessions. Access this setting via the 'TIMER' button or menu.
- External Shutter Release (Optional): If using the optional ATS100 Shutter Release Cable, connect it to the camera's extension port. This allows for creating stop-motion movies or triggering single still images.
3. Framing and Positioning
The TLC200 can be mounted on a tripod using its standard tripod mount or simply placed on a flat, stable surface. For outdoor or long-term projects, ensure the camera is protected from elements and stable to prevent movement that could disrupt the time lapse sequence.

Figure 4: The compact size of the Brinno TLC200, shown next to a smartphone for scale.
Maintenance
1. Cleaning
To clean the camera body, use a soft, dry cloth. For the lens and LCD screen, use a lens cleaning cloth specifically designed for optics. Avoid using abrasive cleaners or solvents that could damage the camera's surfaces.
2. Storage
When not in use for extended periods, remove the batteries to prevent leakage. Store the camera in a cool, dry place, away from direct sunlight and extreme temperatures. Use a protective case to prevent dust and physical damage.
3. Battery Care
Always use fresh, high-quality AA batteries. If using rechargeable batteries, ensure they are fully charged before a long recording session. Dispose of used batteries responsibly according to local regulations.
Troubleshooting
- Camera does not power on:
- Check if batteries are inserted correctly with correct polarity.
- Replace with fresh batteries.
- Ensure the power switch is fully in the 'on' position.
- Recording does not start:
- Ensure an SD card is inserted and has sufficient free space.
- Check if the SD card is properly formatted (FAT32 recommended).
- Verify that the time interval is set and the 'OK/START' button is pressed firmly.
- Poor video quality:
- Ensure the lens is clean and free of smudges.
- Check the selected resolution setting (1280x720 is higher quality).
- Ensure adequate lighting for the scene, especially for HDR performance.
- Camera freezes or becomes unresponsive:
- Remove and reinsert the batteries to perform a hard reset.
- Try using a different SD card.
Specifications
| Feature | Specification |
|---|---|
| Product Dimensions | 2.5 x 1.8 x 4.2 inches |
| Item Weight | 8.8 ounces |
| Item Model Number | TLC200-Green |
| Batteries | 4 AA batteries (included) |
| Photo Sensor Technology | CMOS |
| Video Capture Resolution | 1280 x 720, 640 x 480 |
| Field of View | 59 degrees |
| Focal Length | 36mm (35mm equivalent) |
| Focus Distance | 29.5 inches (75cm) |
| Minimum Time Interval | 1 second to 24 hours |
| Memory Storage | 2GB SD card included (supports up to 32GB) |
| LCD Screen | 1.44 inch TFT LCD |
| Power Source | 4xAA batteries or DC in 5 volts (micro USB connector, not included) |
| Flash Memory Type | SD |
| Video Capture Format | AVI |
| Connectivity Technology | microSD Card |
| Color | Green/White |
Warranty and Support
The Brinno TLC200 Time Lapse Video Camera comes with a limited 1-year warranty. Additionally, Brinno offers a 30-day money-back guarantee. Brinno is committed to providing regular firmware updates to enhance product performance and features.
For further assistance, technical support, or to download the latest firmware and detailed user manual (PDF), please visit the official Brinno website or refer to the contact information provided with your product packaging.
Legal Disclaimer: Please refer to the packing on the box for complete legal disclaimers and terms.


