
Superfish 671050
Superfish Koi Flow 20 Ventilation Kit Instruction Manual
Brand: Superfish | Model: 671050
1. Introduction
The Superfish Koi Flow 20 Ventilation Kit is designed to provide essential aeration for large ponds and Koi ponds, ensuring a healthy, oxygen-rich aquatic environment. This kit includes a powerful air pump, air stones (diffusers), and air tubing, all engineered for reliable performance. Please read this manual carefully before installation and operation to ensure proper use and longevity of your product.

Figure 1: Superfish Koi Flow 20 Ventilation Kit packaging.
2. Setup
2.1 Unpacking and Component Check
Carefully remove all components from the packaging. Verify that all parts are present and undamaged. If any parts are missing or damaged, contact your retailer immediately.
- Air Pump Unit
- Air Tubing (approx. 50 meters)
- XXL Air Stones (6 pieces)
- Air Manifold/Splitter
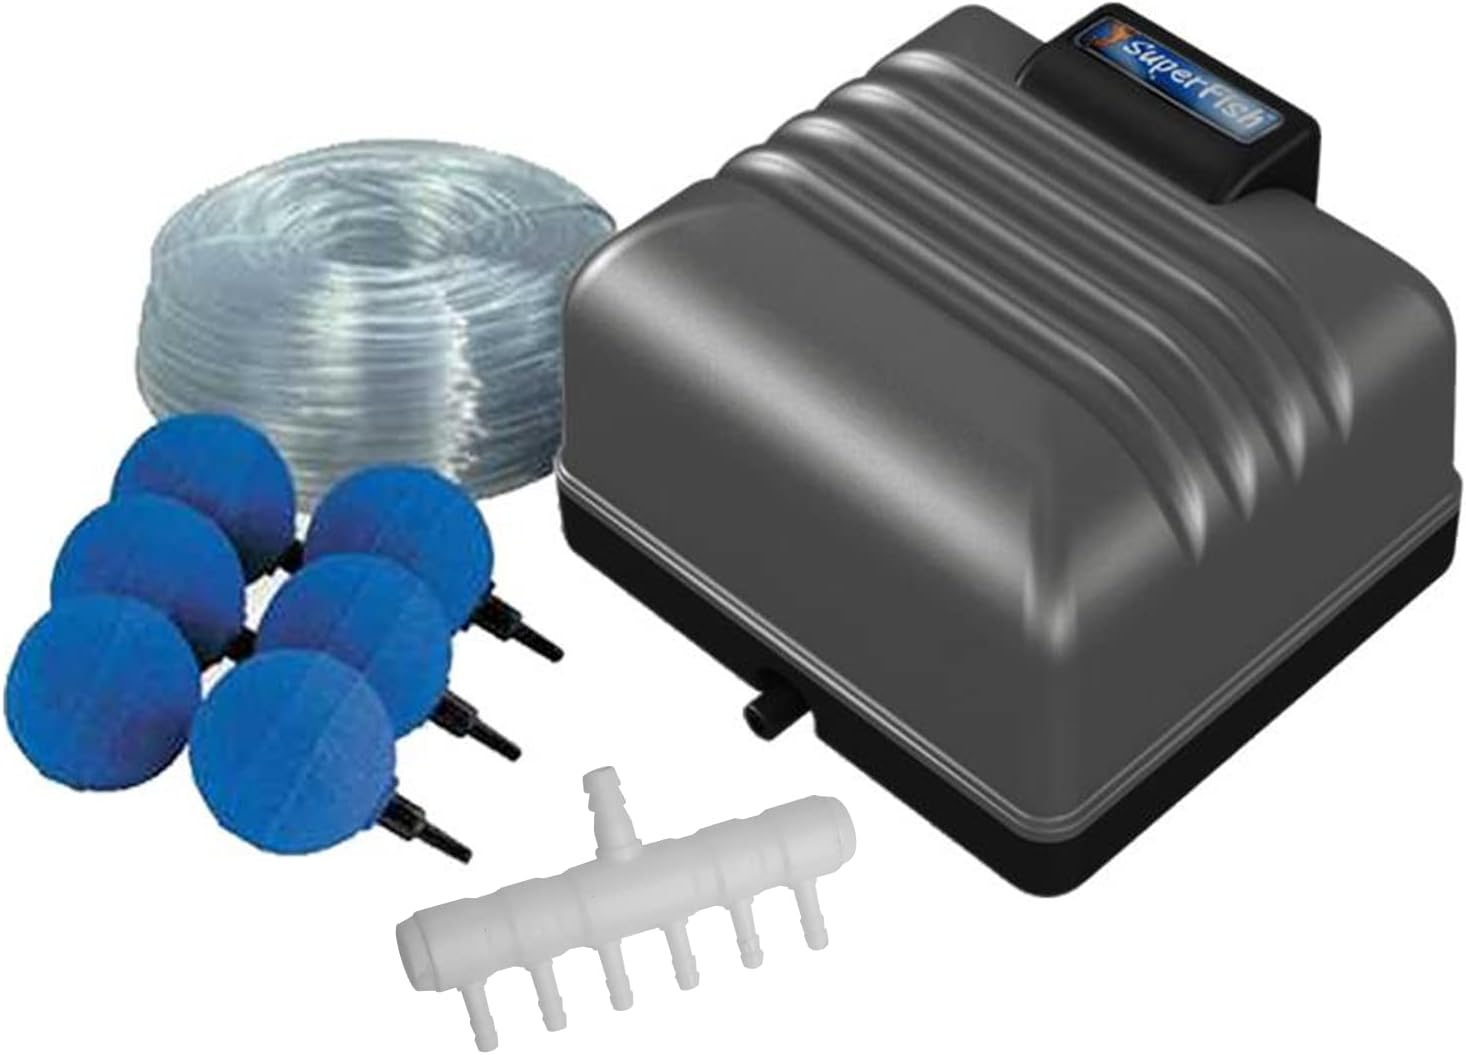
Figure 2: Kit components including pump, tubing, air stones, and manifold.
2.2 Assembly Instructions
- Position the Air Pump: Place the air pump unit in a dry, sheltered location, away from direct sunlight, rain, or excessive moisture. Ensure it is placed above the water level of the pond to prevent water backflow into the pump.
- Connect Air Tubing to Air Stones: Attach one end of the air tubing to the inlet nozzle of each XXL air stone. Ensure a snug fit to prevent air leaks.
- Connect Air Tubing to Manifold: Connect the other ends of the air tubing from the air stones to the individual outlets on the air manifold/splitter.
- Connect Manifold to Air Pump: Connect the main inlet of the air manifold to the air outlet nozzle on the air pump unit.
- Place Air Stones in Pond: Carefully place the air stones into your pond at desired locations. Ensure they are submerged and stable.
- Power Connection: Once all connections are secure and the pump is safely positioned, plug the power cable into a suitable, grounded electrical outlet.
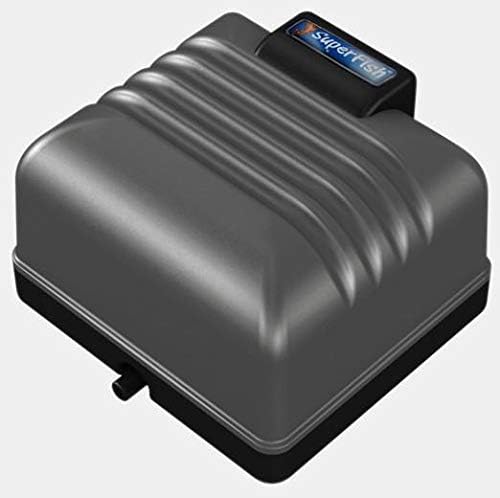
Figure 3: Superfish Air Pump Unit.
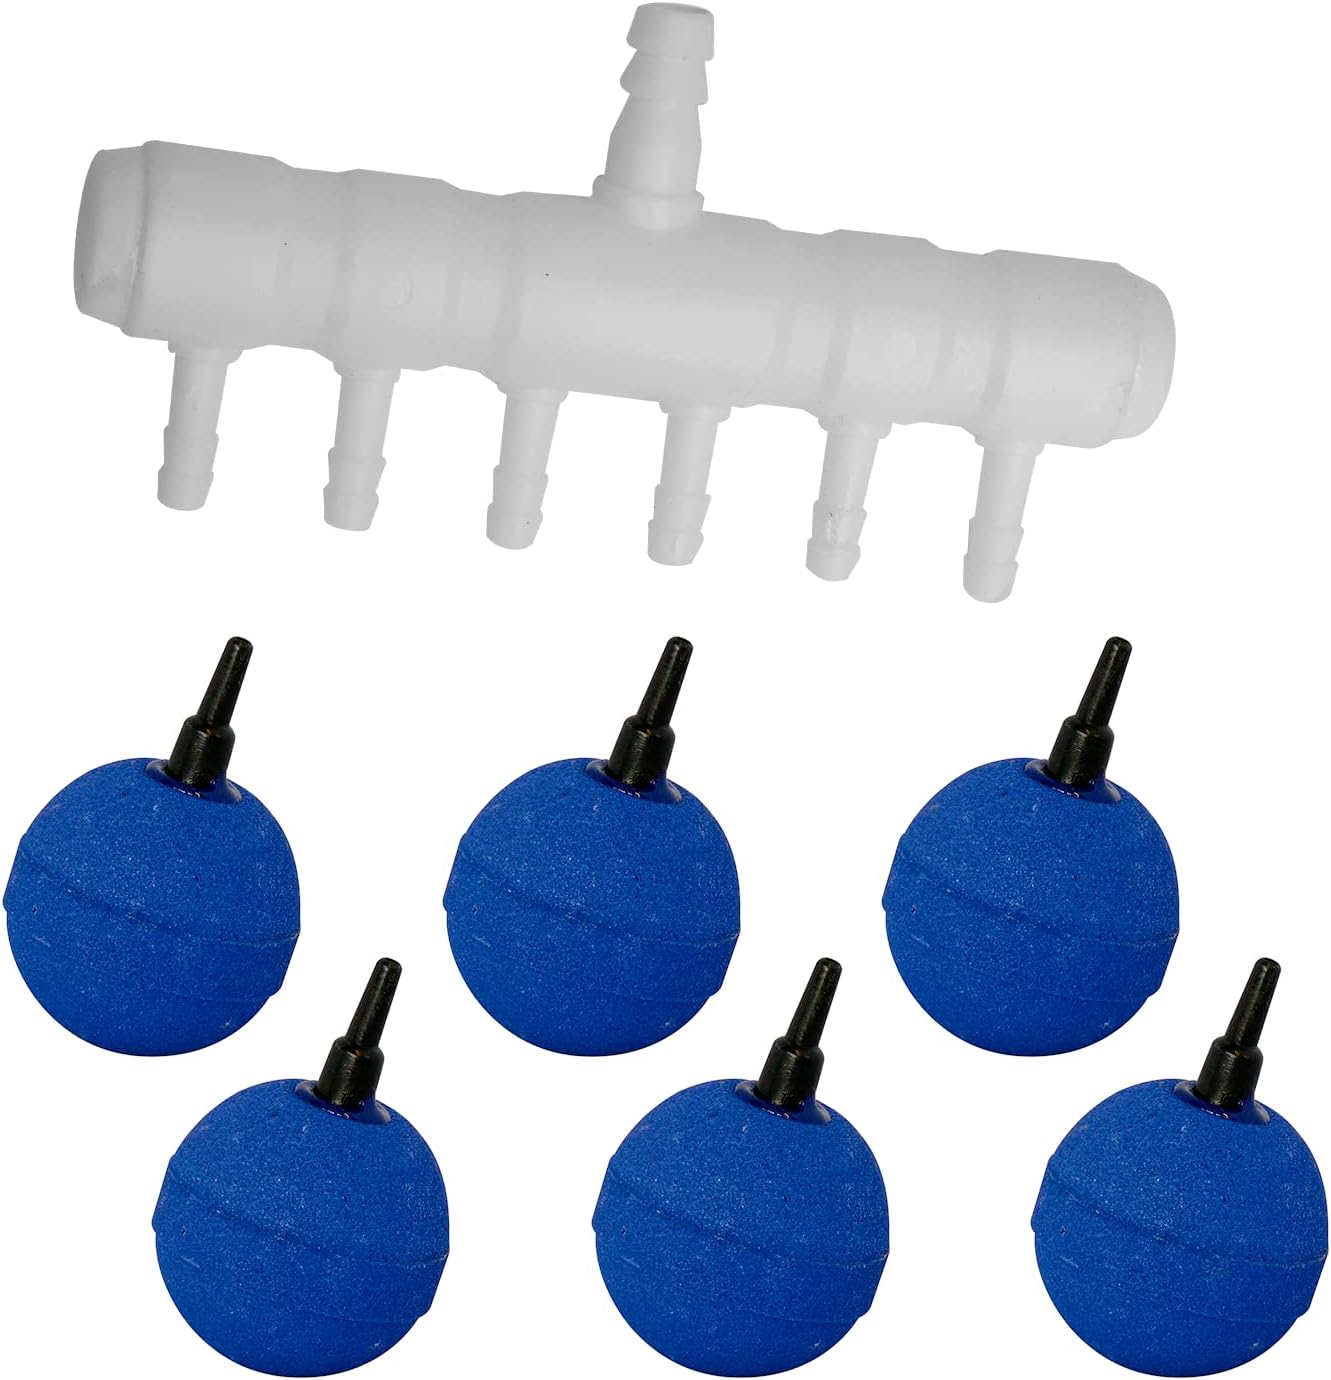
Figure 4: Air stones and manifold.
3. Operating Instructions
3.1 Initial Start-up
- After plugging in the pump, it should start operating immediately, producing air bubbles from the air stones in the pond.
- Observe the air flow from each air stone to ensure even distribution.
- Adjust the placement of air stones if necessary to achieve optimal aeration throughout the pond.
3.2 Daily Operation
- Ensure the air pump remains in a dry, protected area.
- Regularly check the air tubing for kinks or blockages that could impede air flow.
- Monitor the pond for consistent bubbling, indicating proper operation.
- In freezing conditions, ensure the air stones are placed deep enough to prevent the pond surface from completely freezing over, which can be beneficial for fish.
4. Maintenance
4.1 Regular Cleaning
- Air Stones: Over time, air stones may become clogged with algae or debris, reducing air flow. Periodically remove them from the pond and clean them thoroughly. You can gently brush them or soak them in a mild, non-toxic cleaning solution (e.g., diluted vinegar) to remove buildup. Rinse thoroughly before returning to the pond.
- Air Tubing: Inspect the air tubing for any signs of algae growth or blockages. If necessary, flush the tubing with water or use a flexible brush to clear any obstructions.
- Air Pump: Keep the exterior of the air pump clean and free from dust and debris. Ensure the air intake vents are clear to allow for proper ventilation and prevent overheating. Do not submerge the pump in water.
4.2 Seasonal Maintenance
Before winter, if the pond is likely to freeze solid, consider removing the air stones and tubing to prevent damage from ice expansion. Store them in a dry, frost-free location. The air pump should also be stored indoors during extreme cold or if not in continuous use.
5. Troubleshooting
If you encounter issues with your Superfish Koi Flow 20 Ventilation Kit, refer to the table below for common problems and their solutions.
| Problem | Possible Cause | Solution |
|---|---|---|
| No air flow from air stones |
|
|
| Weak air flow |
|
|
| Pump is noisy |
|
|
6. Specifications
| Feature | Detail |
|---|---|
| Brand | Superfish |
| Model Number | 671050 |
| Dimensions (L x W x H) | 11 x 11 x 11 cm |
| Weight | 200 grams |
| Material | Stainless steel, Metal |
| Power Source | Electric cable |
| Max Flow Rate | 3600 Liters per hour |
| Air Stone Quantity | 6 XXL Air Stones |
| Tubing Length | Approx. 50 meters |
7. Warranty and Support
For information regarding the product warranty, please refer to the warranty card included with your purchase or visit the official Superfish website. Warranty terms and conditions may vary by region and retailer.
If you require technical assistance, have questions about product operation, or need to report a defect, please contact your original retailer or the Superfish customer support directly. Have your product model number (671050) and purchase date ready when contacting support.
Ask a question about this manual
Ask about setup, troubleshooting, compatibility, parts, safety, or missing instructions. Manuals+ will review the question and use this page’s manual context to help answer it.