
Hardware Resources PDM45
Hardware Resources PDM45 Maple Pantry Door Mount Cabinet User Manual
Model: PDM45
Introduction
This manual provides detailed instructions for the installation, operation, and maintenance of your Hardware Resources PDM45 Maple Pantry Door Mount Cabinet. Please read this manual thoroughly before installation and use to ensure proper function and longevity of your product.
The PDM45 is a pre-assembled storage unit designed to mount inside hinged pantry doors, offering adjustable shelving for organized storage.
Safety Information
Always follow basic safety precautions when installing or adjusting the cabinet. Ensure all mounting hardware is securely fastened to prevent injury or damage to the cabinet or door.
- Do not overload shelves.
- Ensure the pantry door can fully close after installation.
- Keep small parts away from children during installation.
Package Contents
Verify that all components are present before beginning installation.
- Pre-assembled PDM45 Cabinet Frame (1)
- Adjustable Shelves (3)
- Mounting Hardware (screws, etc.)
Note: Specific hardware quantities may vary. Refer to the packaging for exact counts.
Setup and Installation
The PDM45 cabinet ships pre-assembled for easy installation. This unit is designed to mount to the inside of hinged pantry doors.
Required Tools:
- Measuring Tape
- Pencil
- Drill
- Screwdriver (Phillips head recommended)
Installation Steps:
- Measure Door Clearance: Ensure your pantry door is a minimum of 48 inches tall and 13 inches wide to accommodate the cabinet. Verify there is sufficient depth clearance inside the pantry for the cabinet (4-7/8 inches).
- Position the Cabinet: Hold the pre-assembled cabinet against the inside of the pantry door at the desired height. Use a pencil to mark the mounting screw locations through the pre-drilled holes on the cabinet frame.
- Pre-Drill Pilot Holes: Carefully pre-drill pilot holes at the marked locations on the pantry door. Use a drill bit slightly smaller than the mounting screws to prevent splitting the wood.
- Secure the Cabinet: Align the cabinet with the pilot holes and use the provided mounting screws to securely attach the cabinet to the pantry door. Ensure all screws are tightened firmly.
- Install Shelves: Insert the adjustable shelves into the desired positions using the shelf pins. The cabinet features three adjustable middle shelves.
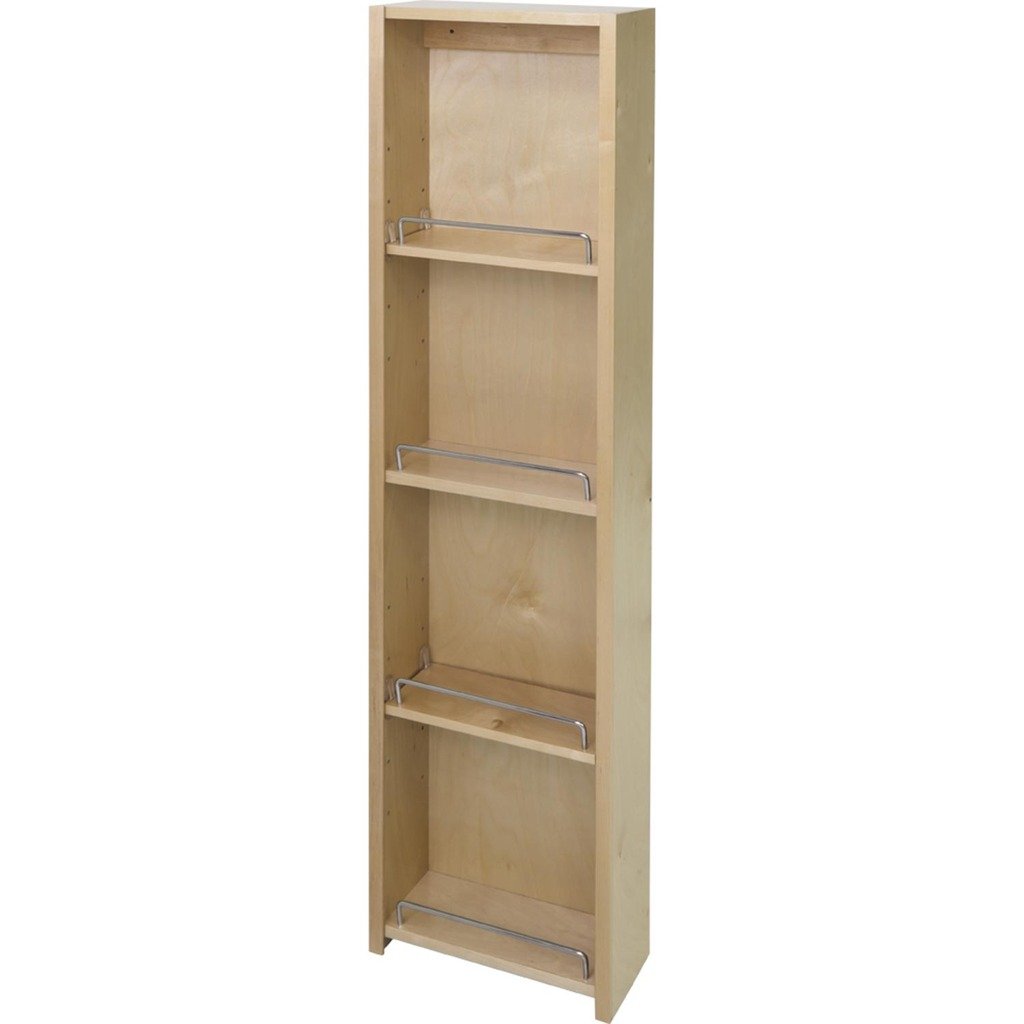
Image: The PDM45 Maple Pantry Door Mount Cabinet installed, showcasing its adjustable shelves. This image illustrates the typical appearance and functionality of the unit when mounted inside a pantry door.
Operation and Adjustment
The PDM45 cabinet is designed for straightforward use. Once installed, you can easily adjust the shelves to suit your storage needs.
Adjusting Shelves:
- Empty the Shelf: Remove all items from the shelf you wish to adjust.
- Remove Shelf Pins: Carefully lift the shelf and remove the four shelf pins supporting it.
- Reposition Pins: Insert the shelf pins into the desired new holes along the cabinet sides. Ensure all four pins are at the same height to keep the shelf level.
- Place Shelf: Gently place the shelf onto the newly positioned pins, ensuring it sits securely.
Note: The cabinet features multiple pre-drilled holes for flexible shelf placement.
Care and Maintenance
Proper care will ensure the longevity and appearance of your maple pantry door mount cabinet.
- Cleaning: Wipe surfaces with a soft, damp cloth. Avoid abrasive cleaners or harsh chemicals, as these can damage the clear UV finish.
- Spills: Clean up spills immediately to prevent staining or damage to the wood.
- Hardware Check: Periodically check all mounting screws and shelf pins to ensure they remain tight. Tighten if necessary.
- Environmental Conditions: Avoid exposing the cabinet to extreme humidity or temperature fluctuations, which can cause wood to warp or crack.
Troubleshooting
Here are solutions to common issues you might encounter:
| Problem | Possible Cause | Solution |
|---|---|---|
| Cabinet feels loose on door. | Mounting screws are loose. | Tighten all mounting screws securely. |
| Pantry door does not close properly. | Cabinet interferes with pantry interior or door frame. | Verify depth clearance (4-7/8 inches) and ensure no items on shelves protrude too far. Re-position cabinet if necessary. |
| Shelf is wobbly or uneven. | Shelf pins are not inserted correctly or are at different heights. | Ensure all four shelf pins are fully inserted into corresponding holes at the same height. |
Specifications
| Feature | Detail |
|---|---|
| Model Number | PDM45 |
| Brand | Hardware Resources |
| Material | Solid Birch and Birch Plywood (Hard Maple construction) |
| Finish | Clear UV Finish |
| Dimensions (W x H x D) | 12" x 45-5/8" x 4-7/8" (Product Dimensions: 4.88 x 12 x 45.63 inches) |
| Minimum Door Requirements | 48" Tall, 13" Wide |
| Number of Shelves | 3 (adjustable middle shelves) |
| Assembly Required | No (Ships pre-assembled) |
| Mounting Type | Door Mount (inside hinged pantry doors) |
| Item Weight | 13.2 Pounds |
Warranty Information
Hardware Resources products are manufactured to high-quality standards. For specific warranty details, please refer to the warranty documentation included with your purchase or visit the official Hardware Resources website. Keep your proof of purchase for any warranty claims.
Customer Support
If you have any questions, require assistance with installation, or need to report a missing part, please contact Hardware Resources customer support. Contact information can typically be found on the product packaging or the manufacturer's official website.
Please have your model number (PDM45) and purchase date ready when contacting support.
Related documentsPDM45


Ask a question about this manual
Ask about setup, troubleshooting, compatibility, parts, safety, or missing instructions. Manuals+ will review the question and use this page’s manual context to help answer it.