1. Important Safety Instructions
Please read and understand all instructions before beginning installation and use. Failure to follow these instructions may result in electric shock, fire, or other hazards that could cause injury or property damage.
- WARNING: Risk of electric shock. Disconnect power at the fuse or circuit breaker before installing or servicing.
- All electrical connections must be in accordance with local codes, ordinances, or the National Electric Code (NEC). Contact a qualified electrician if you are unfamiliar with proper electrical wiring connections.
- This fixture is rated for Wet Location use, meaning it is suitable for areas directly exposed to rain and moisture.
- Ensure the mounting surface is sound and can support the weight of the fixture.
- Use only the specified bulb type and wattage.
- Proposition 65 Warning: This product may contain chemicals known to the State of California to cause cancer and birth defects or other reproductive harm.
2. Product Overview
The John Timberland Casa Marseille European Outdoor Wall Fixture (Model R0879) is a traditional-style outdoor lighting solution designed to enhance the exterior of your home. Featuring a veranda bronze finish, ornate scrollwork, and champagne hammered glass, this fixture provides both aesthetic appeal and functional illumination for porches, patios, garages, and front doors.
Key Features:
- Durable die-cast metal construction with a bronze finish.
- Champagne hammered glass for a distinctive light diffusion.
- Wet location outdoor rated, suitable for full exposure to weather.
- Ornate leaf and scroll detailing for a vintage aesthetic.
Package Contents:
- 1 x John Timberland Casa Marseille Outdoor Wall Fixture (Model R0879)
- Mounting Hardware (screws, wire nuts)
- Instruction Manual
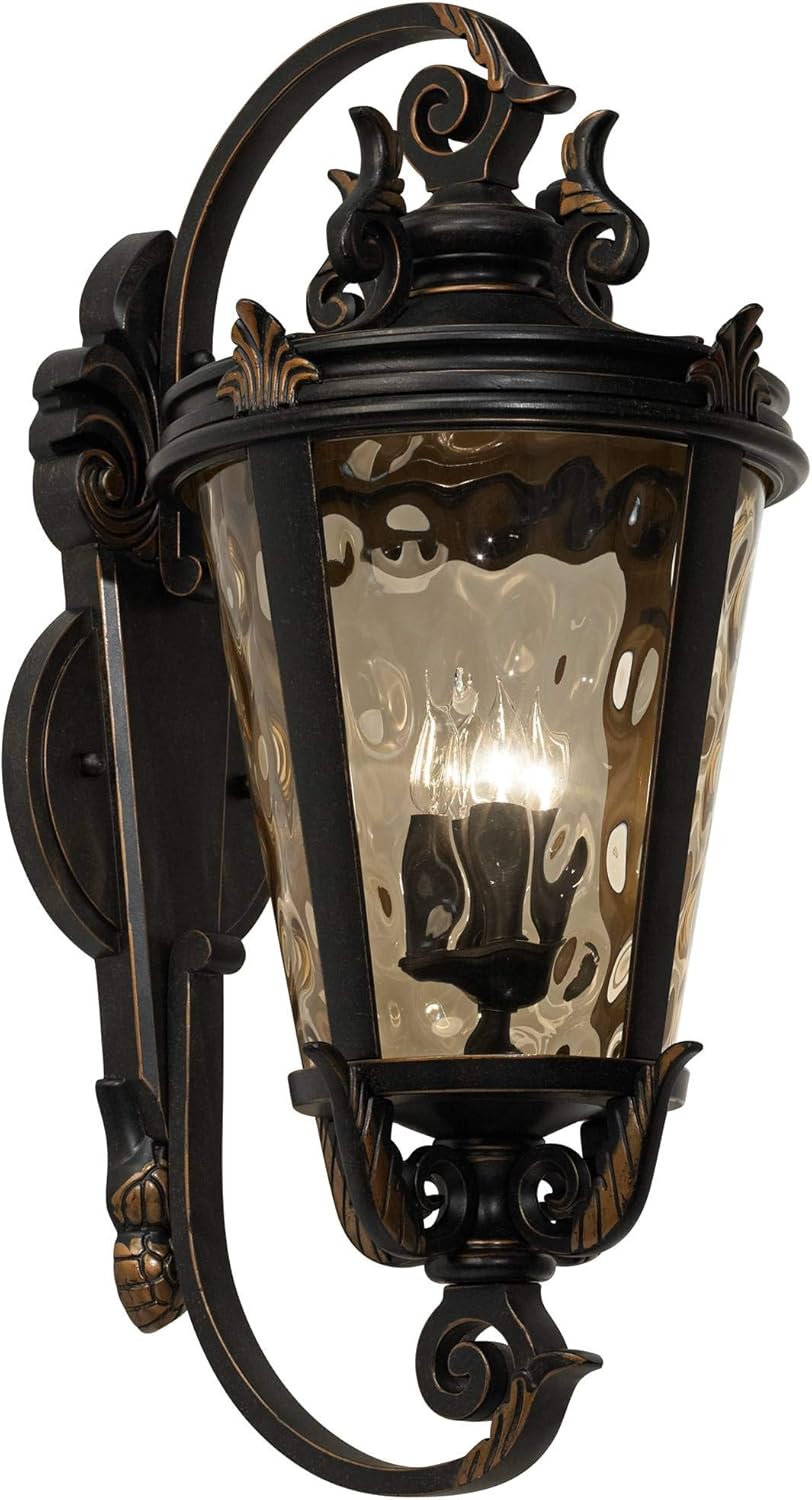
Image 2.1: Front view of the John Timberland Casa Marseille Outdoor Wall Fixture.
3. Specifications
| Feature | Detail |
|---|---|
| Brand | John Timberland |
| Model Number | R0879 |
| Dimensions (H x W x D) | 36" H x 16.5" W x 19" D (from wall) |
| Backplate Dimensions | 26" H x 9.25" W |
| Mounting Point to Top | 18" |
| Weight | 27.3 lbs |
| Material | Die-cast Metal, Glass |
| Finish | Veranda Bronze |
| Shade Material | Champagne Hammered Glass |
| Number of Lights | 4 |
| Bulb Base | E12 Candelabra |
| Max Wattage per Bulb | 60 Watts (not included) |
| Total Max Wattage | 240 Watts |
| Voltage | 120 Volts |
| Indoor/Outdoor Usage | Outdoor (Wet Location Rated) |
| Control Method | Push Button (external switch) |

Image 3.1: Detailed dimensions of the wall fixture.
4. Installation / Setup
Professional installation by a qualified electrician is recommended for safety and proper function.
Before You Begin:
- Turn off power at the circuit breaker or fuse box.
- Carefully unpack the fixture and inspect for any damage. Keep all packaging materials until you are satisfied with the product.
- Ensure you have all necessary tools (screwdriver, wire strippers, electrical tape, etc.) and mounting hardware.
Installation Steps:
- Attach the mounting plate to the junction box on your wall using the provided screws. Ensure it is securely fastened.
- Connect the electrical wires:
- Connect the fixture's black wire to the house's black (hot) wire.
- Connect the fixture's white wire to the house's white (neutral) wire.
- Connect the fixture's ground wire to the house's ground wire (or the junction box ground screw).
- Carefully tuck the wires into the junction box.
- Align the fixture with the mounting plate and secure it with the provided screws or nuts.
- Install four E12 candelabra base bulbs (max 60 watts each, not included) into the sockets.
- Restore power at the circuit breaker and test the fixture.

Image 4.1: The fixture mounted on an exterior brick wall.
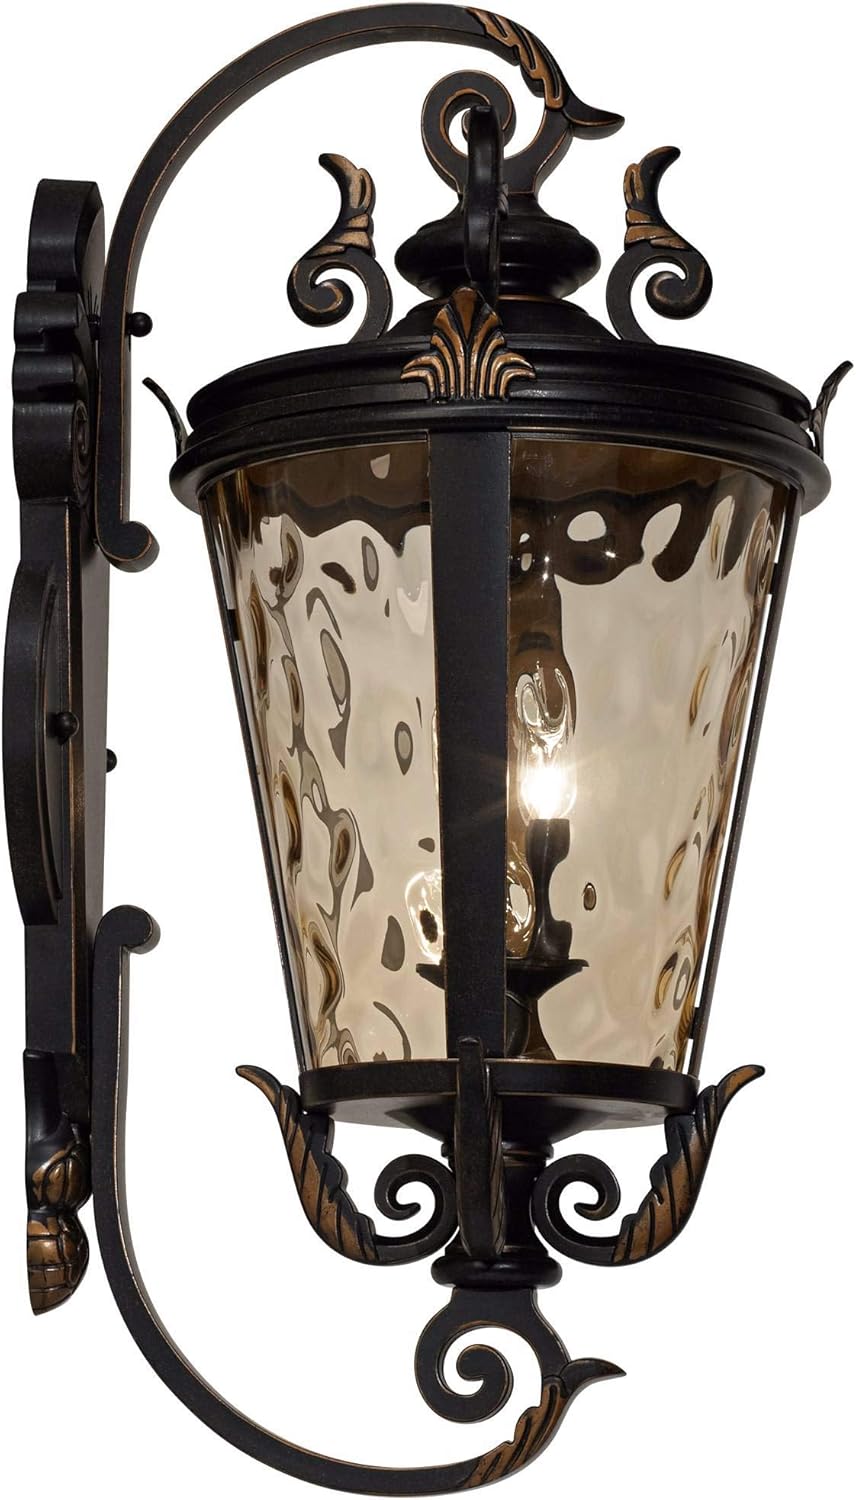
Image 4.2: View of the four E12 bulb sockets.
Understanding Outdoor Lighting Ratings:
This fixture is Wet Location rated. For more information on outdoor lighting ratings, please refer to the following video:
Video 4.3: Wet vs. Damp Outdoor Lighting Guide by LampsPlus. This video explains the differences between wet and damp location ratings for outdoor light fixtures.
Consider the size of your fixture in relation to your home's exterior. The following video provides guidance on selecting appropriate sizes:
Video 4.4: Outdoor Lighting Size Guide by LampsPlus. This video offers tips on choosing the correct size for your outdoor lighting.
5. Operation
This outdoor wall fixture operates using a standard wall switch (not included). Once installed and wired correctly, simply use your existing wall switch to turn the light on or off.
Bulb Replacement:
To replace bulbs, ensure power is turned off at the circuit breaker. Carefully remove the glass panels or access cover (if applicable) to reach the E12 candelabra base sockets. Unscrew old bulbs and screw in new ones, ensuring they do not exceed 60 watts each. Reassemble the fixture components securely before restoring power.
6. Maintenance
Regular maintenance will help preserve the appearance and functionality of your outdoor wall fixture.
- Cleaning: To clean the fixture, turn off the power. Wipe with a soft, damp cloth. Do not use abrasive cleaners, solvents, or polishes as they may damage the finish or glass.
- Inspection: Periodically check all electrical connections and mounting hardware for tightness. Ensure no wires are exposed or frayed.
- Glass Care: The champagne hammered glass can be cleaned with a mild glass cleaner and a soft cloth.
7. Troubleshooting
If you encounter issues with your fixture, refer to the following common problems and solutions:
| Problem | Possible Cause | Solution |
|---|---|---|
| Light does not turn on | No power to the fixture, faulty bulb, loose wiring connection. | Check circuit breaker/fuse. Replace bulb. Verify wiring connections are secure (with power off). |
| Light is dim or flickers | Incorrect bulb wattage, loose bulb, faulty wiring. | Ensure correct wattage bulbs are used. Tighten bulbs. Check wiring connections (with power off). |
| Fixture is not securely mounted | Loose mounting screws, improper installation. | Tighten mounting screws. Re-evaluate installation steps. |
If issues persist after attempting these solutions, contact a qualified electrician or the manufacturer's customer support.
8. Warranty and Support
For warranty information and customer support, please refer to the documentation provided at the time of purchase or contact John Timberland directly. You may also reach out to the seller, LAMPS PLUS, for assistance with your purchase.
For additional resources on outdoor lighting, consider these guides:
Video 8.1: Outdoor Lighting Type Guide by LampsPlus. This video provides an overview of different outdoor lighting types.
Video 8.2: Outdoor Security Lighting Guide by LampsPlus. This video discusses considerations for outdoor security lighting.
Video 8.3: Outdoor Lighting Buying Guide by LampsPlus. This video offers general advice for purchasing outdoor lighting.
9. Disposal Information
This product should not be disposed of with household waste. Please recycle where facilities exist. Check with your local authority for recycling advice.


