
Progress Lighting P3912-09
Bravo Collection Three-Light Inverted Pendant User Manual
Model: P3912-09 | Brand: Progress Lighting
Product Overview
The Bravo Collection Three-Light Inverted Pendant in Nickel offers a current, transitional style with free-flowing arms gracefully suspended with fluted shaped glass. This fixture is designed to provide ample illumination and enhance the aesthetic of various indoor spaces.
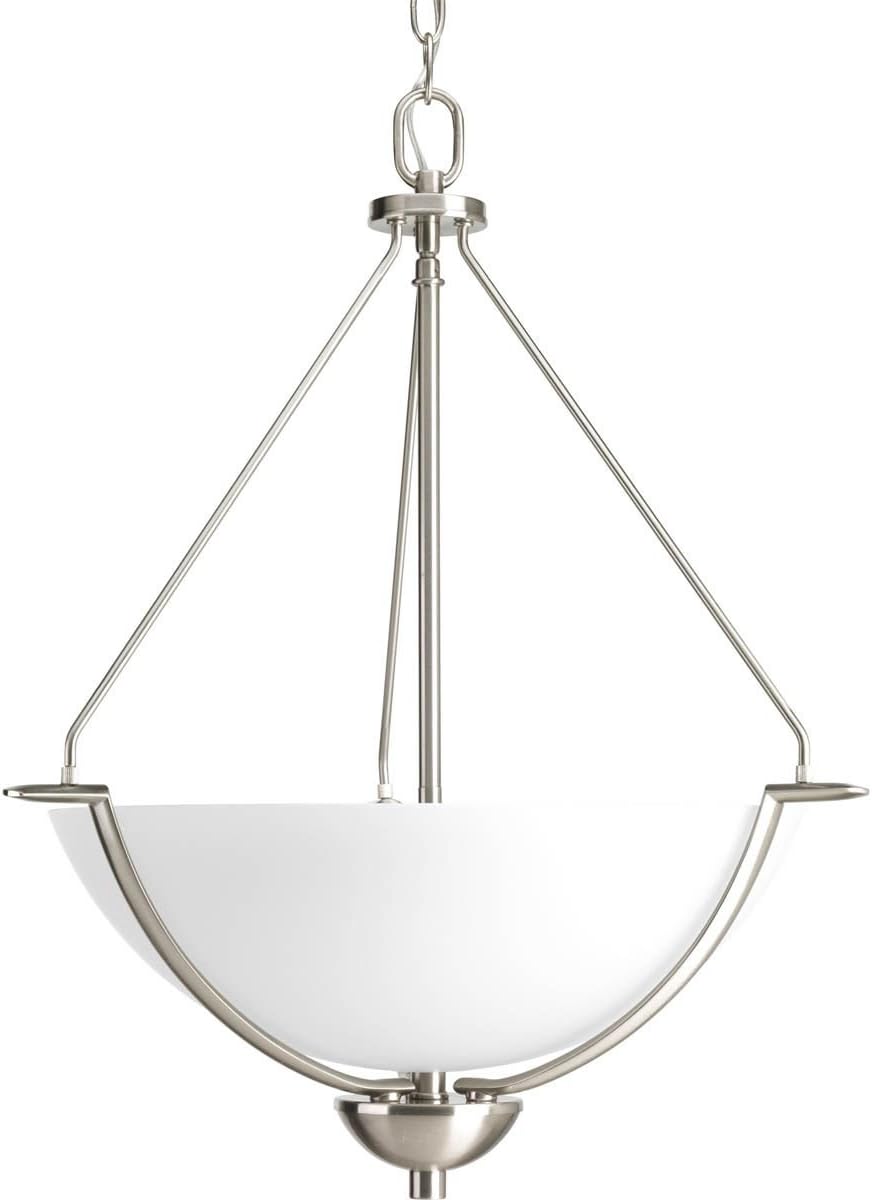
Image: The Bravo Collection Three-Light Inverted Pendant, showcasing its nickel finish and inverted glass shade.
Important Safety Information
Please read and understand all instructions before beginning installation. Failure to do so may result in electric shock, fire, or other injuries that could be fatal or cause property damage.
- Always disconnect power at the main circuit breaker before installation or maintenance.
- Consult a qualified electrician if you are unsure about the installation process.
- Ensure all electrical connections comply with local codes and ordinances.
- Do not exceed the maximum wattage specified for the bulbs.
Package Contents
Verify that all components are present and undamaged before proceeding with installation.
- Fixture Body with Inverted Glass Shade
- Mounting Bracket
- Canopy
- Chain (72 inches included for adjustable hanging height)
- Wire Nuts
- Mounting Screws and Hardware
Installation Instructions
Follow these steps carefully for proper installation of your pendant light.
- Preparation: Turn off power at the circuit breaker. Gather necessary tools (screwdriver, wire strippers, electrical tape, safety glasses).
- Mounting Bracket Installation: Secure the mounting bracket to the junction box in the ceiling using the provided screws. Ensure it is firmly attached.
- Adjusting Chain Length: Determine the desired hanging height. The fixture includes 72 inches of chain. Adjust the chain by opening links with pliers to achieve the correct length. Feed the electrical wires through the chain and canopy.
- Wiring Connections: Connect the fixture's wires to the corresponding house wires (black to black, white to white, ground to ground) using wire nuts. Secure connections with electrical tape.
- Attaching Fixture Body: Carefully lift the fixture and attach the canopy to the mounting bracket, securing it with the decorative nuts. Ensure the glass shade is properly seated and secured to the fixture body.
- Bulb Installation: Install three (3) incandescent bulbs with an E26 base, not exceeding 100 watts per bulb.
Recommended Hanging Heights and Spacing
Proper placement ensures optimal lighting and aesthetic appeal.
- Kitchen Islands: For multiple pendants, start the row 12-15 inches in from either end of the island and space the remaining pendants evenly within that span. The bottom of the pendant should hang 30-36 inches above the countertop.
- Dining Tables: Pendants should be at least 10 inches smaller in diameter than the width of the table. Hang the bottom of the pendant 30-34 inches above the dining table surface.
- Entryways/Stairwells: Ensure adequate clearance for walking. For a 12-foot ceiling, the bottom of the fixture might hang around 6 feet from the floor.

Image: Illustration of the included 72-inch chain, allowing for multiple hanging heights and suitability for sloped ceilings.

Image: Technical drawing indicating the pendant's dimensions: 23-1/2 inches in height and 21 inches in width.

Image: Guide for pendant placement over a kitchen island, suggesting 12 inches from ends and 30-36 inches hanging height.

Image: Illustration demonstrating appropriate chandelier hanging height in a stairwell, considering ceiling height and clearance.

Image: Guide for pendant placement over a dining table, suggesting 32-48 inches width and 30-34 inches hanging height.
Operating Your Pendant Light
This pendant light operates like any standard hardwired lighting fixture. Ensure the light switch connected to the fixture is in the 'ON' position for illumination.
- Power Requirements: The fixture operates on a standard 120 Volts AC power supply.
- Bulb Type: Uses three (3) incandescent bulbs with an E26 base. Maximum wattage per bulb is 100 watts. For energy efficiency, consider using compatible LED bulbs.
Care and Maintenance
Regular care will help maintain the appearance and functionality of your pendant light.
- Cleaning: To clean the fixture, turn off the power and allow it to cool. Wipe the metal surfaces with a soft, dry cloth. For the glass shade, use a mild glass cleaner and a soft cloth. Avoid abrasive cleaners or solvents.
- Bulb Replacement: Ensure power is off and bulbs are cool before replacing. Unscrew old bulbs and screw in new ones of the correct type and wattage.
Troubleshooting
If you encounter issues with your pendant light, refer to the table below for common problems and solutions.
| Problem | Possible Cause | Solution |
|---|---|---|
| Light does not turn on | No power to fixture; Loose wiring connection; Faulty bulb; Tripped circuit breaker | Check circuit breaker and wall switch; Verify all wiring connections are secure; Replace bulb; Reset circuit breaker |
| Light flickers | Loose bulb; Loose wiring connection; Incompatible dimmer switch; Incorrect bulb type | Tighten bulb; Check and secure wiring connections; Ensure dimmer is compatible with bulb type; Use recommended bulb type |
| Fixture is unstable/wobbles | Mounting bracket not secure; Chain not properly attached | Ensure mounting bracket is tightly secured to junction box; Verify chain links are closed and securely attached |
Product Specifications
- Brand: Progress Lighting
- Model: P3912-09
- Dimensions: 23.5"L x 21"W x 23.5"H
- Material: Alloy Steel, Crystal (Shade)
- Finish: Nickel
- Light Source Type: Incandescent
- Bulb Base: E26
- Number of Light Sources: 3
- Wattage: 100 watts (max per bulb)
- Voltage: 120 Volts
- Item Weight: 5 Pounds
- UPC: 785247166503
- Country of Origin: China
Warranty Information
This Progress Lighting product is backed by a 1-year Limited Warranty. This warranty guarantees your complete satisfaction with your purchase and includes professional after-sales customer service support. For specific terms and conditions, please refer to the warranty documentation included with your product or contact customer support.
Customer Support
For further assistance, technical support, or warranty claims, please contact Progress Lighting customer service. Visit the official Progress Lighting website for contact details and additional resources.
Website: www.progresslighting.com
Related documentsP3912-09


Ask a question about this manual
Ask about setup, troubleshooting, compatibility, parts, safety, or missing instructions. Manuals+ will review the question and use this page’s manual context to help answer it.