
Dorman 611-066
Dorman 611066 Wheel Nut Instruction Manual
Model: 611-066
1. Introduction
This manual provides essential information for the proper installation, maintenance, and care of your Dorman 611066 Wheel Nut. Please read this manual thoroughly before installation to ensure safe and effective use.
The Dorman 611066 Wheel Nut is designed for secure fastening of wheels to vehicle hubs. It features an M12 - 1.50 standard thread, a 21mm hex size, and a 16mm length, made from alloy steel with a silver finish.
2. Product Overview

Image 2.1: A set of Dorman 611066 Wheel Nuts, showcasing their silver finish and hexagonal shape.
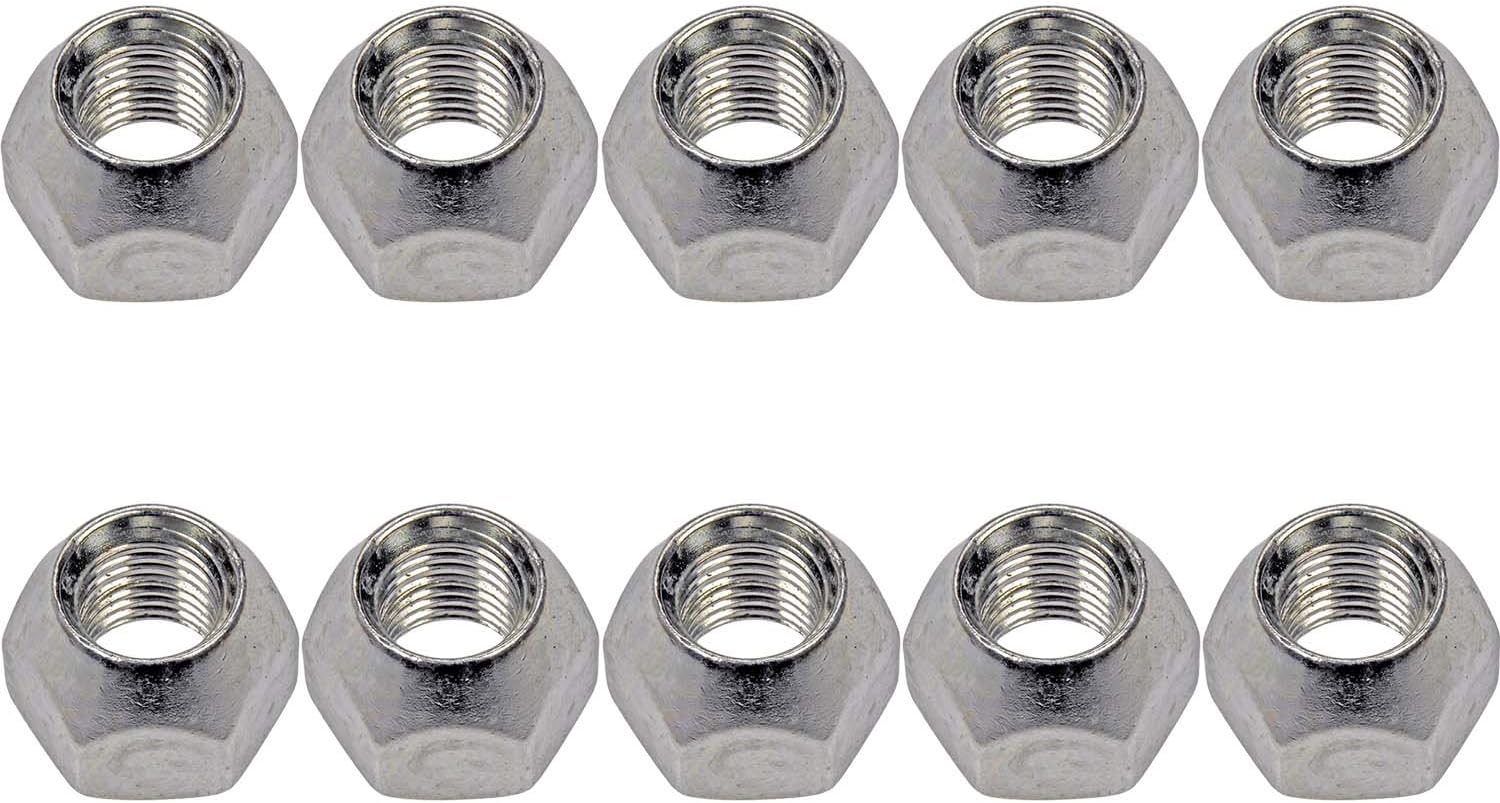
Image 2.2: Ten Dorman 611066 Wheel Nuts displayed in two rows, highlighting their uniform appearance.
The Dorman 611066 Wheel Nut is a critical component for vehicle safety, designed to secure the wheel assembly to the vehicle's hub. Key features include:
- Thread Size: M12 - 1.50 Standard, ensuring compatibility with many vehicle models.
- Hex Size: 21mm, for easy installation and removal with standard tools.
- Length: 16mm, providing adequate thread engagement.
- Material: Durable Alloy Steel for strength and longevity.
- Finish: Silver, for corrosion resistance and aesthetic appeal.
3. Setup and Installation
Proper installation of wheel nuts is crucial for vehicle safety. Always refer to your vehicle's service manual for specific torque specifications and procedures.
3.1. Preparation
- Ensure the vehicle is on a flat, stable surface and properly supported with jack stands.
- Remove the old wheel nuts and wheel.
- Inspect the wheel studs for damage, corrosion, or stripped threads. Clean any debris from the studs and wheel mounting surface.
- Ensure the new Dorman 611066 Wheel Nuts match the thread size and seat type of your vehicle's studs and wheels.
3.2. Installation Steps
- Place the wheel onto the hub, aligning the bolt holes with the studs.
- Hand-tighten each Dorman 611066 Wheel Nut onto its respective stud. Ensure they thread on smoothly without resistance. Never force a wheel nut onto a stud, as this can cause cross-threading.
- Once all nuts are hand-tight, lower the vehicle until the tire just touches the ground, preventing the wheel from rotating while tightening.
- Using a torque wrench, tighten the wheel nuts in a star or crisscross pattern to the manufacturer's specified torque. This ensures even pressure distribution and prevents wheel distortion.
- Raise the vehicle, remove the jack stands, and fully lower the vehicle.
- Perform a final check of the torque after driving approximately 50-100 miles (80-160 km) to ensure the nuts have not loosened.
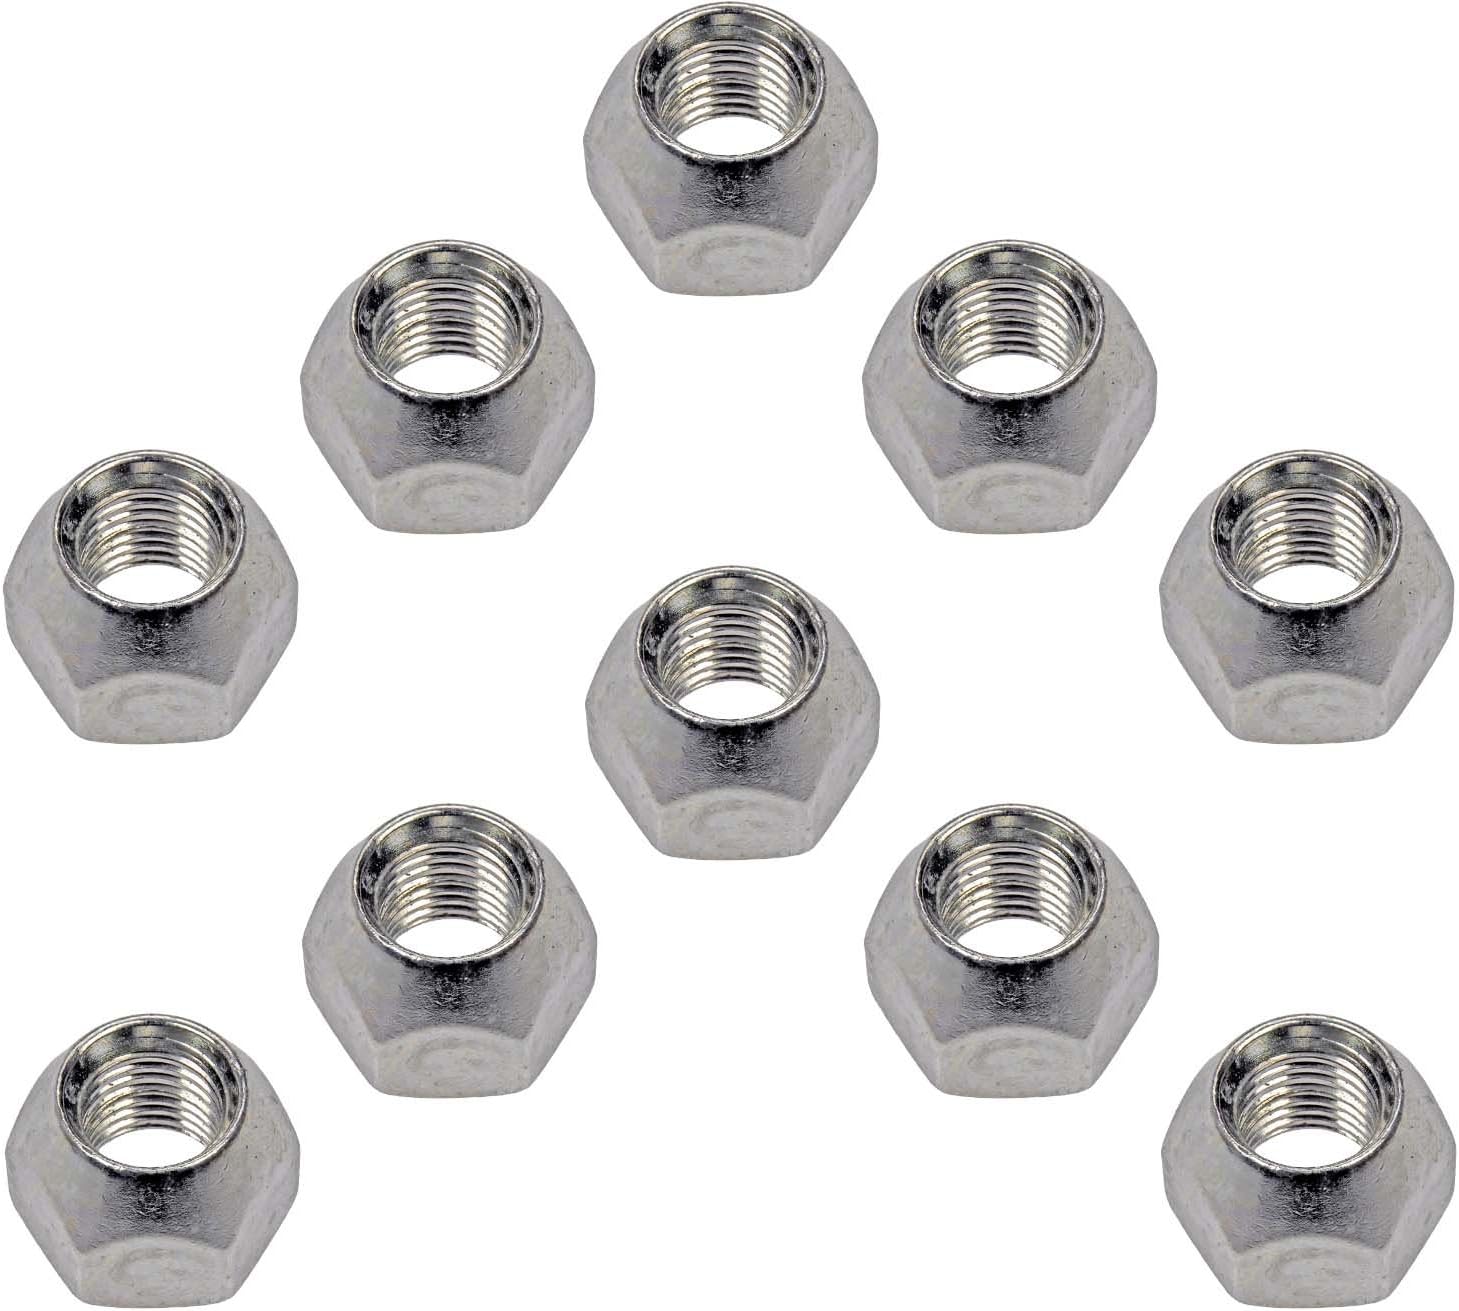
Image 3.1: A detailed view of a single Dorman 611066 Wheel Nut, showing the internal threading and hexagonal exterior.
4. Operating Considerations
While wheel nuts do not have "operating" functions in the traditional sense, their proper function is critical for vehicle operation. Adherence to correct installation and maintenance procedures ensures their optimal performance.
- Always use the correct size and type of wheel nut for your vehicle and wheel.
- Never use impact wrenches for final tightening, as this can lead to over-tightening and damage to the studs or nuts. Always use a torque wrench.
- Avoid lubricating wheel studs or nuts unless specifically recommended by the vehicle manufacturer, as this can lead to inaccurate torque readings and potential loosening.
5. Maintenance
Regular inspection and proper maintenance extend the life of your wheel nuts and ensure vehicle safety.
- Periodic Torque Check: Re-check the torque of your wheel nuts periodically, especially after tire rotations, wheel changes, or after driving through severe road conditions.
- Visual Inspection: Before each installation, visually inspect each wheel nut for signs of damage, such as stripped threads, cracks, or corrosion. Replace any damaged nuts immediately.
- Cleaning: Keep wheel nuts clean and free of dirt, rust, or debris. Use a wire brush if necessary to clean threads, but avoid harsh chemicals that could damage the finish.
6. Troubleshooting
Common issues related to wheel nuts and their potential solutions:
| Problem | Possible Cause | Solution |
|---|---|---|
| Wheel Nut Won't Thread On | Cross-threading, damaged stud threads, incorrect nut size/pitch. | Do not force. Remove nut, inspect stud and nut threads. If damaged, replace the stud or nut. Ensure correct size. |
| Wheel Nut Loosens After Driving | Improper torque, damaged wheel seat, stretched studs, debris on mounting surface. | Re-torque to specification. Inspect wheel and hub mating surfaces for debris or damage. Check studs for stretching. |
| Wheel Nut Difficult to Remove | Over-tightening, corrosion, seized threads. | Use appropriate leverage. Apply penetrating oil if seized. Avoid excessive force to prevent stud breakage. |
7. Specifications
Detailed technical specifications for the Dorman 611066 Wheel Nut:
| Attribute | Value |
|---|---|
| Fastener Type | Wheel |
| Thread Size | M12 - 1.50 Standard |
| Hex Size | 21mm |
| Length | 16mm |
| Color | Silver |
| Metal Type | Alloy Steel |
| Drive System | External Hex |
| Item Weight | 0.7 Pounds (approx. 11.2 ounces) |
| Product Dimensions (L x W x H) | 3.62 x 2.36 x 2.19 inches (packaging) |
| Manufacturer Part Number | 611-066 |
| UPC | 019495611660 |
8. Warranty Information
For detailed warranty information regarding the Dorman 611066 Wheel Nut, please refer to the official Dorman website or contact Dorman customer support directly. Warranty terms and conditions may vary.
9. Support
If you require further assistance or have questions not covered in this manual, please contact Dorman customer support through their official channels. You can typically find contact information on the Dorman website or product packaging.
Dorman Official Website: www.dormanproducts.com
Ask a question about this manual
Ask about setup, troubleshooting, compatibility, parts, safety, or missing instructions. Manuals+ will review the question and use this page’s manual context to help answer it.