Thank you for choosing the AMS Pendule 211/1 wall clock. This manual provides comprehensive instructions for the safe and efficient setup, operation, and maintenance of your new clock. Please read this manual thoroughly before use and retain it for future reference.
Figure 1: AMS Pendule 211/1 Wall Clock
2. Setup
2.1 Unpacking
Carefully remove the clock from its packaging.
Inspect the clock for any signs of damage. If damaged, do not proceed with setup and contact customer support.
Remove all protective films or packaging materials from the clock face, hands, and pendulum.
Retain the packaging for future transport or storage.
2.2 Battery Installation
The AMS Pendule 211/1 requires batteries (not included) for operation. Please use the specified battery type.
Locate the battery compartment cover on the back of the clock.
Remove the cover by sliding or unlatching it.
Insert the required batteries (e.g., 1x AA or 1x C, refer to the compartment label for exact type) according to the polarity indicators (+ and -).
Replace the battery compartment cover securely.
2.3 Mounting the Clock
Ensure the clock is mounted securely on a stable wall surface.
Choose a suitable location on a wall, away from direct sunlight, extreme temperatures, or vibrations.
Use an appropriate wall anchor and screw for your wall type (e.g., drywall, concrete). The mounting point should be strong enough to support the clock's weight.
Hang the clock securely using the keyhole slot on the back. Ensure it is level.
2.4 Setting the Time
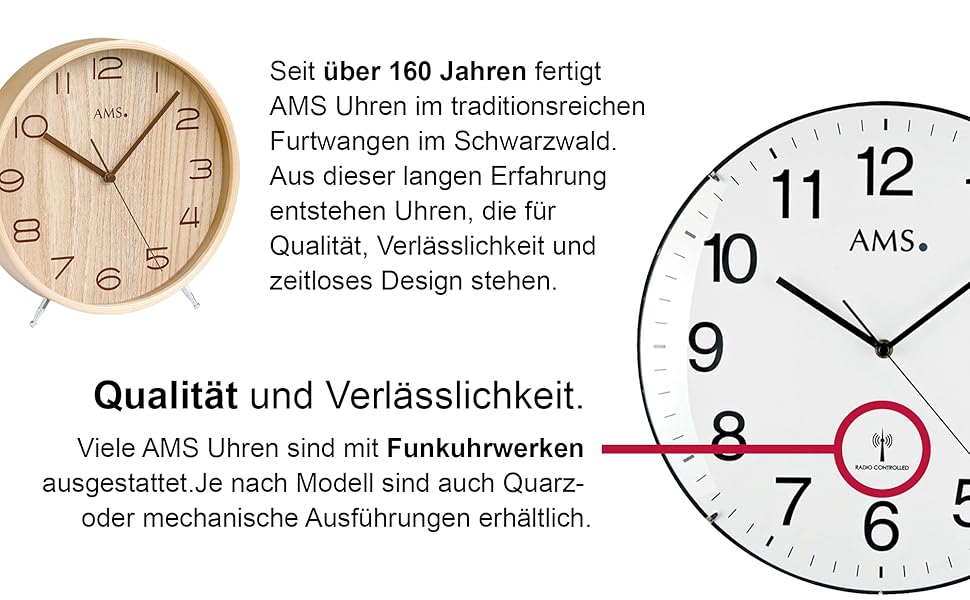
Your AMS Pendule 211/1 clock features an analog display. Some models may include a radio-controlled mechanism for automatic time synchronization.
Figure 2: Example Clock Face with Radio Controlled Symbol
Manual Setting: Locate the time-setting knob or wheel on the back of the clock. Gently turn this knob to move the minute and hour hands clockwise until the correct time is displayed. Avoid turning the hands counter-clockwise.
Radio-Controlled (if applicable): If your clock is radio-controlled, it will attempt to synchronize with a time signal after battery installation. Place the clock near a window for better signal reception. This process may take several minutes or hours. Once synchronized, the clock will automatically display the correct time.
2.5 Pendulum Setup
The pendulum is a decorative and functional element of your clock.
Carefully unpack the pendulum if it was separate from the main clock body.
Attach the pendulum to its hook or hanging mechanism inside the clock case. Ensure it hangs freely and does not touch the sides of the case.
Gently push the pendulum to one side to start its swing. It should swing evenly.
3. Operating Instructions
3.1 Reading the Time
The AMS Pendule 211/1 features a clear analog display with hour, minute, and second hands for precise timekeeping.
The short hand indicates the hour.
The long hand indicates the minute.
The thin sweeping hand indicates the second.
3.2 Alarm Function
Your clock is equipped with an alarm function. Refer to the specific controls on the back or side of your clock for alarm setting.
Set Alarm Time: Locate the alarm setting knob/dial (often separate from the main time setting). Turn it to set the desired alarm time.
Activate Alarm: Find the alarm ON/OFF switch or button. Move it to the "ON" position to activate the alarm.
Deactivate Alarm: To turn off the alarm sound, move the alarm switch to the "OFF" position.
3.3 Pendulum Operation
Once the pendulum is installed and started, it should swing continuously. If it stops, gently restart it.
Ensure the clock is level on the wall to allow for an even pendulum swing.
Avoid obstructing the pendulum's movement.
4. Maintenance
4.1 Cleaning
Regular cleaning will help maintain the appearance of your clock. The frame is made of Acrylonitrile Butadiene Styrene (ABS).
Wipe the clock's exterior with a soft, dry, lint-free cloth.
For stubborn marks, slightly dampen the cloth with water. Avoid using harsh chemicals, abrasive cleaners, or solvents, as these can damage the finish.
Do not spray cleaning solutions directly onto the clock.
Keep the clock away from excessive dust and moisture.
4.2 Battery Replacement
Replace batteries when the clock starts losing time or stops functioning.
Follow the steps in Section 2.2 "Battery Installation" to replace old batteries with new ones of the correct type.
Dispose of used batteries responsibly according to local regulations.
5. Troubleshooting
If you encounter issues with your AMS Pendule 211/1, refer to the table below for common problems and solutions.
Problem
Possible Cause
Solution
Clock not running
Dead or incorrectly installed batteries.
Check battery polarity; replace with fresh batteries.
Replace batteries. For radio-controlled, move to a location with better signal. If problem persists, contact support.
Pendulum not swinging
Not properly installed; obstruction; clock not level.
Ensure pendulum is correctly hooked and swings freely. Check if the clock is level. Gently restart the pendulum.
Alarm not sounding
Alarm not activated; incorrect alarm time set; low battery.
Ensure alarm switch is ON. Verify alarm time setting. Replace batteries.
6. Specifications
Feature
Detail
Brand
AMS
Model
211/1
ASIN
B005DRWNZ0
Display Type
Analog
Shape
Rectangular
Frame Material
Acrylonitrile Butadiene Styrene (ABS)
Alarm
Yes
Batteries Included
No
7. Warranty and Support
For warranty information or technical support, please refer to the documentation provided with your purchase or contact the retailer. Keep your proof of purchase for any warranty claims.
For further assistance, you may visit the official AMS website or contact their customer service department.
Related Documents - 211/1
FIRDAPSE® (amifampridine) Treatment for Lambert-Eaton Myasthenic Syndrome (LEMS) Comprehensive prescribing information and medication guide for FIRDAPSE® (amifampridine), a treatment for Lambert-Eaton myasthenic syndrome (LEMS) in adults and pediatric patients 6 years and older. Includes dosage, administration, warnings, and clinical study data.
Franke Urban Sinks: Installation and User Manual Comprehensive installation and user guide for Franke Urban sinks, made from durable Fragranite. Includes model specifications, dimensions for inset and flush mount installations, step-by-step instructions, and cleaning recommendations.
Fibaro Universal Dimmer 500W (FGD-211) Operating Manual Comprehensive operating manual for the Fibaro Universal Dimmer 500W (FGD-211). Covers installation, Z-Wave integration, operation, configuration, and troubleshooting for smart home lighting control.
Whirlpool Four Encastrable : Bulletins de Service et Guides Techniques Documentation technique et bulletins de service pour les fours encastrables Whirlpool, couvrant les modèles Minerva, Vulcano, Stargate, Zodiac, et Capricorne, avec des instructions de remplacement de platine, de configuration et de dépannages.
Franke Centro Sinks: Installation and User Manual Comprehensive installation and user guide for Franke Centro sinks, including model specifications, dimensions, and step-by-step assembly instructions. Features Fragranite material details and care advice.
Ask a question about this manual
Ask about setup, troubleshooting, compatibility, parts, safety, or missing instructions. Manuals+ will review the question and use this page’s manual context to help answer it.