1. Introduction
This manual provides detailed instructions for the proper installation, operation, and maintenance of the Gerber GH-301 Rough-In Valve. Please read this manual thoroughly before beginning installation to ensure safe and correct usage. Retain this manual for future reference.
2. Product Overview
The Gerber GH-301 is a durable brass rough-in valve designed for plumbing applications. It features sweat-type inlet and outlet connections, providing a secure and reliable interface within your plumbing system. This valve is intended to be installed behind the finished wall and serves as the foundational component for a complete shower or bath fixture, controlling water flow and temperature when paired with a compatible trim kit (sold separately).
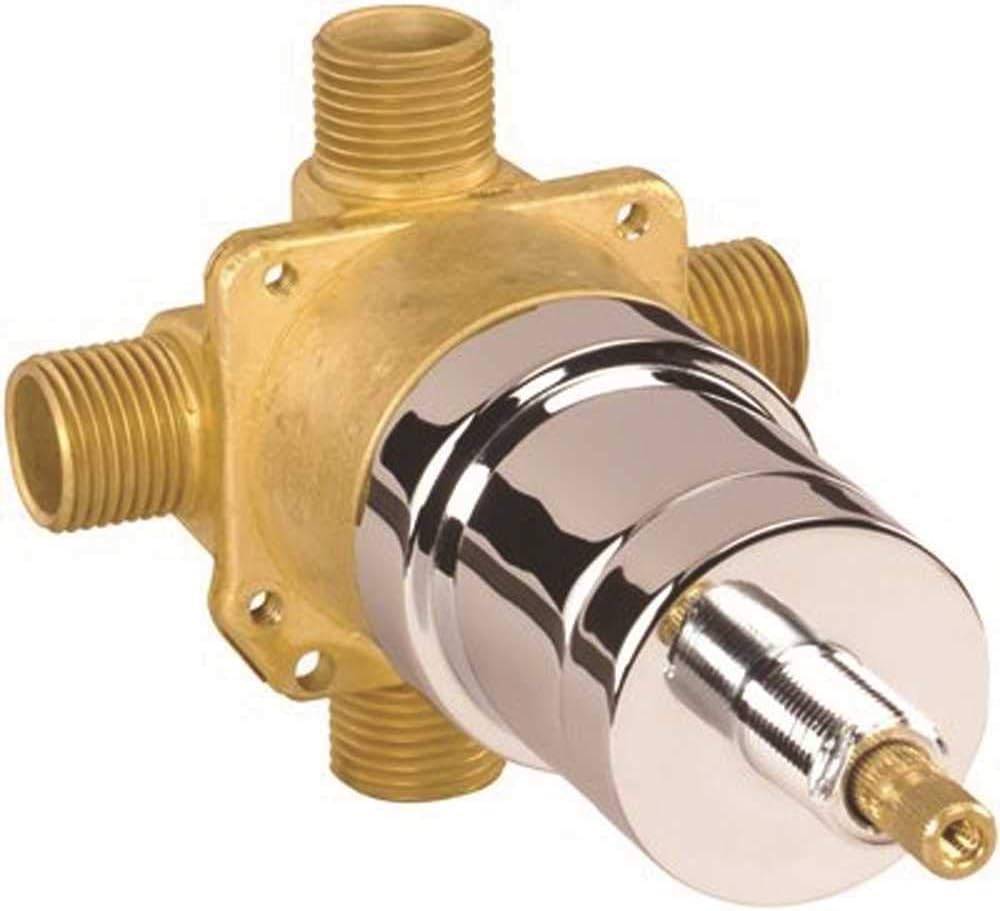
Figure 1: Front view of the Gerber GH-301 Rough-In Valve, showcasing its brass body and chrome-plated control mechanism.
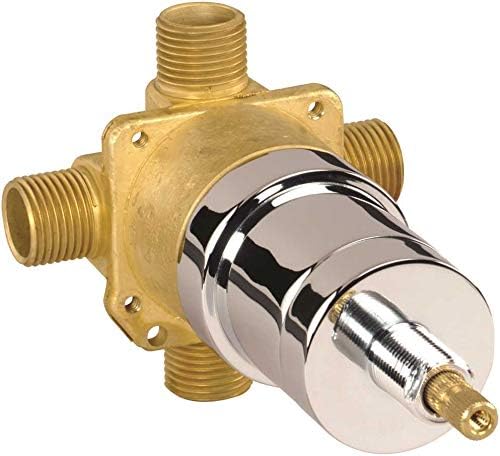
Figure 2: Angled view of the Gerber GH-301 Rough-In Valve, highlighting the various connection points for water lines.
3. Safety Information
WARNING:
- Always turn off the main water supply before attempting any plumbing installation or repair.
- Wear appropriate personal protective equipment (PPE), such as safety glasses and gloves, during installation.
- If you are unsure about any part of the installation process, consult a qualified plumber.
- Ensure all connections are properly sealed to prevent leaks.
- Comply with all local plumbing codes and regulations.
4. Installation (Setup)
4.1 Tools and Materials Required (Not Included):
- Pipe cutter
- Soldering torch and solder
- Flux
- Emery cloth or wire brush
- Adjustable wrench
- Measuring tape
- Level
- Mounting hardware (screws, anchors, if not provided with trim kit)
4.2 Pre-Installation Steps:
- Turn off the main water supply to the building.
- Drain the water lines by opening nearby faucets.
- Carefully unpack the valve and inspect it for any damage. Do not install damaged components.
- Familiarize yourself with the valve's inlet and outlet ports. The GH-301 features sweat connections for both inlet and outlet.
4.3 Mounting and Connecting the Valve:
- Positioning: Determine the desired height and depth for the valve within the wall cavity. Ensure the valve is securely mounted to a stud or blocking using appropriate fasteners. The valve body must be flush with the finished wall surface once the trim kit is installed.
- Prepare Pipes: Cut the hot and cold water supply pipes and the outlet pipe(s) to the correct length. Clean the ends of the pipes and the valve's sweat ports thoroughly with emery cloth or a wire brush.
- Apply Flux: Apply a thin, even coat of flux to the cleaned surfaces of both the pipes and the valve ports.
- Solder Connections: Insert the pipes into the corresponding valve ports. Heat the joint evenly with a soldering torch and apply solder until it flows smoothly into the joint, creating a watertight seal. Allow the joints to cool completely.
- Test for Leaks: Once all connections are cool, slowly turn on the main water supply. Carefully inspect all soldered joints for any signs of leaks. Address any leaks immediately by draining the system, reheating, and re-soldering the joint.
- Install Trim Kit: After confirming no leaks, the wall can be finished. The final trim kit (handle, escutcheon, etc.) can then be installed according to its specific instructions.
5. Operation
The Gerber GH-301 is a rough-in valve, meaning it is the internal mechanism that controls water flow and temperature. Its operation is entirely dependent on the trim kit (handle and escutcheon) that is installed over it. Once the trim kit is in place, the valve will function as a standard shower or bath valve, allowing you to turn water on/off and adjust temperature and flow as designed by the specific trim kit.
Refer to the instruction manual provided with your chosen Gerber trim kit for detailed operating procedures.
6. Maintenance
The Gerber GH-301 rough-in valve is designed for long-term, maintenance-free operation once properly installed. Regular maintenance primarily involves ensuring the integrity of the plumbing system around the valve.
- Leak Checks: Periodically check for any signs of water leaks around the valve area, especially if there is access to the wall cavity.
- Water Quality: In areas with hard water, mineral deposits can accumulate over time. If you experience reduced flow or difficulty in operating the trim kit, it may indicate a need for professional inspection or cartridge replacement (part of the trim kit, not the rough-in valve itself).
- Cleaning: The exposed parts of the trim kit should be cleaned regularly with a soft cloth and mild soap. Avoid abrasive cleaners or chemicals that could damage the finish.
7. Troubleshooting
Most issues related to a shower or bath valve are often associated with the trim kit or external plumbing, rather than the rough-in valve itself. However, here are some general troubleshooting tips:
| Problem | Possible Cause | Solution |
|---|---|---|
| No water flow or low pressure |
|
|
| Water leaks from valve area |
|
|
| Temperature control issues |
|
|
If troubleshooting steps do not resolve the issue, it is recommended to contact a qualified plumbing professional.
8. Specifications
| Feature | Detail |
|---|---|
| Model Number | GH-301 |
| Material | Brass |
| Item Dimensions (L x W x H) | 4 x 4 x 6 inches |
| Inlet Connection Size | 1.75 Inches |
| Inlet Connection Type | Sweat |
| Outlet Connection Type | Sweat |
| Number of Ports | 2 |
| Outlet Connection Size | 4 Inches |
| Item Weight | 3 pounds |
| UPC | 671052606887 |
9. Warranty and Support
Specific warranty information for the Gerber GH-301 Rough-In Valve was not provided in the product data. For details regarding warranty coverage, terms, and conditions, please refer to the official Gerber website or contact Gerber customer support directly.
For technical assistance or further inquiries, please visit the Gerber Brand Store or their official corporate website.
10. Official Product Videos
No official product videos from the seller were provided in the available product data for the Gerber GH-301 Rough-In Valve.


