
1. Introduction
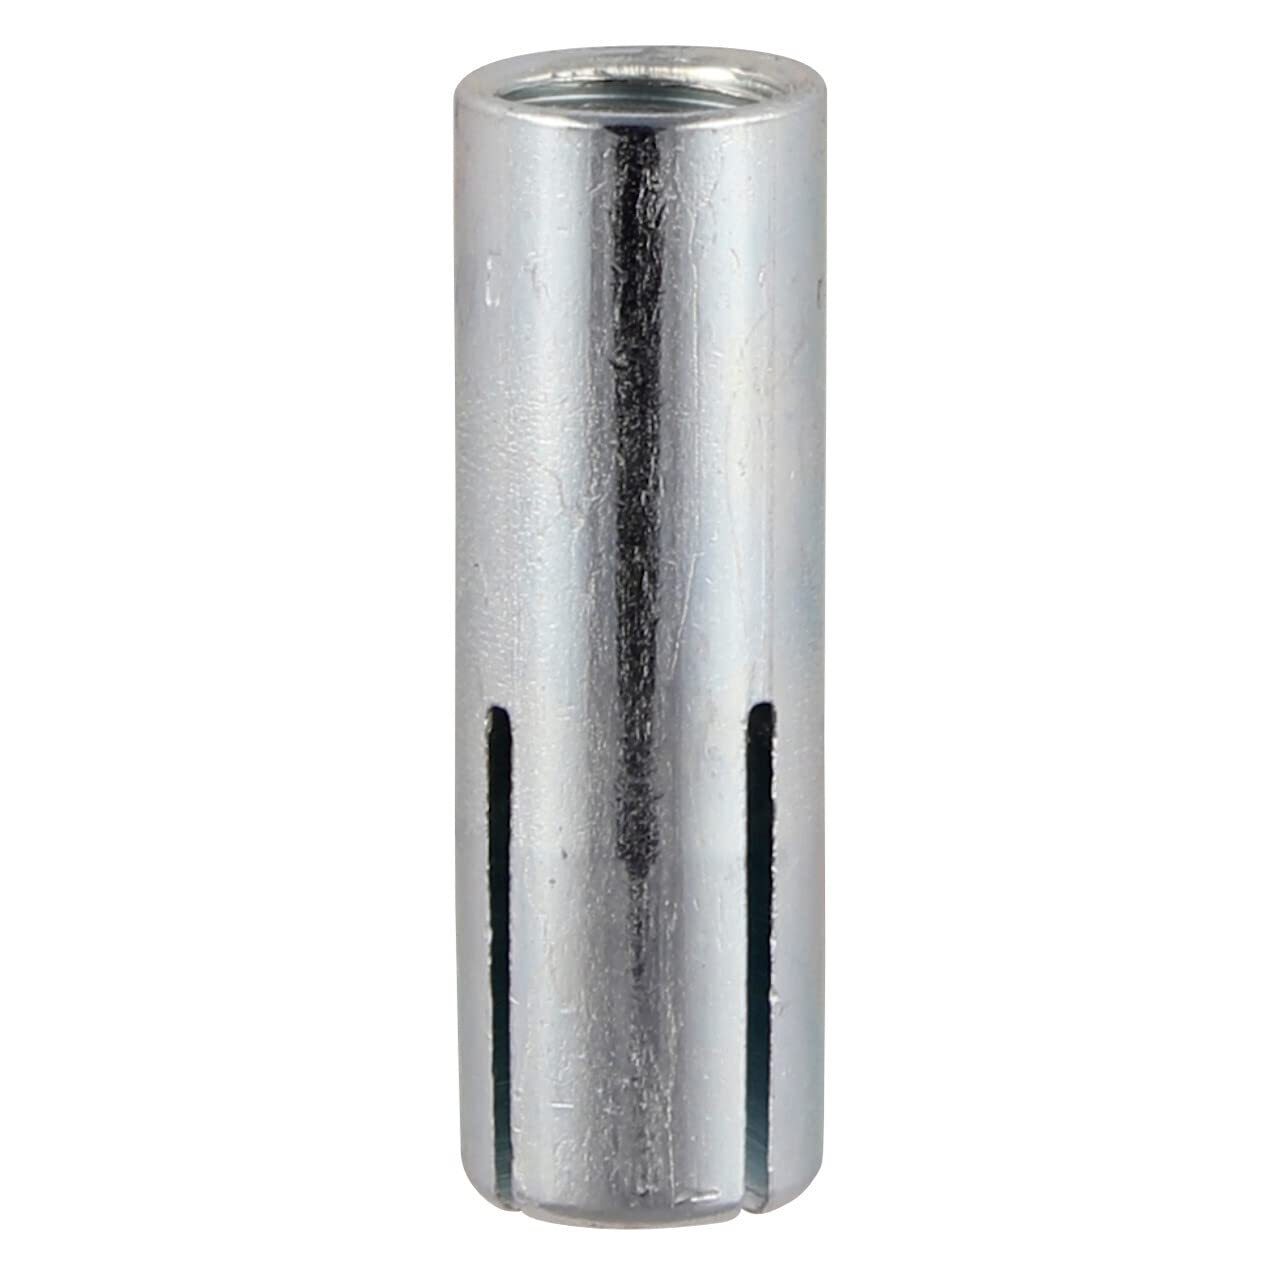
This manual provides essential instructions for the safe and effective installation and use of the TIMCO 10WA M10 Drop-In Anchor. The TIMCO 10WA is an internally threaded anchor designed for use in concrete, offering a secure fixing point for threaded rods and bolts. It features a quick hammer-set installation and is zinc plated for corrosion resistance.
Please read these instructions thoroughly before beginning any installation to ensure proper application and safety.
2. Safety Information
Always prioritize safety when working with tools and fasteners.
- Wear appropriate personal protective equipment (PPE), including safety glasses, gloves, and hearing protection.
- Ensure the concrete substrate is sound and free from cracks or damage before installation.
- Use the correct drill bit size and depth for the M10 anchor to ensure proper expansion and holding power.
- Do not overtighten the setting tool, as this can damage the anchor or the concrete.
- Keep children and unauthorized personnel away from the work area.
- Consult local building codes and regulations for specific requirements regarding anchor installation.
3. Setup and Installation
3.1 Tools Required
- Rotary hammer drill
- Carbide-tipped drill bit (correct diameter for M10 anchor)
- TIMCO M10 Setting Tool (specific to anchor size)
- Hammer
- Wire brush or air pump for hole cleaning
- Measuring tape and marker
3.2 Installation Steps
- Drill the Hole: Using a rotary hammer drill and the appropriate carbide-tipped drill bit, drill a hole into the concrete to the specified diameter and depth. Ensure the hole is perpendicular to the surface.
Image 1: Drilling a pilot hole into concrete.
This image illustrates the initial step of drilling a precise hole into the concrete substrate, which is crucial for the anchor's proper fit and performance.
- Clean the Hole: Thoroughly clean the drilled hole using a wire brush and/or an air pump to remove all dust and debris. A clean hole is essential for the anchor to achieve its full holding power.
- Insert the Anchor: Place the TIMCO 10WA Drop-In Anchor into the cleaned hole with the internally threaded end facing outwards. Ensure the anchor is flush with the concrete surface.
- Set the Anchor: Insert the TIMCO M10 Setting Tool into the anchor's internal threads. Strike the setting tool firmly with a hammer until the anchor's expansion cone is fully driven into the anchor body, expanding it against the concrete. You will feel a solid resistance when the anchor is properly set.
Image 2: A TIMCO 10WA M10 Drop-In Anchor being set into concrete using a setting tool and hammer.
This image depicts the critical step of setting the anchor. The setting tool is used to expand the anchor within the drilled hole, creating a secure and permanent fixture in the concrete.
- Attach Fixture: Once the anchor is set, you can attach your fixture using a threaded rod or bolt of the appropriate M10 size.
4. Operating
The TIMCO 10WA Drop-In Anchor provides a permanent, internally threaded fastening point in concrete. Once properly installed and set, it is ready to accept an M10 threaded rod or bolt. Ensure that the threaded rod or bolt is fully engaged with the anchor's threads and tightened to the recommended torque for your specific application, without overtightening. The anchor is designed to hold static and dynamic loads within its specified limits.
5. Maintenance
TIMCO Drop-In Anchors are designed for long-term, maintenance-free performance once correctly installed. However, periodic inspection of the attached fixture and the surrounding concrete is recommended, especially in environments subject to vibration, extreme temperatures, or corrosive elements.
- Check for any signs of loosening, corrosion, or damage to the anchor or the attached bolt/rod.
- Ensure the concrete around the anchor remains sound and free from cracks.
- Do not exceed the anchor's specified load capacity.
6. Troubleshooting
- Anchor not setting properly:
- Ensure the hole is drilled to the correct diameter and depth.
- Verify the hole is thoroughly cleaned of all debris.
- Confirm you are using the correct TIMCO M10 Setting Tool for the anchor size.
- Apply firm, direct hammer blows to the setting tool.
- Anchor spins in hole:
- This indicates the anchor is not properly expanded. Remove the anchor if possible and re-drill the hole, ensuring correct diameter and cleanliness, then re-install with proper setting.
- The hole might be too large.
- Difficulty inserting threaded rod/bolt:
- Check for debris in the anchor's internal threads.
- Ensure the threaded rod/bolt is M10 size and has clean threads.
7. Specifications
| Model Number: | 10WA |
| Thread Size: | M10 |
| Fastener Type: | Drop-In Anchor |
| Material: | Low Carbon Steel |
| Exterior Finish: | Zinc Plated and Passivated |
| Head Type: | Flush |
| Number of Pieces: | 50 (per box) |
| Item Weight: | 3.88 ounces (individual anchor weight not specified, assuming box weight or average) |
| Product Dimensions: | 19.69 x 19.69 x 19.69 inches (packaging dimensions) |
Note: Always refer to the manufacturer's technical data sheet for detailed load capacities and specific installation parameters for your application.
8. Warranty
Specific warranty information for the TIMCO 10WA M10 Drop-In Anchor is not provided in this manual. For details regarding product warranty, please refer to the original purchase documentation or contact TIMCO directly through their official website or customer service channels.
9. Support
For technical assistance, product inquiries, or further support regarding the TIMCO 10WA M10 Drop-In Anchor, please contact TIMCO customer service.
- Manufacturer: TIMco
- Website: www.timco.co.uk (Example link, actual link may vary)
- Contact Information: Refer to the manufacturer's website for the most current contact details, including phone numbers and email addresses.