
1. Product Overview
The Whirlpool WP8572976 is a genuine replacement timer designed for specific Whirlpool, Estate, and Inglis washing machine models. This component controls the various cycles and functions of the washer, ensuring proper operation of wash, rinse, and spin cycles.
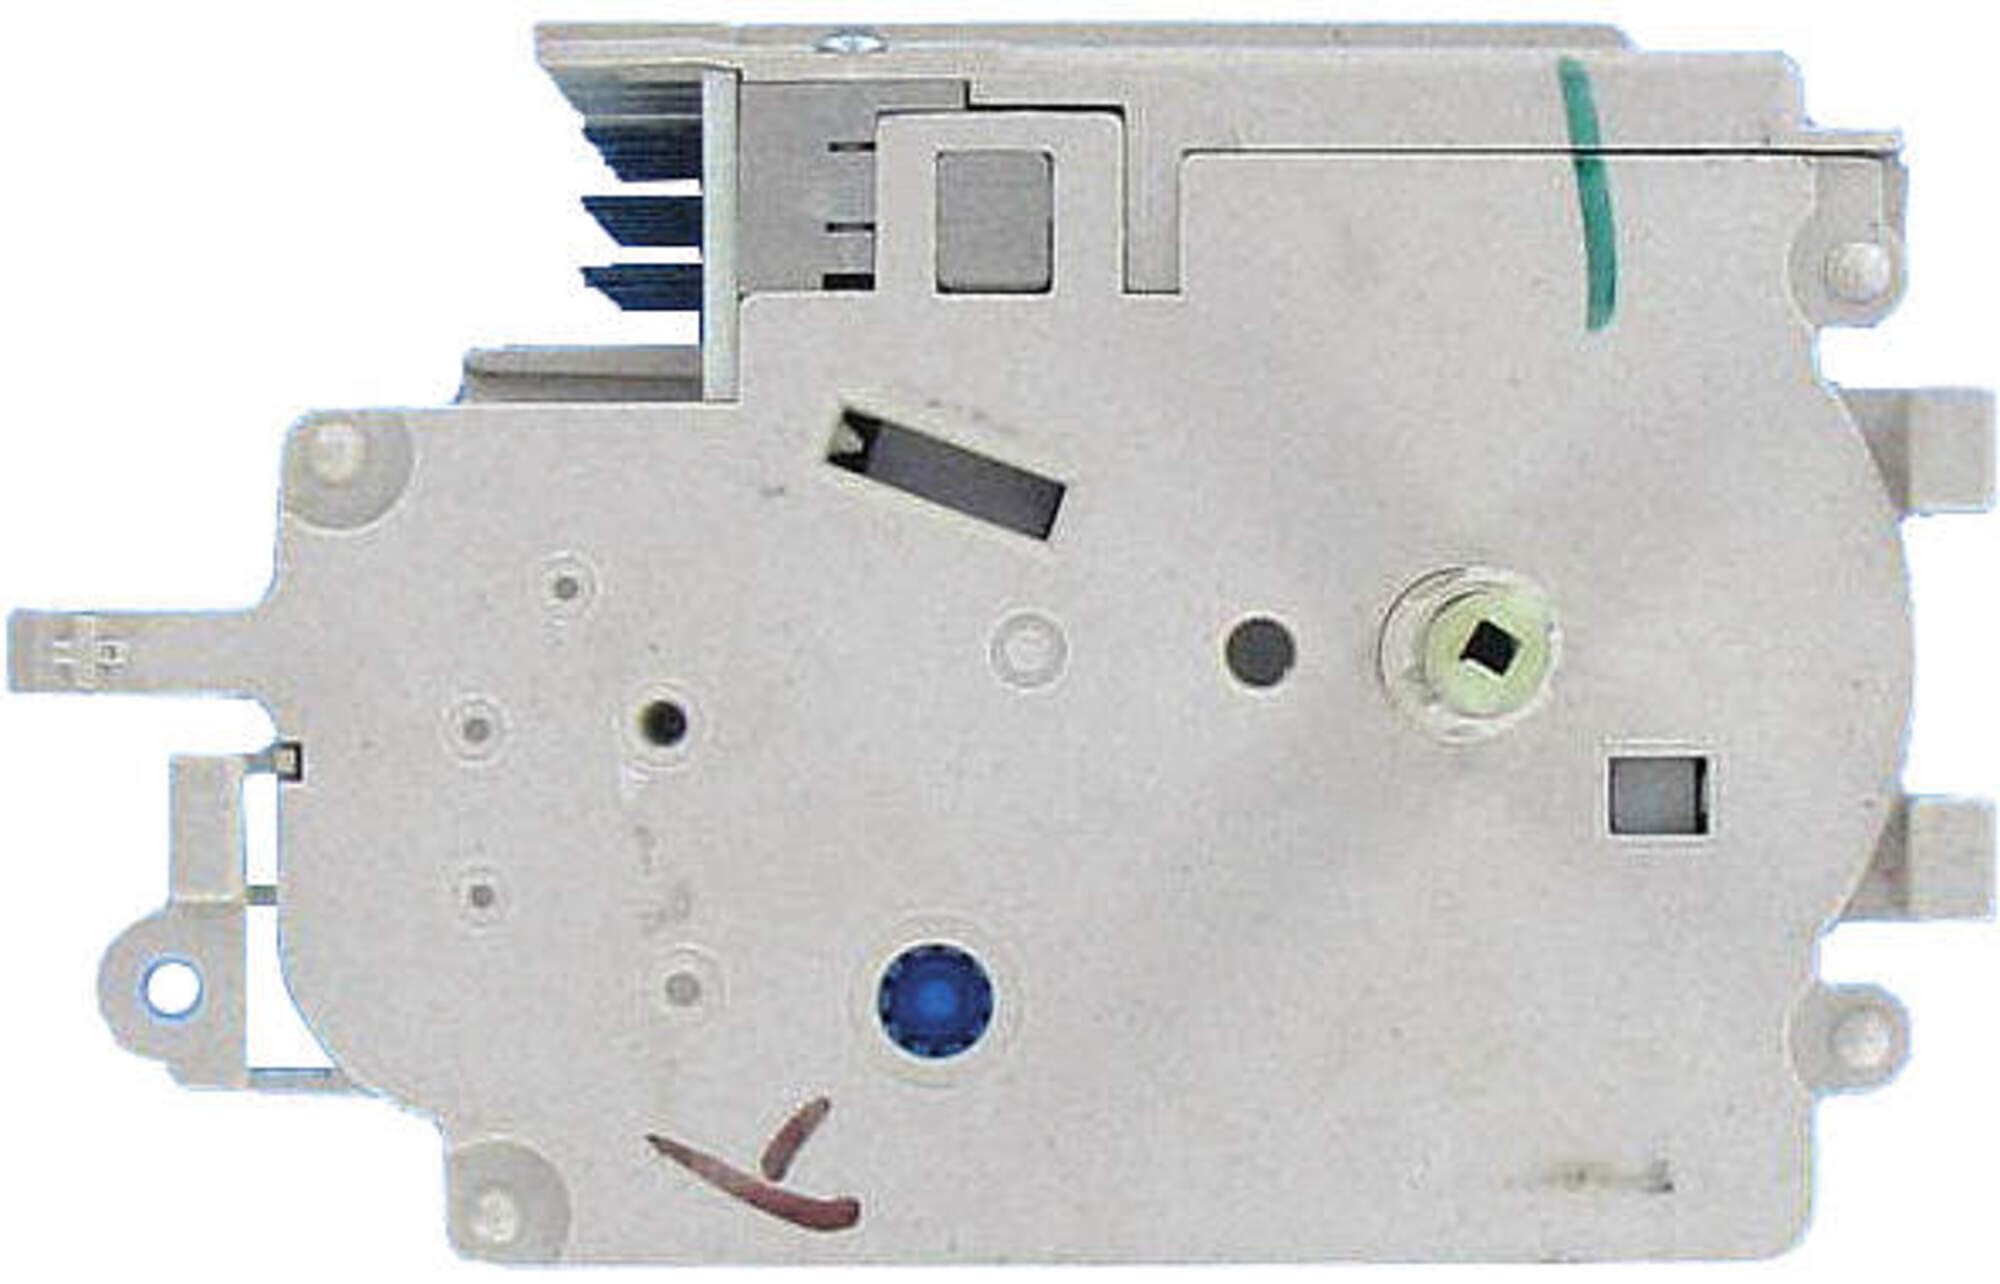
Image showing the Whirlpool WP8572976 washer timer, a compact electronic component with multiple wire terminals.

This image displays a range of Whirlpool home appliances, highlighting the brand's product line.
2. Safety Information
Before beginning any installation or repair, please read and understand all safety precautions. Failure to follow these instructions could result in personal injury or property damage.
- Disconnect Power: Always disconnect the appliance from its electrical power supply before attempting any repairs or installation.
- Water Supply: Turn off the water supply to the washer before starting work.
- Personal Protective Equipment: Wear appropriate personal protective equipment, such as gloves and eye protection, to prevent injury.
- Professional Assistance: If you are unsure about any step or lack the necessary tools or expertise, consult a qualified appliance technician.
- Sharp Edges: Be aware of sharp edges and components inside the appliance.
3. Package Contents
- One (1) Whirlpool WP8572976 Washer Timer
4. Installation Instructions
These instructions are general guidelines. Specific steps may vary depending on your washing machine model. Refer to your appliance's service manual for detailed instructions.
Tools Required:
- Screwdrivers (Phillips and flathead)
- Nut drivers or socket set
- Pliers
- Camera or labels for wire identification
Procedure:
- Preparation: Ensure the washer is disconnected from the electrical power outlet and the water supply is turned off.
- Accessing the Timer: Depending on your washer model, you may need to remove the control panel, back panel, or top cover to gain access to the timer assembly. Consult your washer's specific service manual for access instructions.
- Disconnecting the Old Timer: Carefully observe and document the wiring connections to the old timer. Use a camera to take photos or apply labels to each wire before disconnecting them. This will ensure correct reassembly.
- Removing the Old Timer: Unscrew or unclip the old timer from its mounting bracket. Note its orientation.
- Installing the New Timer: Position the new Whirlpool WP8572976 timer in the same location and orientation as the old one. Secure it firmly with the original screws or clips.
- Connecting Wires: Reconnect all wires to the new timer according to your documentation (photos/labels). Ensure all connections are secure and properly seated.
- Reassembly: Reattach any panels or covers that were removed during the process. Ensure all fasteners are tightened.
- Restore Power and Test: Restore the water supply and reconnect the washer to the electrical power outlet. Run a short test cycle to ensure the new timer functions correctly and the washer advances through its cycles as expected.
5. Operation
The WP8572976 timer is an internal component that regulates the wash, rinse, and spin cycles of your washing machine. Once installed, its operation is integrated with the washer's control panel. Users select desired wash settings (e.g., cycle type, water temperature), and the timer automatically manages the sequence and duration of each stage of the wash cycle based on the selection.
6. Maintenance
The Whirlpool WP8572976 timer is a sealed electronic unit and does not require routine maintenance or lubrication. If the timer malfunctions, it typically requires replacement rather than repair. Keep the area around the washer clean and free of debris to prevent potential issues with other components.
7. Troubleshooting
If your washing machine exhibits symptoms of a faulty timer after installation, consider the following:
- Washer Does Not Start: Ensure the washer door/lid is fully closed and latched. Verify the power supply is connected and the circuit breaker has not tripped.
- Cycles Do Not Advance: If the washer stops mid-cycle or does not progress to the next stage, the timer may be faulty or incorrectly wired. Double-check all electrical connections to the timer.
- Incorrect Cycle Duration: If wash cycles are unusually long or short, it could indicate a timer issue.
- No Agitation/Spin: While other components can cause these issues, a malfunctioning timer can prevent these functions from engaging.
If troubleshooting steps do not resolve the issue, it is recommended to consult a qualified appliance technician for diagnosis and repair.
8. Specifications
| Part Number | WP8572976 (8572976) |
| Brand | Whirlpool |
| Material | Multi-Material |
| Product Dimensions | 1"D x 5"W x 5"H |
| Item Weight | 50 Pounds |
| Number of Settings | 15 |
| UPC | 048172031842 |
9. Compatible Models
The Whirlpool WP8572976 timer is compatible with the following washing machine models:
- Whirlpool 1CWTW5100VQ0
- Estate ETW4300TQ0
- Whirlpool ETW4400VQ0
- Whirlpool ETW4400VQ1
- Whirlpool ETW4400VQ2
- Inglis ITW4300SQ
10. Warranty and Support
Warranty Information:
This product is sold without an explicit warranty. Please refer to the retailer's return policy for details on returns or exchanges.
Customer Support:
For technical assistance, troubleshooting guidance, or further inquiries regarding Whirlpool products, please visit the official Whirlpool Brand Store or contact Whirlpool customer service directly.


