
1. Introduction
This manual provides essential information for the safe and efficient operation of your AEG HK 955070 X-B Induction Cooktop. Please read these instructions carefully before installation and use, and retain them for future reference.
2. Safety Information
Always adhere to local regulations and safety standards during installation and use. This appliance is intended for domestic use only. Keep children away from the appliance during operation. Do not store flammable materials near the cooktop.
- Ensure proper ventilation.
- Do not touch hot surfaces.
- Disconnect power before cleaning or maintenance.
- Use only induction-compatible cookware.
3. Product Overview
The AEG HK 955070 X-B is an advanced induction cooktop featuring five cooking zones, electronic displays, and an OptiFit stainless steel frame. Key features include automatic cooking functions, Stop & Go, an eco timer, a short timer, and OptiHeat control.

Figure 3.1: Top view of the AEG HK 955070 X-B Induction Cooktop, showing five cooking zones and touch controls.
3.1. Control Panel
The cooktop features intuitive touch controls located at the front. Each cooking zone has its own electronic display for precise power level adjustments and timer settings.
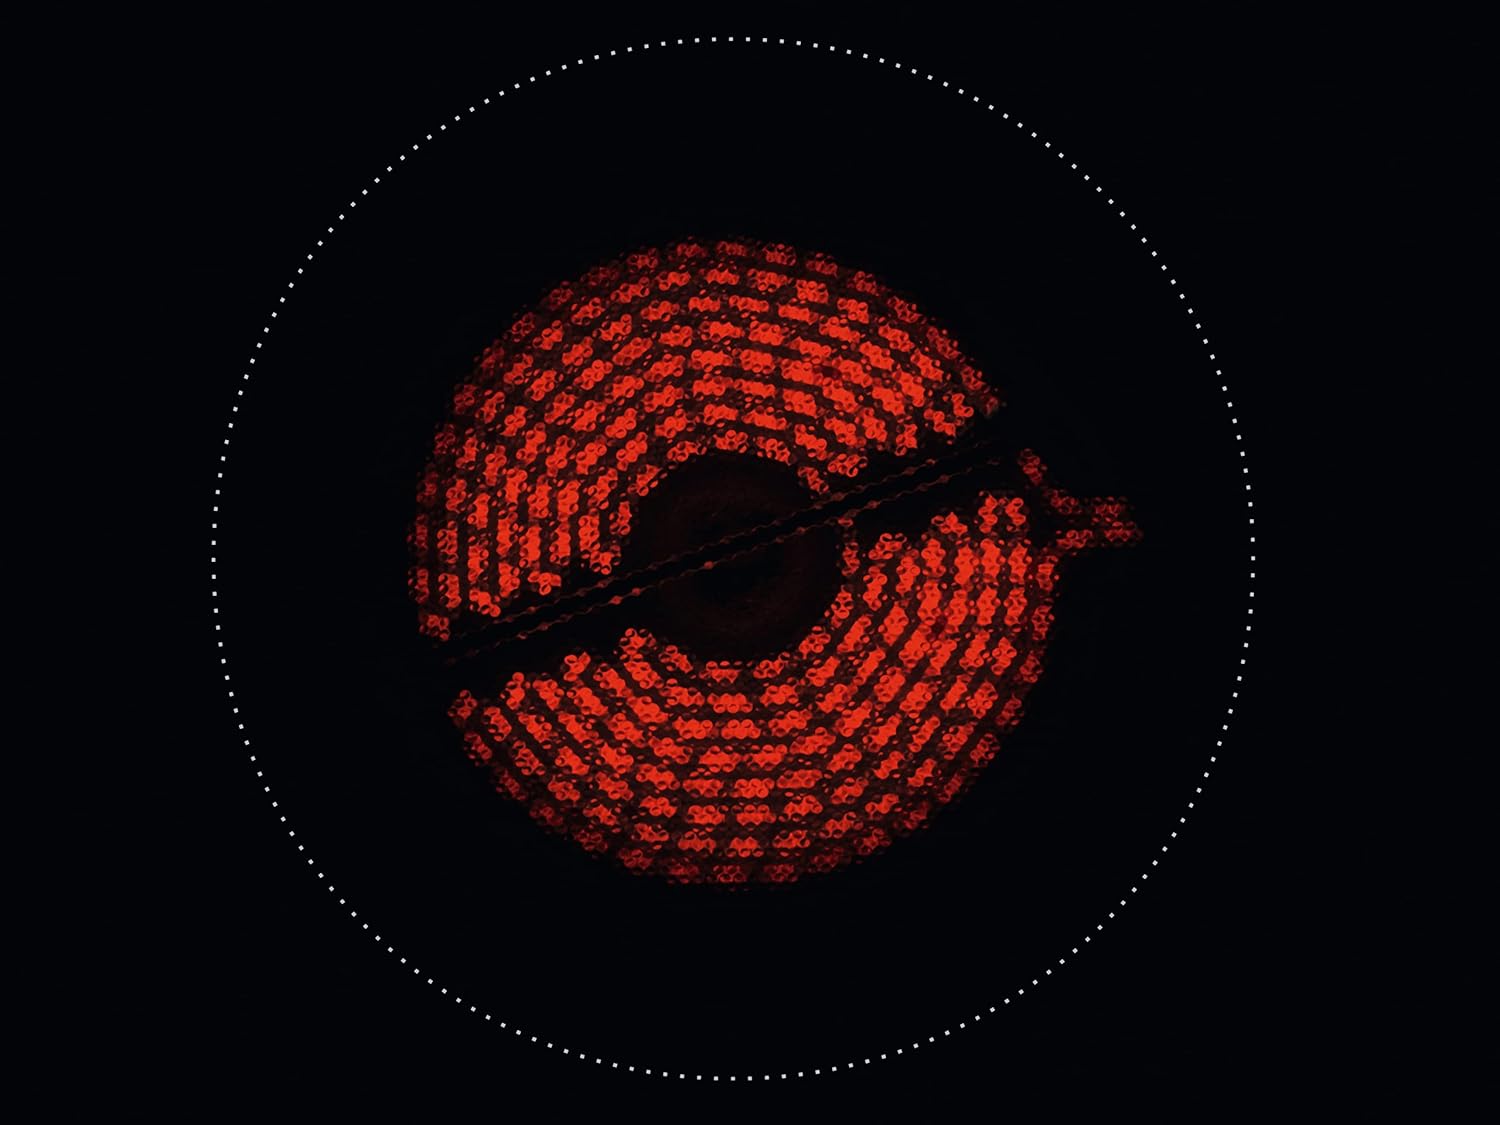
Figure 3.2: Close-up of the cooktop's touch control panel, displaying power levels and timer options.
3.2. Cooking Zones
The cooktop is equipped with various cooking zones to accommodate different pot sizes and cooking needs.

Figure 3.3: A standard circular induction cooking zone, suitable for round pots and pans.

Figure 3.4: An oval-shaped bridge cooking zone, designed for larger or elongated cookware like griddle pans.
4. Setup and Installation
Installation must be performed by a qualified technician in accordance with all local codes and regulations. Ensure adequate clearance around the appliance as shown in the installation diagram.

Figure 4.1: Installation diagram showing dimensions and minimum clearance requirements for the cooktop. Dimensions are in millimeters.
4.1. Electrical Connection
The appliance requires a 230 Volt electrical supply. Refer to the wiring diagram provided with the appliance for correct connection. Ensure the power supply is disconnected before making any electrical connections.
4.2. Countertop Cut-out
Prepare a countertop cut-out according to the dimensions specified in Figure 4.1. Ensure the countertop material is heat-resistant and stable.
5. Operating Instructions
5.1. Turning On/Off
Press the main power button to turn the cooktop on or off. The electronic displays will illuminate upon activation.
5.2. Selecting a Cooking Zone and Power Level
- Place an induction-compatible pan on the desired cooking zone.
- Touch the corresponding cooking zone selector on the control panel.
- Adjust the power level using the '+' and '-' touch controls or by sliding your finger along the power level indicator. Power levels typically range from 1 (low) to 9 (high).
5.3. Special Functions
- Automatic Cooking: This function automatically adjusts the power level during the cooking process. Refer to the full manual for specific programs.
- Stop & Go: Temporarily pauses the cooking process on all active zones. Touch the Stop & Go button to pause and resume.
- Eco Timer: Sets a timer that automatically switches off the cooking zone after a set duration, optimizing energy consumption.
- Short Timer: A general-purpose timer that can be set for various kitchen tasks, independent of cooking zones.
- OptiHeat Control: An indicator that shows the residual heat of the cooking zones after they have been switched off, promoting safety and energy efficiency.
6. Maintenance and Cleaning
Regular cleaning ensures optimal performance and extends the lifespan of your cooktop. Always ensure the cooktop is cool and disconnected from the power supply before cleaning.
- Wipe the glass surface with a soft cloth and a non-abrasive cleaner.
- For stubborn stains, use a specialized ceramic hob scraper.
- Avoid using harsh chemicals, abrasive sponges, or steam cleaners.
- Clean the stainless steel frame with a damp cloth and mild detergent.
7. Troubleshooting
If you encounter issues with your cooktop, consult the following table before contacting service.
| Problem | Possible Cause | Solution |
|---|---|---|
| Cooktop does not turn on. | No power supply; main power switch off. | Check circuit breaker; ensure cooktop is plugged in and main power is on. |
| Cooking zone not heating. | Incorrect cookware; pan not centered; safety cut-out activated. | Use induction-compatible cookware; center pan; allow cooktop to cool if overheated. |
| Display shows an error code. | Specific fault detected. | Refer to the full product manual for a list of error codes and their solutions. If the problem persists, contact customer service. |
8. Specifications
| Feature | Detail |
|---|---|
| Brand | AEG |
| Model Number | 949 595 020 |
| Product Dimensions (Overall) | Approx. 896 x 516 mm (W x D) for installation. (Note: The provided product dimensions of 0.39 x 0.39 x 0.39 inches are likely incorrect for the full unit.) |
| Item Weight | 22 pounds |
| Burner Type | Induction |
| Heating Elements | 5 |
| Material Type | Glass Ceramic |
| Color | Grey |
| Voltage | 230 Volts |
| Wattage | 98 watts (Note: This wattage may refer to control power; total heating power is typically higher. Consult product label for full power consumption.) |
| Fuel Type | Electric |
| Special Features | Automatic cooking, Stop & Go functional eco timer, OptiHeat control |
9. Warranty and Support
For warranty information and customer support, please refer to the warranty card included with your product or visit the official AEG website. Keep your proof of purchase for warranty claims.
AEG Customer Service: For technical assistance or service requests, please contact AEG customer support through their official channels.


