
Introduction
The SeKi Slim Universal Programmable Remote Control is designed for simplified control of your infrared audio-video devices. With its large, easy-to-press buttons and learning functionality, it can replace your existing infrared remote control, making operation straightforward for users of all ages.
Key Features:
- Extra-large individual buttons for enhanced usability.
- Only 6 essential function buttons for a clutter-free experience.
- Very easy to use and program.
- Universal compatibility with TV, video players, audio players, or stereo devices.
- Capable of replacing any infrared remote control.
Product Overview
The SeKi Slim remote control features a minimalist design with six primary buttons: Power, Channel Up, Channel Down, Volume Up, Volume Down, and AV/Input. Its ergonomic shape and large buttons ensure comfortable and intuitive handling.
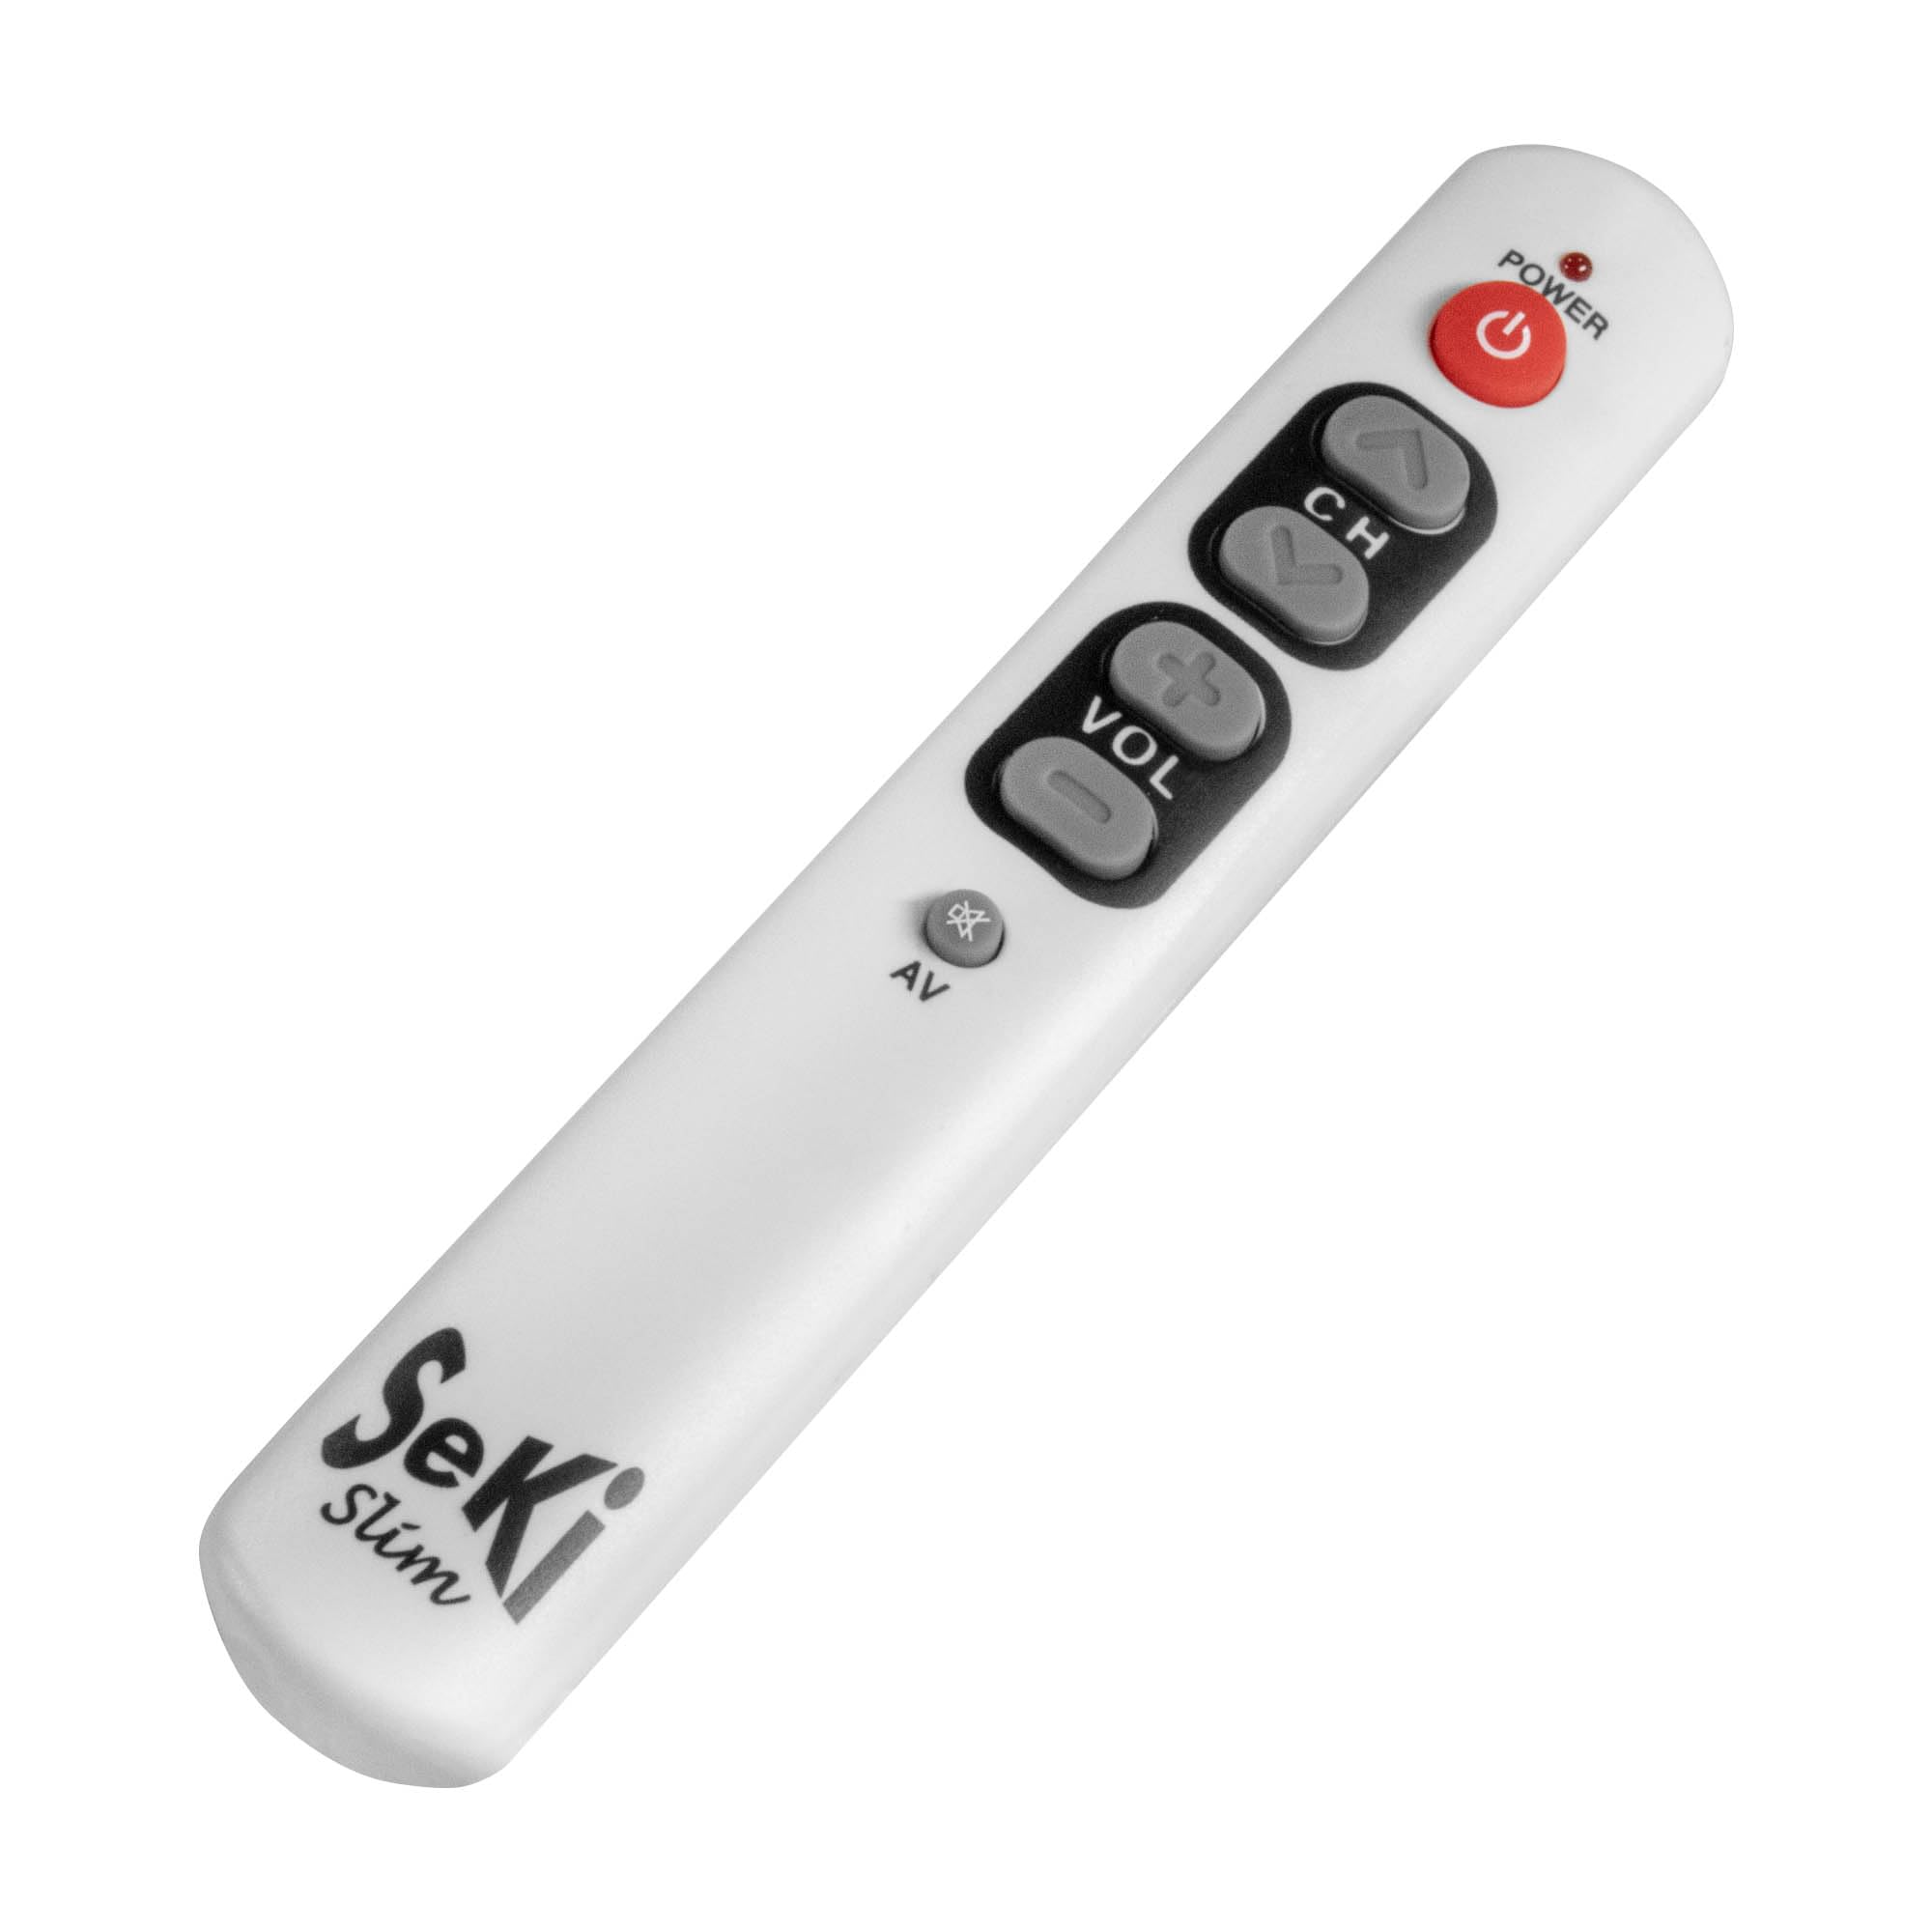
Image: Front view of the white SeKi Slim Universal Remote Control, showcasing its large, clearly labeled buttons for Power, Channel, Volume, and AV input.

Image: An angled view of the white SeKi Slim Universal Remote Control, highlighting its sleek profile and button layout.
Setup
1. Battery Installation
The SeKi Slim remote control requires two AAA batteries (not included). Ensure correct polarity when inserting the batteries.
- Locate the battery compartment cover on the back of the remote control.
- Slide the cover downwards or press the latch to open it.
- Insert two AAA batteries, matching the (+) and (-) terminals as indicated inside the compartment.
- Replace the battery compartment cover, ensuring it clicks securely into place.

Image: An open battery compartment of a SeKi Slim remote control, showing where to insert AAA batteries.
2. Programming Instructions (Learning Function)
The SeKi Slim remote control learns commands directly from your original infrared remote control. You will need your original remote control for this process.
- Place the SeKi Slim remote control and your original remote control face-to-face, with their infrared emitters aligned and a few centimeters apart.
- Simultaneously press and hold the ON/OFF button and the CH (Channel Up) button on the SeKi Slim remote. The indicator light on the SeKi remote will flash rapidly.
- Release both buttons. The indicator light will now be steady, indicating it is in learning mode.
- Press the button on the SeKi Slim remote that you wish to program (e.g., Power). The indicator light will start flashing slowly.
- Press and hold the corresponding button on your original remote control (e.g., its Power button). The indicator light on the SeKi Slim remote will flash rapidly three times and then become steady, indicating successful programming.
- After the light becomes steady, press the same button on the SeKi Slim remote again to confirm and save the setting for that button. The indicator light will turn off.
- Repeat steps 4-6 for each button you wish to program (Channel Up, Channel Down, Volume Up, Volume Down, AV/Input).
- Once all desired buttons are programmed, press the ON/OFF button and the CH (Channel Up) button simultaneously again to exit learning mode. The indicator light will turn off.
Note: All buttons on the SeKi Slim remote are programmable. Programming remains stored even if you remove the batteries.

Image: A diagram illustrating how to program the SeKi Slim remote by aligning it with an original remote and transferring infrared signals.
Operating Instructions
After successful programming, point the SeKi Slim remote control towards your device (e.g., TV) and press the desired button. The remote will send the learned infrared signal to control the device.
- Power Button: Turns your device on or off.
- CH Buttons (Up/Down): Changes channels on your TV or set-top box.
- VOL Buttons (Up/Down): Adjusts the volume of your device.
- AV Button: Switches between input sources (e.g., TV, HDMI 1, HDMI 2).
Maintenance
Cleaning:
To clean the remote control, wipe it with a soft, dry cloth. Do not use abrasive cleaners, solvents, or harsh chemicals, as these may damage the surface or internal components.
Battery Replacement:
When the remote control's performance diminishes or the indicator light does not respond as expected, it may be time to replace the batteries. Follow the battery installation steps in the Setup section to replace the two AAA batteries.
Troubleshooting
- Remote not responding:
- Check if the batteries are inserted correctly and are not depleted. Replace if necessary.
- Ensure there are no obstructions between the remote and the device.
- Verify that the remote is pointed directly at the device's infrared receiver.
- Buttons not working after programming:
- Repeat the programming steps carefully for the problematic button. Ensure the original remote's signal is strong and stable during the learning process.
- Make sure the original remote's batteries are not low during programming.
- Ensure the distance between the two remotes is correct (a few centimeters) and they are properly aligned.
- Indicator light not flashing during programming:
- Ensure you are pressing the ON/OFF and CH (Channel Up) buttons simultaneously and holding them until the light flashes rapidly.
- Check battery status.
Specifications
| Brand | SeKi |
| Model Name | SLIM |
| Model Number | 81674 |
| Color | White |
| Connectivity Technology | Infrared |
| Compatible Devices | Television, Video Players, Audio Players, Stereo Devices |
| Number of Buttons | 6 |
| Controller Type | Button Control |
| Maximum Range | 10 Meters |
| Power Source | 2 x AAA Batteries (not included) |
| Item Weight | 60 Grams |
| Item Dimensions (L x W x H) | 17.4 x 2.9 x 2 cm |
| Country of Origin | China |

Image: A technical diagram illustrating the dimensions of the SeKi Slim remote control in millimeters.
Support
For further assistance or inquiries, please refer to the official SeKi website or contact their customer support. Keep your product model number (81674) and ASIN (B004W3O63S) handy when seeking support.
Official SeKi Website: www.seki.de


