
Introduction
This manual provides essential information for the safe and correct installation and use of the LASCO Model 406-025 2-1/2 inch Slip 90-Degree PVC Elbow. Please read these instructions thoroughly before beginning any installation to ensure proper function and longevity of the fitting.
Safety Information
Adhere to all local plumbing codes and safety regulations during installation. Failure to follow safety guidelines can result in injury or property damage.
- Always wear appropriate personal protective equipment, including safety glasses and gloves, when cutting PVC pipe and handling PVC primer and cement.
- Work in a well-ventilated area when using PVC primer and cement, as fumes can be harmful.
- Keep PVC primer and cement away from open flames, sparks, and heat sources.
- Ensure the system is depressurized and drained before cutting into existing piping.
- Keep all tools and materials out of reach of children.
Product Overview
The LASCO 406-025 is a Schedule 40 PVC 90-degree elbow designed for joining two sections of 2-1/2 inch PVC pipe at a 90-degree angle. This fitting utilizes slip connections, requiring PVC primer and cement for a secure, watertight seal. It is suitable for various non-pressure and pressure applications, including plumbing, irrigation, and drainage systems.
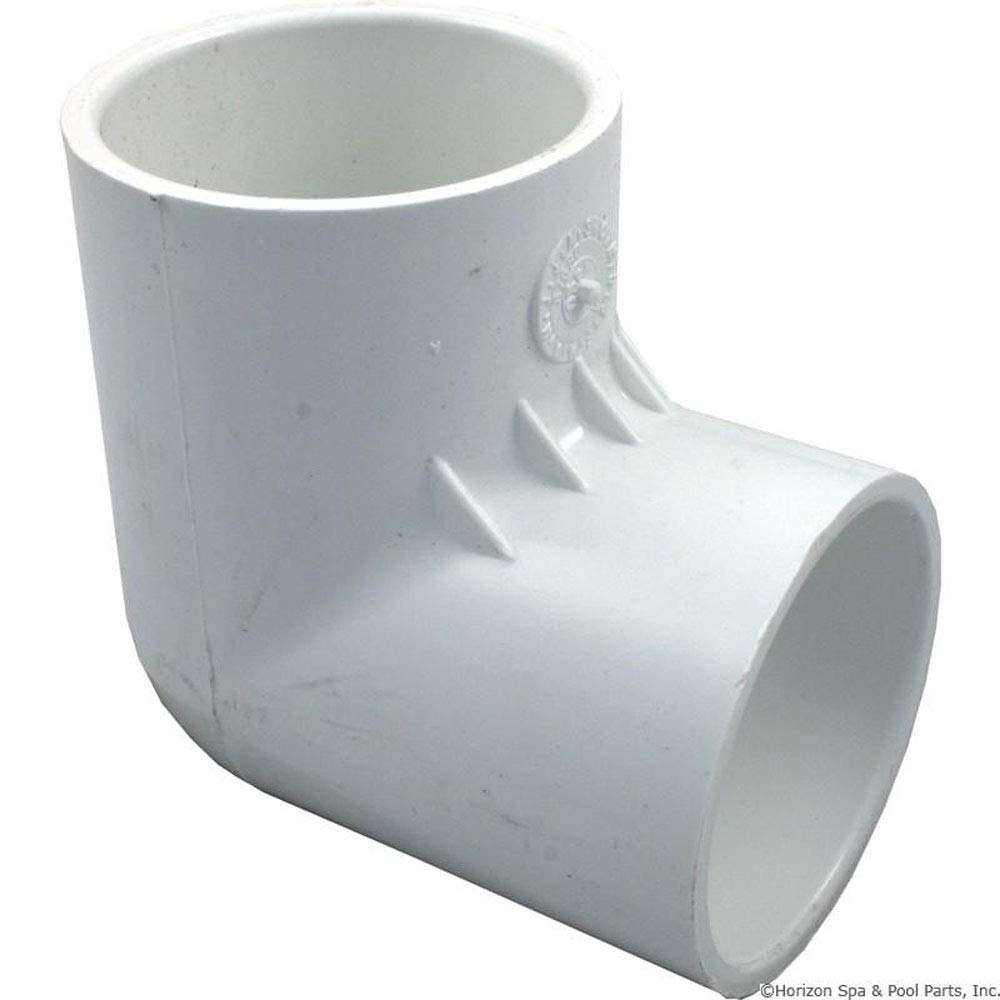
Image: The LASCO 406-025 2-1/2 inch slip 90-degree PVC elbow, showing its white PVC construction and two slip ends for pipe insertion.
Installation Instructions (Setup)
Proper installation is critical for a leak-free connection. Follow these steps carefully:
- Prepare Pipe Ends: Cut the PVC pipe to the desired length using a fine-tooth saw or PVC cutter. Ensure cuts are square and burr-free. Chamfer the outside edge of the pipe end slightly to ease insertion and prevent scraping cement.
- Dry Fit: Insert the pipe into the fitting socket without primer or cement. The pipe should fit snugly, going about one-third to two-thirds of the way into the socket. If the fit is too loose or too tight, adjust the pipe or fitting as necessary.
- Clean Surfaces: Use a clean, dry cloth to wipe away any dirt, grease, or moisture from the pipe ends and the inside of the fitting sockets.
- Apply Primer: Apply a liberal coat of PVC primer to the outside of the pipe end and the inside of the fitting socket. The primer softens the PVC surface, preparing it for the cement. Work quickly, as primer dries fast.
- Apply Cement: Immediately after priming, apply an even, heavy coat of PVC solvent cement to the outside of the pipe end and a medium coat to the inside of the fitting socket. Ensure complete coverage.
- Join Pipe and Fitting: While the cement is still wet, quickly insert the pipe into the fitting socket, rotating the pipe a quarter turn (90 degrees) to distribute the cement evenly. Push the pipe firmly until it bottoms out in the socket.
- Hold in Place: Hold the joint firmly for at least 30 seconds to prevent the pipe from pushing out of the fitting.
- Wipe Excess: Wipe off any excess cement from the exterior of the joint with a clean cloth.
- Curing Time: Allow the joint to cure according to the cement manufacturer's recommendations before handling or pressurizing the system. Curing times vary based on temperature, humidity, and pipe size.
Intended Use (Operating)
The LASCO 406-025 PVC elbow is a static component designed to redirect fluid flow within a PVC piping system. Once properly installed and cured, it requires no active operation. Ensure the system's operating pressure and temperature do not exceed the ratings for Schedule 40 PVC pipe and fittings.
Maintenance
PVC fittings generally require minimal maintenance. Periodically inspect all joints for any signs of leaks, cracks, or damage. If damage is observed, the affected section should be replaced immediately following the installation instructions.
Troubleshooting
- Leaks at Joint:
- Cause: Insufficient primer/cement, improper application, inadequate curing time, or pipe not fully inserted.
- Solution: The joint cannot be repaired once cured. The leaking section must be cut out and replaced with new pipe and fittings, ensuring proper installation techniques are followed.
- Fitting Cracks:
- Cause: Excessive stress on the joint, impact damage, or exposure to incompatible chemicals.
- Solution: Replace the cracked fitting and ensure proper support for the piping system to prevent undue stress. Verify chemical compatibility if applicable.
Specifications
| Attribute | Detail |
|---|---|
| Model Number | 406-025 |
| Brand | LASCO |
| Material | Polyvinyl Chloride (PVC) |
| Connector Type | 90-Degree Elbow, Slip |
| Thread Size / Pipe Size | 2.5 inch (2-1/2 inch) |
| Schedule | Schedule 40 (ASTM D-2466) |
| Color | White |
| Item Dimensions (L x W x H) | 8.2 x 5.5 x 3.7 inches |
| Item Weight | 11.2 ounces (0.7 Pounds) |
| UPC / GTIN | 025528723743 |

