1. Product Overview
The RIDGID 12238 12R T2 Ratchet Head is designed for manual pipe threading applications. This component is intended to be used with compatible RIDGID die heads and handles (sold separately) to create precise threads on various pipe materials. Its robust construction ensures durability and reliable performance in demanding work environments.
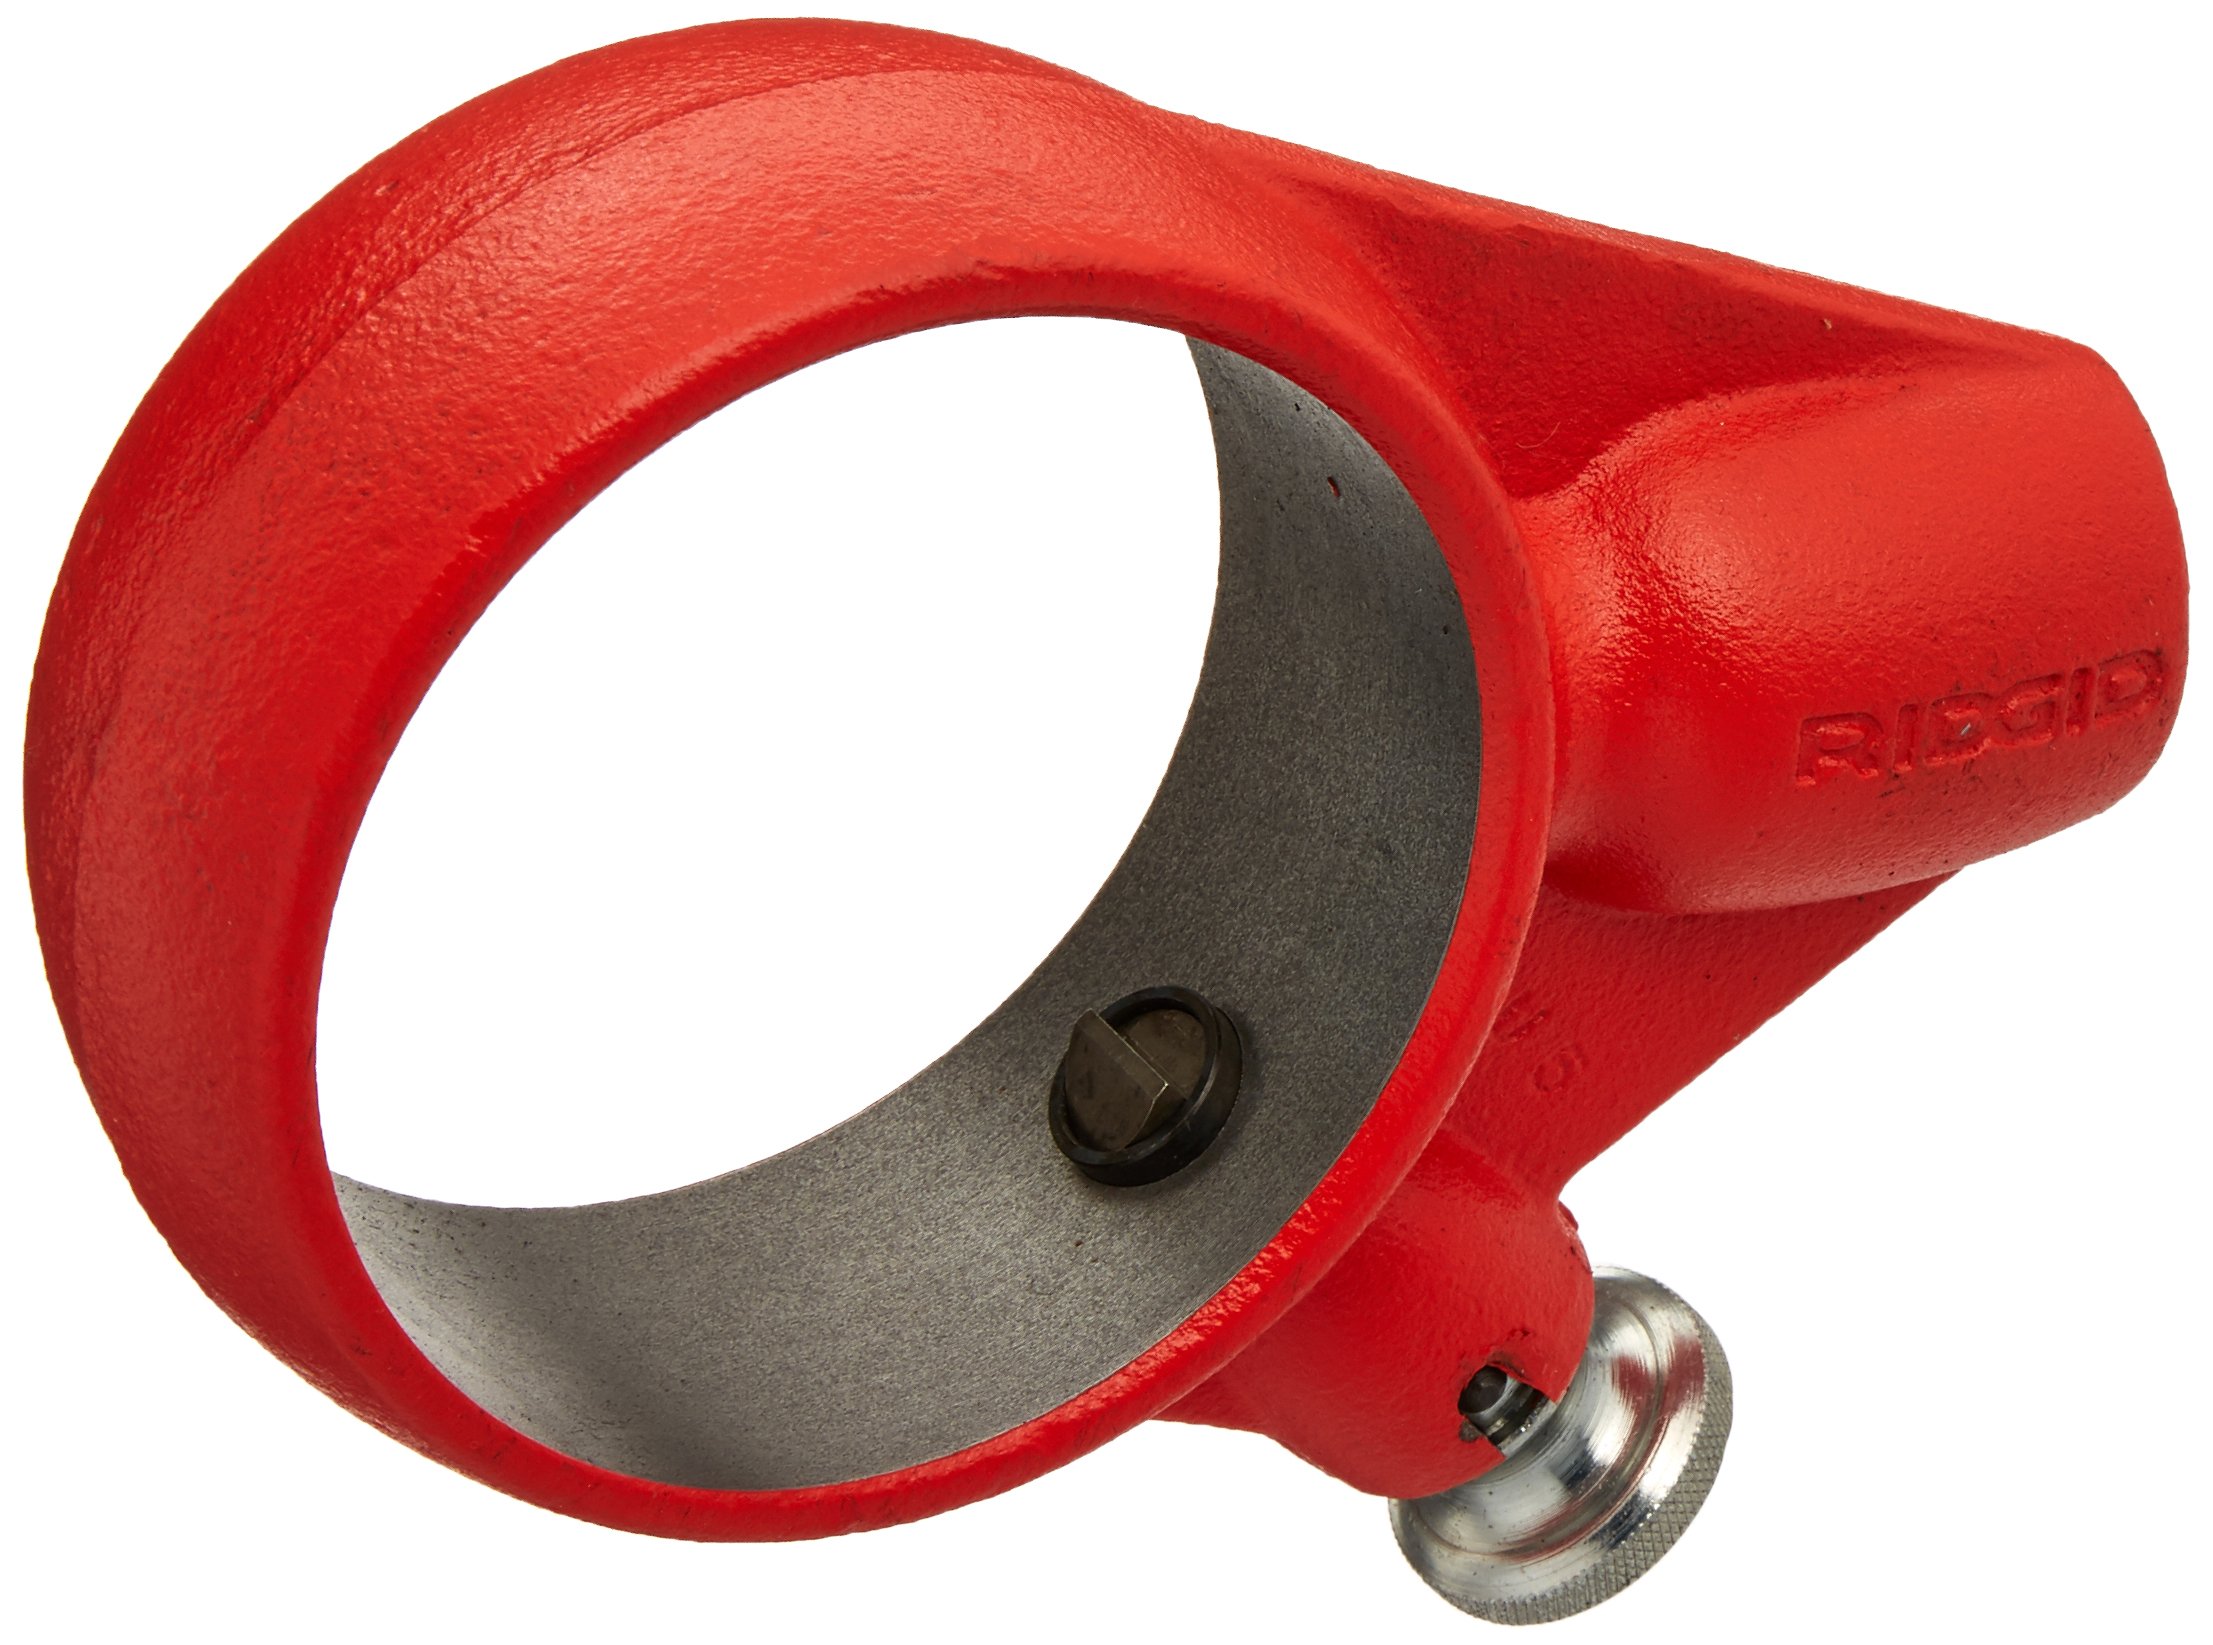
Image 1.1: The RIDGID 12238 12R T2 Ratchet Head, a key component for manual pipe threading.
1.1 Package Contents
- 1 x RIDGID 12238 12R T2 Ratchet Head
Note: Compatible die heads and handles are sold separately and are required for operation.
2. Setup
Before beginning any threading operation, ensure all components are clean and free from damage. Proper setup is crucial for safe and effective use.
2.1 Attaching the Die Head
- Select the appropriate RIDGID die head for the pipe size and thread type you intend to create.
- Align the die head with the opening on the front of the 12R T2 Ratchet Head.
- Slide the die head into the ratchet head until it seats firmly. Ensure the locking mechanism (if present on the die head) engages securely.
- Verify that the die head is properly seated and cannot easily be pulled out.
2.2 Attaching the Handle
- Insert the square drive end of a compatible RIDGID handle into the square opening at the rear of the ratchet head.
- Ensure the handle is fully inserted and provides a stable connection for applying torque.

Image 2.1: Close-up view of the RIDGID 12238 12R T2 Ratchet Head, showing the internal mechanism and connection points for die heads and handles.
3. Operating Instructions
Follow these steps for safe and effective pipe threading using the RIDGID 12238 12R T2 Ratchet Head.
3.1 Preparing the Pipe
- Cut the pipe to the desired length, ensuring a clean, square cut.
- Ream the inside of the pipe to remove any burrs that could obstruct flow or damage the die.
- Chamfer the outside edge of the pipe to facilitate easier starting of the die.
- Securely clamp the pipe in a vise or pipe stand to prevent rotation during threading.
3.2 Threading Procedure
- Apply a generous amount of high-quality threading oil to the pipe end and the die chasers. This is critical for reducing friction, dissipating heat, and producing clean threads.
- Place the assembled ratchet head and die head onto the end of the pipe, ensuring the die chasers are properly aligned with the pipe's chamfered edge.
- Apply firm, steady pressure to the handle while rotating the ratchet head clockwise (for right-hand threads). The ratchet mechanism allows for back-and-forth motion of the handle while the die head continues to rotate in one direction.
- Continue to apply threading oil throughout the process, especially as the die cuts deeper into the pipe.
- Thread until the pipe end is flush with the face of the die head, or to the desired thread length.
- To remove the die head, reverse the ratchet direction (if applicable) or carefully unscrew the die head counter-clockwise from the pipe.
- Clean the newly cut threads and inspect for quality.
4. Maintenance
Regular maintenance ensures the longevity and optimal performance of your RIDGID 12238 12R T2 Ratchet Head.
- Cleaning: After each use, clean the ratchet head thoroughly to remove metal shavings, dirt, and excess threading oil. Use a stiff brush and a suitable cleaning solvent if necessary.
- Lubrication: Periodically apply a light machine oil to the internal ratchet mechanism to ensure smooth operation. Do not over-lubricate, as this can attract debris.
- Inspection: Regularly inspect the ratchet head for any signs of wear, damage, or loose components. Pay close attention to the square drive opening and the die head seating area.
- Storage: Store the ratchet head in a clean, dry environment, protected from moisture and extreme temperatures.
5. Troubleshooting
This section addresses common issues encountered during the use of the RIDGID 12238 12R T2 Ratchet Head.
- Difficulty Starting Threads:
- Ensure the pipe end is properly chamfered.
- Verify the die chasers are sharp and not worn.
- Apply sufficient initial pressure while rotating.
- Poor Thread Quality (Rough, Torn Threads):
- Use ample, high-quality threading oil throughout the process.
- Check if die chasers are dull or damaged and replace if necessary.
- Ensure the pipe is securely clamped and not moving.
- Avoid excessive speed during threading.
- Ratchet Mechanism Not Engaging:
- Inspect for debris or hardened oil within the mechanism. Clean and lubricate as per maintenance instructions.
- If damage is suspected, discontinue use and contact RIDGID service.
6. Specifications
| Feature | Detail |
|---|---|
| Model Number | 12238 |
| Part Number | 12238 |
| Item Weight | 2 pounds |
| Product Dimensions | 4 x 4 x 1 inches |
| Manufacturer | StandardPlumbing: Kohler |
| Head Style | Bugle |
| Color | White (Note: Product image shows red, this may refer to packaging or a different component. The ratchet head itself is typically red.) |
| Date First Available | January 13, 2011 |
Note: Specifications are subject to change without notice.
7. Warranty and Support
RIDGID products are known for their quality and durability. For specific warranty information regarding your 12238 12R T2 Ratchet Head, please refer to the official RIDGID warranty policy available on their website or contact RIDGID customer service directly.
RIDGID Customer Support:
- Visit the official RIDGID website for product registration, FAQs, and contact information.
- Contact their technical support team for assistance with product operation, maintenance, or troubleshooting beyond the scope of this manual.
Always use genuine RIDGID replacement parts and accessories to maintain product integrity and warranty.