
1. Product Overview
The Lorell Dry-Erase Board, model LLR55651, is designed for various indoor applications, including office, classroom, and home use. It features a durable laminated styrene surface and a sturdy aluminum frame, ensuring longevity and resistance to daily wear.

Image: Front view of the Lorell Dry-Erase Board, 36"W x 24"H, with an aluminum frame and black corner protectors.
Key Features:
- Laminated styrene surface for smooth writing and easy erasing.
- Sturdy aluminum frame designed for durability.
- Resistant to scratching and ghosting for a clear writing surface over time.
- Equipped with a four-corner mounting system for secure installation.
- Includes a marker tray for convenient storage of writing tools.
2. Setup and Installation
This dry-erase board is designed for wall mounting. The package includes all necessary mounting hardware and a marker tray for attachment.
2.1 Unpacking
Carefully remove the dry-erase board and all components from its packaging. Inspect for any damage during transit. Retain packaging materials until installation is complete.
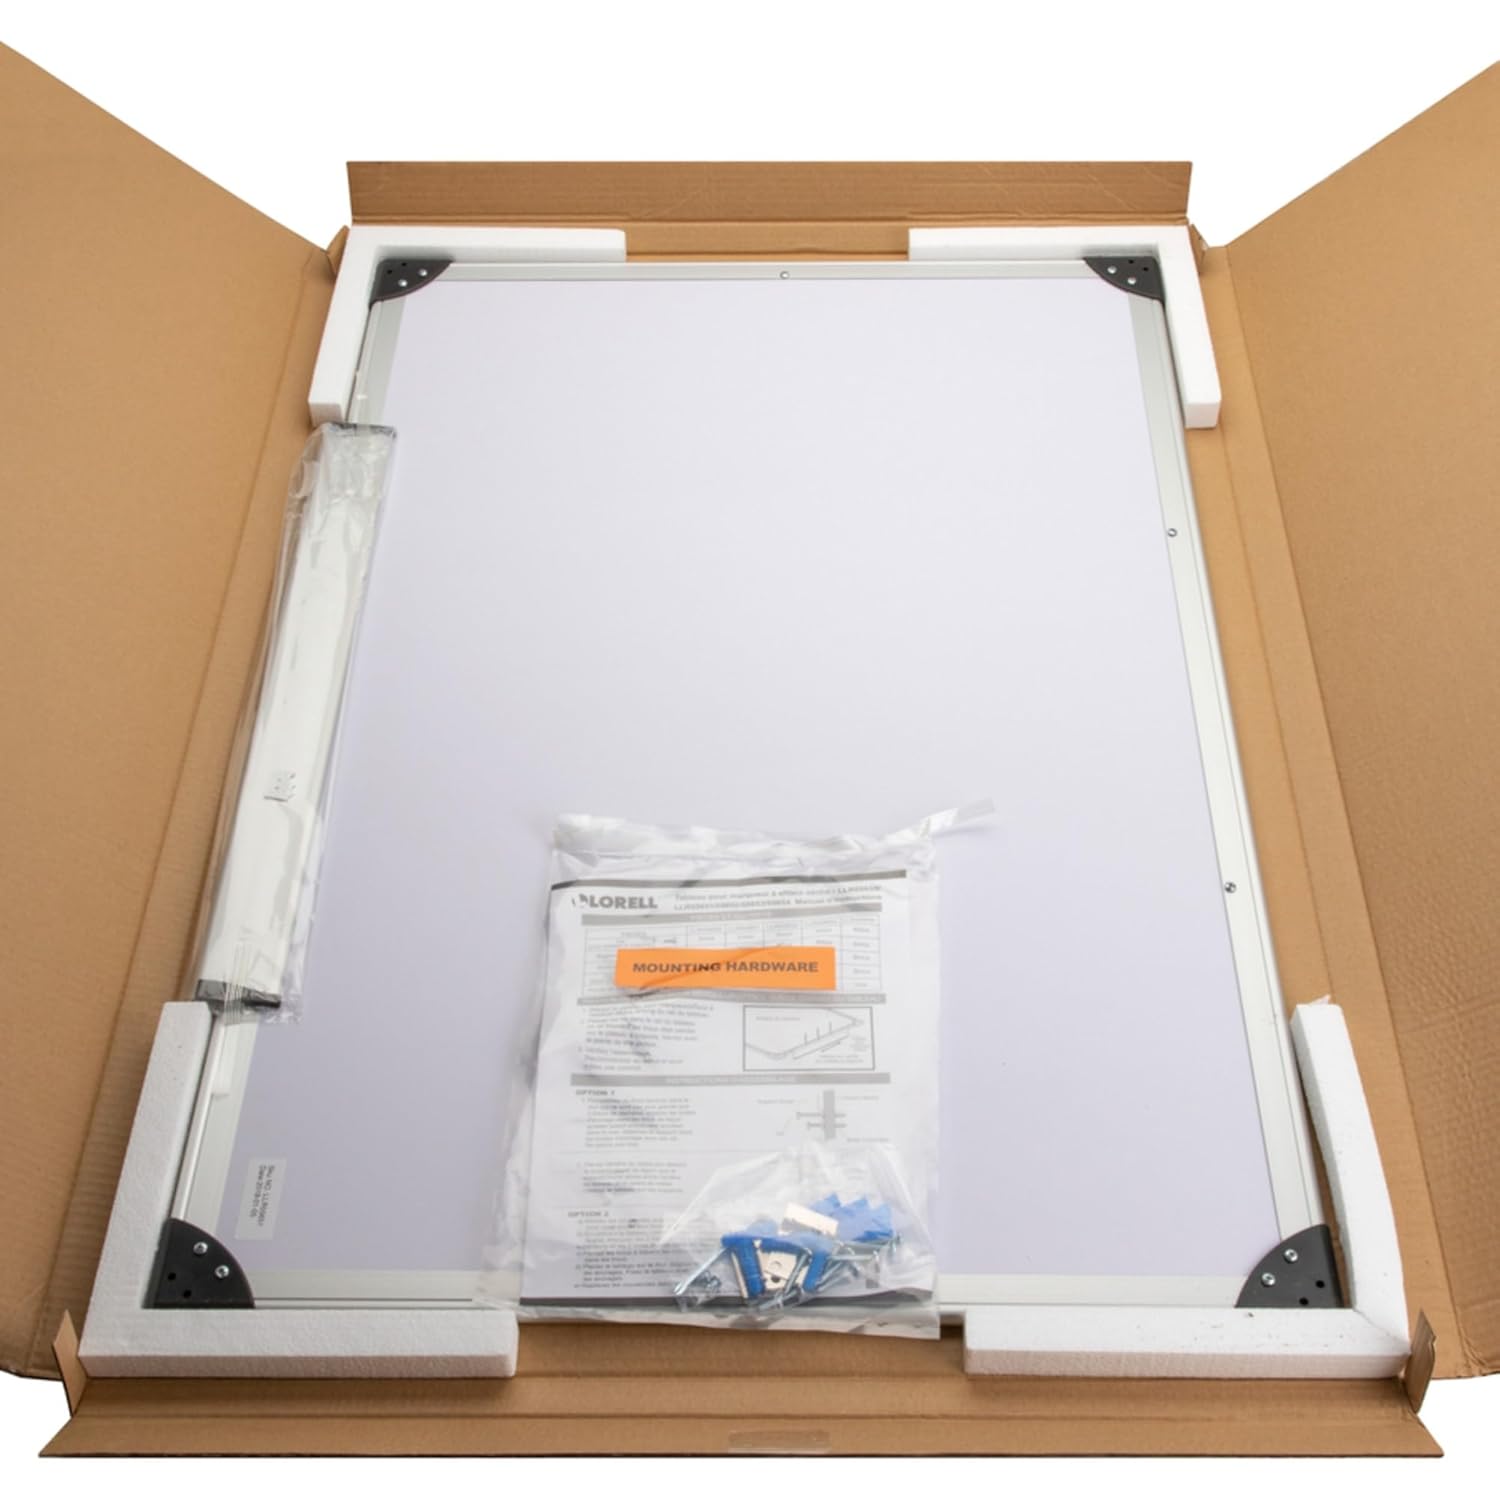
Image: The Lorell Dry-Erase Board unboxed, showing the board, mounting hardware in a plastic bag, and the marker tray.
2.2 Mounting the Dry-Erase Board
- Select Location: Choose a suitable wall location, ensuring it is level and free from obstructions.
- Mark Mounting Points: Use a pencil to mark the desired positions for the four-corner mounting system. Ensure the marks are level and correspond to the board's dimensions.
- Install Mounting Hardware: Drill pilot holes at the marked points. Insert wall anchors if mounting into drywall. Secure the mounting brackets or screws provided into the wall.
- Hang the Board: Carefully align the board with the installed mounting hardware and secure it in place. Ensure the board is stable and flush against the wall.
2.3 Attaching the Marker Tray
The marker tray is designed to be attached to the bottom frame of the dry-erase board.
- Position Tray: Align the marker tray with the bottom edge of the board's aluminum frame.
- Secure Tray: Use the provided screws to attach the marker tray to the pre-drilled holes on the underside of the board's frame. A Phillips head screwdriver is typically required.
3. Operation
Using your Lorell Dry-Erase Board is straightforward. Follow these guidelines for optimal performance.
3.1 Writing on the Board
- Use only dry-erase markers specifically designed for whiteboards.
- Avoid using permanent markers, oil-based markers, or other non-dry-erase writing instruments, as these may permanently stain the surface.
3.2 Erasing the Board
- Use a dedicated dry-erase eraser or a soft, clean cloth to remove markings.
- Erase promptly after writing to prevent ghosting or residue buildup.
4. Care and Maintenance
Proper care ensures the longevity and pristine condition of your dry-erase board.
4.1 Regular Cleaning
- For daily cleaning, use a dry-erase eraser or a soft, lint-free cloth.
- If residue or ghosting appears, use a dry-erase board cleaner spray or a damp cloth with mild soap and water. Wipe the surface thoroughly and dry immediately with a clean cloth.
- Avoid abrasive cleaners or scouring pads, as these can damage the board's surface.
4.2 Stain Removal
- For stubborn marks or accidental permanent marker use, apply a small amount of rubbing alcohol to a soft cloth and gently wipe the affected area. Immediately clean with a dry-erase board cleaner or damp cloth afterward.
5. Troubleshooting
| Problem | Possible Cause | Solution |
|---|---|---|
| Marks are difficult to erase or leave residue (ghosting). |
|
|
| Board surface appears dull or stained. |
|
|
6. Product Specifications
| Feature | Detail |
|---|---|
| Brand | Lorell |
| Model Number | LLR55651 |
| Dimensions (W x H) | 36"W x 24"H |
| Material | Laminated Styrene Surface, Aluminum Frame |
| Color | White (surface), Aluminum (frame) |
| Mounting Type | Wall Mount (four-corner system) |
| Included Components | Dry-Erase Board, Marker Tray, Mounting Hardware |
| Item Weight | 4.32 Pounds |
| UPC | 035255556514 |
7. Warranty Information
The Lorell Dry-Erase Board, model LLR55651, comes with a 5-Year Warranty. This warranty covers defects in materials and workmanship under normal use. Please retain your proof of purchase for warranty claims.
For specific terms and conditions, please refer to the warranty documentation included with your product or contact Lorell customer service.
8. Customer Support
If you encounter any issues or have questions regarding your Lorell Dry-Erase Board that are not addressed in this manual, please contact Lorell customer support.
Please have your model number (LLR55651) and purchase information ready when contacting support.