
1. Introduction
This manual provides essential information for the safe and efficient use of your Gorenje GV63424XV built-in dishwasher. Please read these instructions carefully before installation, operation, or maintenance to ensure optimal performance and to prevent damage or injury. Keep this manual for future reference.
2. Safety Instructions
Always follow basic safety precautions when using electrical appliances to reduce the risk of fire, electric shock, or injury. Ensure the appliance is properly grounded. Do not allow children to play with or in the dishwasher. Do not touch the heating element during or immediately after use. Use only detergents and rinse aids specifically designed for automatic dishwashers.
3. Product Overview
The Gorenje GV63424XV is a built-in dishwasher designed for efficient dish cleaning. Key features include:
- Built-in water softener filter: Helps to reduce limescale buildup and improve washing results, especially in hard water areas.
- Half-load program: Optimizes water and energy consumption for smaller loads.
- Self-cleaning filter: Simplifies maintenance by automatically cleaning the filter during operation.

Figure 3.1: Interior view of the Gorenje GV63424XV dishwasher, showing racks and spray arms.
4. Setup and Installation
The Gorenje GV63424XV is a built-in appliance and requires professional installation. Ensure the installation space meets the specified dimensions and that proper water and electrical connections are available.
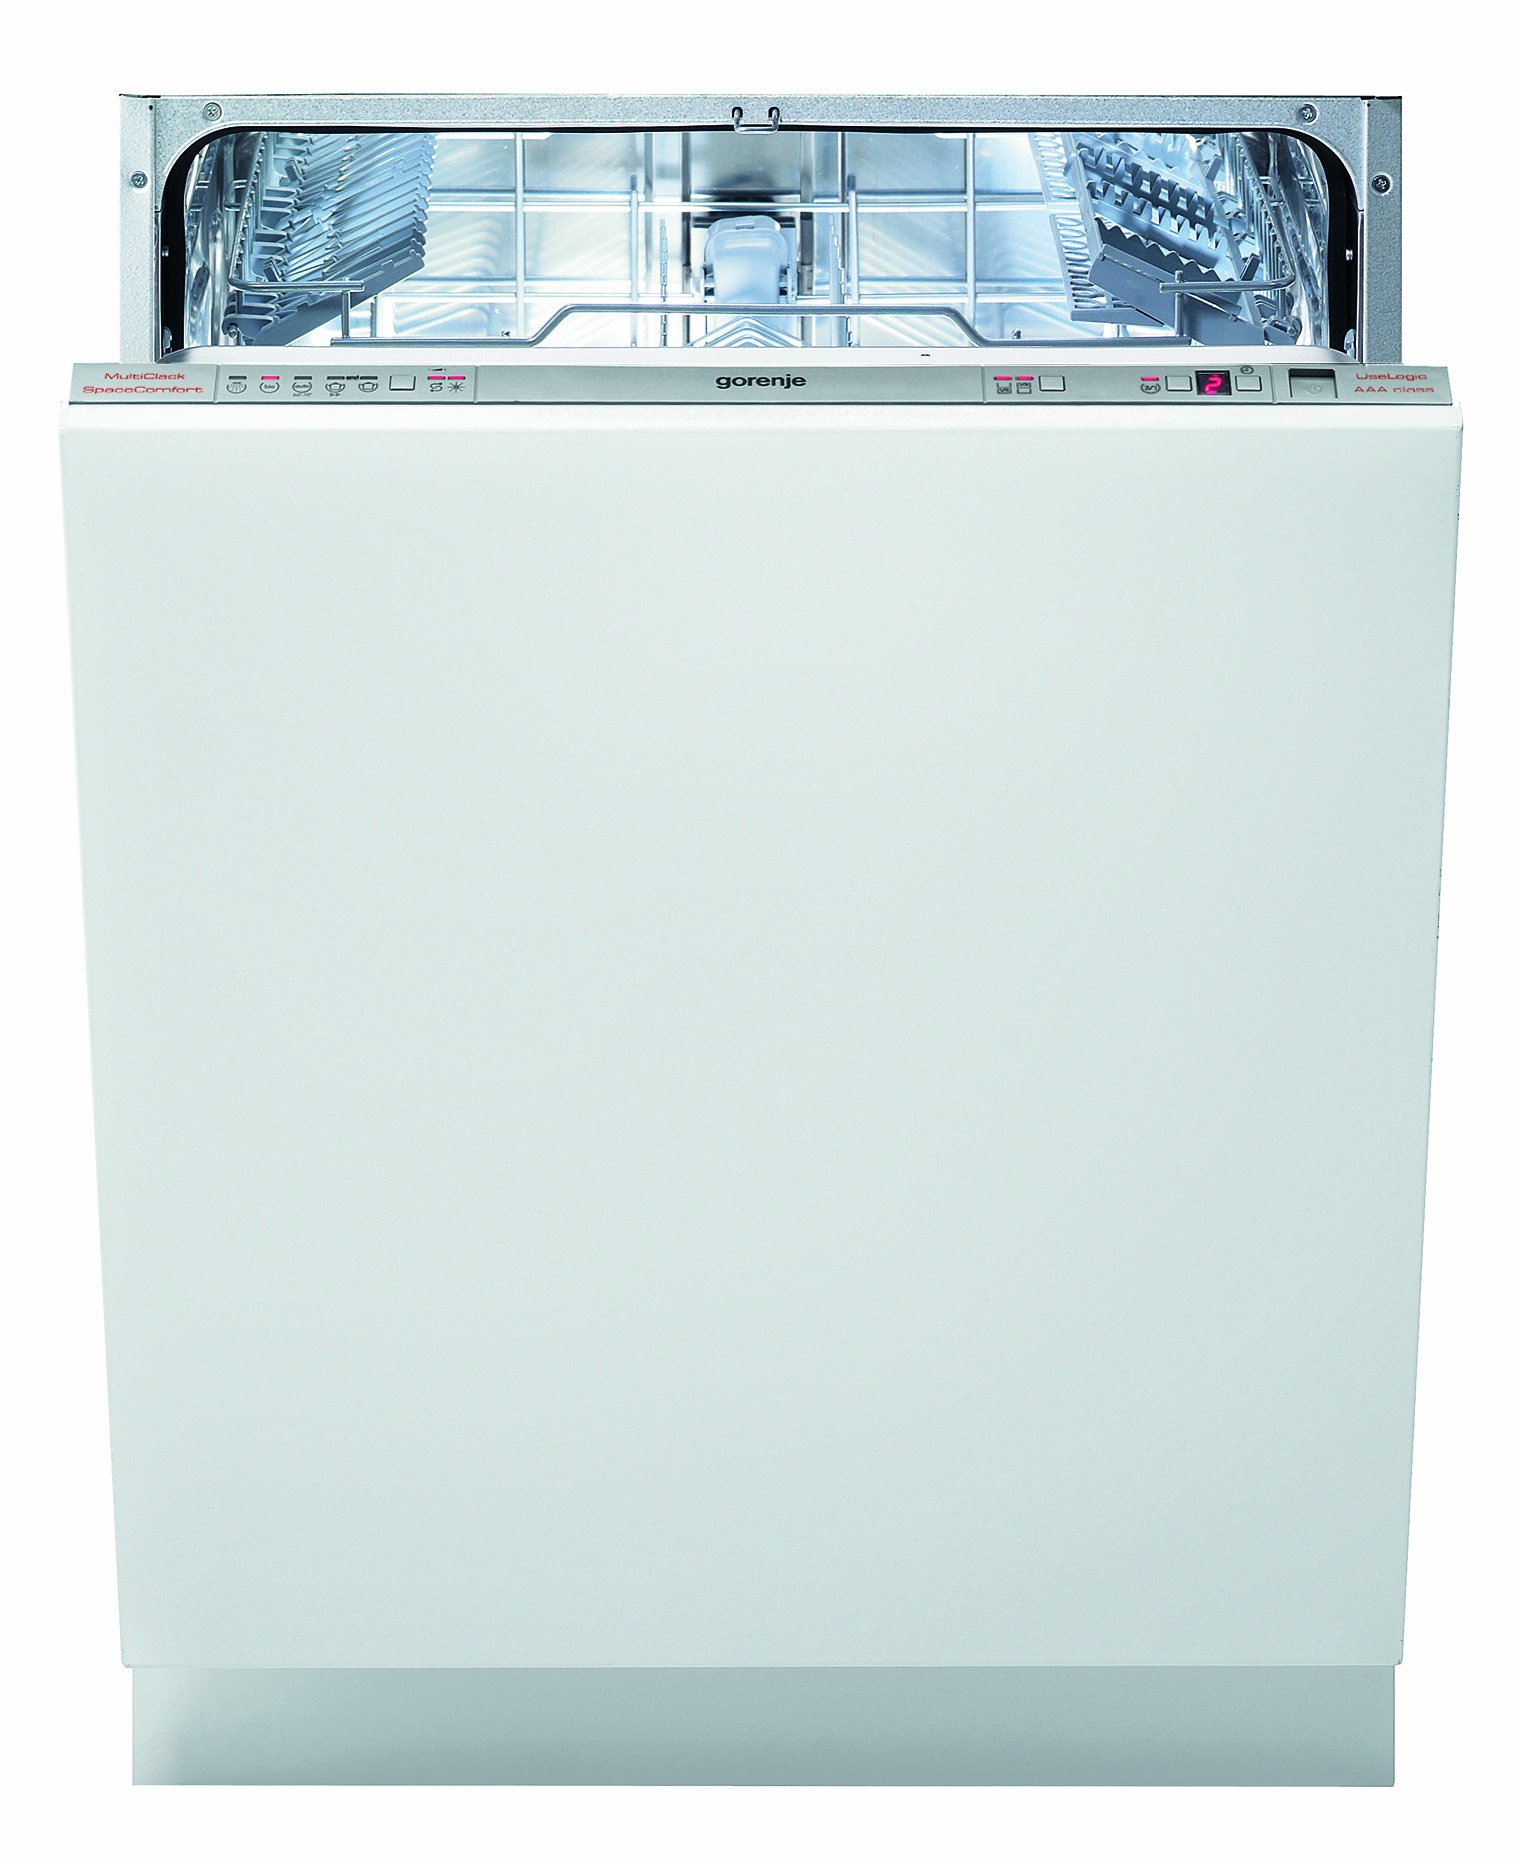
Figure 4.1: Gorenje GV63424XV dishwasher shown without an integrated furniture front, indicating it is ready for custom panel installation.

Figure 4.2: Detailed diagram showing the installation dimensions for the Gorenje GV63424XV dishwasher. The appliance requires a cabinet opening of approximately 570-598mm in width, 858-908mm in height, and a minimum depth of 575mm. The base height can be adjusted between 100-195mm.
4.1 Electrical Connection
The dishwasher operates on 230 Volts. Ensure the electrical supply matches the appliance's requirements and is connected to a properly grounded outlet.
4.2 Water Connection
Connect the water inlet hose to a cold water supply and the drain hose to a suitable drain. Refer to the detailed installation guide provided with the appliance for specific plumbing instructions.
5. Operating Instructions
5.1 Loading the Dishwasher
Load dishes, glasses, and cutlery according to the rack design. Ensure that items do not block the spray arms. Place larger items in the lower basket and delicate items in the upper basket.
5.2 Adding Detergent and Rinse Aid
Fill the detergent dispenser with the appropriate amount of dishwasher detergent. If using, fill the rinse aid dispenser to the indicated level. The built-in water softener filter requires dishwasher salt; ensure the salt reservoir is adequately filled.
5.3 Selecting a Program
Choose the desired wash program based on the soil level and type of dishes. The dishwasher offers various programs, including a half-load option for smaller quantities of dishes.
5.4 Starting the Wash Cycle
Close the dishwasher door firmly. Press the start button to begin the selected wash cycle. The dishwasher will automatically proceed through the wash, rinse, and dry phases.
6. Maintenance
Regular maintenance ensures the longevity and optimal performance of your dishwasher.
6.1 Cleaning the Filters
Although the dishwasher features a self-cleaning filter, periodic manual inspection and cleaning of the filter system are recommended. Remove any food particles or debris from the filter assembly.
6.2 Refilling Dishwasher Salt
Monitor the indicator for the dishwasher salt. Refill the built-in water softener filter with dishwasher salt as needed to maintain water softening effectiveness.
6.3 Cleaning the Spray Arms
Periodically check the spray arm nozzles for blockages. Remove and clean the spray arms if necessary to ensure proper water distribution.
6.4 Exterior and Interior Cleaning
Wipe the exterior of the dishwasher with a damp cloth. Clean the interior with a dishwasher cleaner or a mixture of vinegar and water to prevent odors and buildup.
7. Troubleshooting
If you encounter issues with your dishwasher, refer to the following common problems and solutions:
| Problem | Possible Cause | Solution |
|---|---|---|
| Dishes are not clean / Film or residue on dishes | Incorrect water hardness setting, insufficient detergent, blocked spray arms, improper loading, low rinse aid. | Check and adjust water hardness setting according to local water supply. Ensure adequate detergent and rinse aid. Clean spray arms and filters. Reload dishes correctly, avoiding overcrowding. |
| Glasses are streaky | Too much or too little rinse aid, hard water. | Adjust rinse aid dosage. Ensure water softener is working and salt reservoir is full. |
| Dishwasher does not start | Door not closed properly, power supply issue, program not selected. | Ensure door is latched. Check power connection and circuit breaker. Select a wash program. |
| Unusual noise during operation | Items obstructing spray arms, foreign objects in pump. | Rearrange dishes. Inspect the filter area for any foreign objects. |
If the problem persists after attempting these solutions, please contact customer support.
8. Specifications
| Feature | Specification |
|---|---|
| Brand | Gorenje |
| Model Name | GV63424XV |
| Installation Type | Built-in |
| Noise Level | 43 Decibels |
| Item Weight | 44 Kilograms |
| Voltage | 230 Volts |
| Material | Metal |
| Color | Silver |
| Special Features | Self-cleaning filter, Built-in water softener filter, Half-load program |
| GTIN (UPC) | 03838942679001 |
9. Warranty and Support
For warranty information, please refer to the warranty card included with your appliance or visit the official Gorenje website. For technical support, spare parts, or service requests, please contact Gorenje customer service through their official channels.


