1. Introduction
The Lutron Diva LED+ Dimmer Light Switch (Model DVCL-153P-WH) provides optimal dimming performance for a wide range of dimmable LED, Halogen, and Incandescent bulbs. This dimmer is designed for use in single-pole or 3-way applications, allowing control of lights from one or two locations. It features a large paddle switch for on/off control and a discreet slider for precise light level adjustment.
Key Features:
- Compatible with up to 150 Watts of dimmable LED/CFL bulbs or 600 Watts of incandescent/halogen bulbs.
- Supports single-pole and 3-way wiring configurations.
- No neutral wire required for installation, making it suitable for homes of all ages.
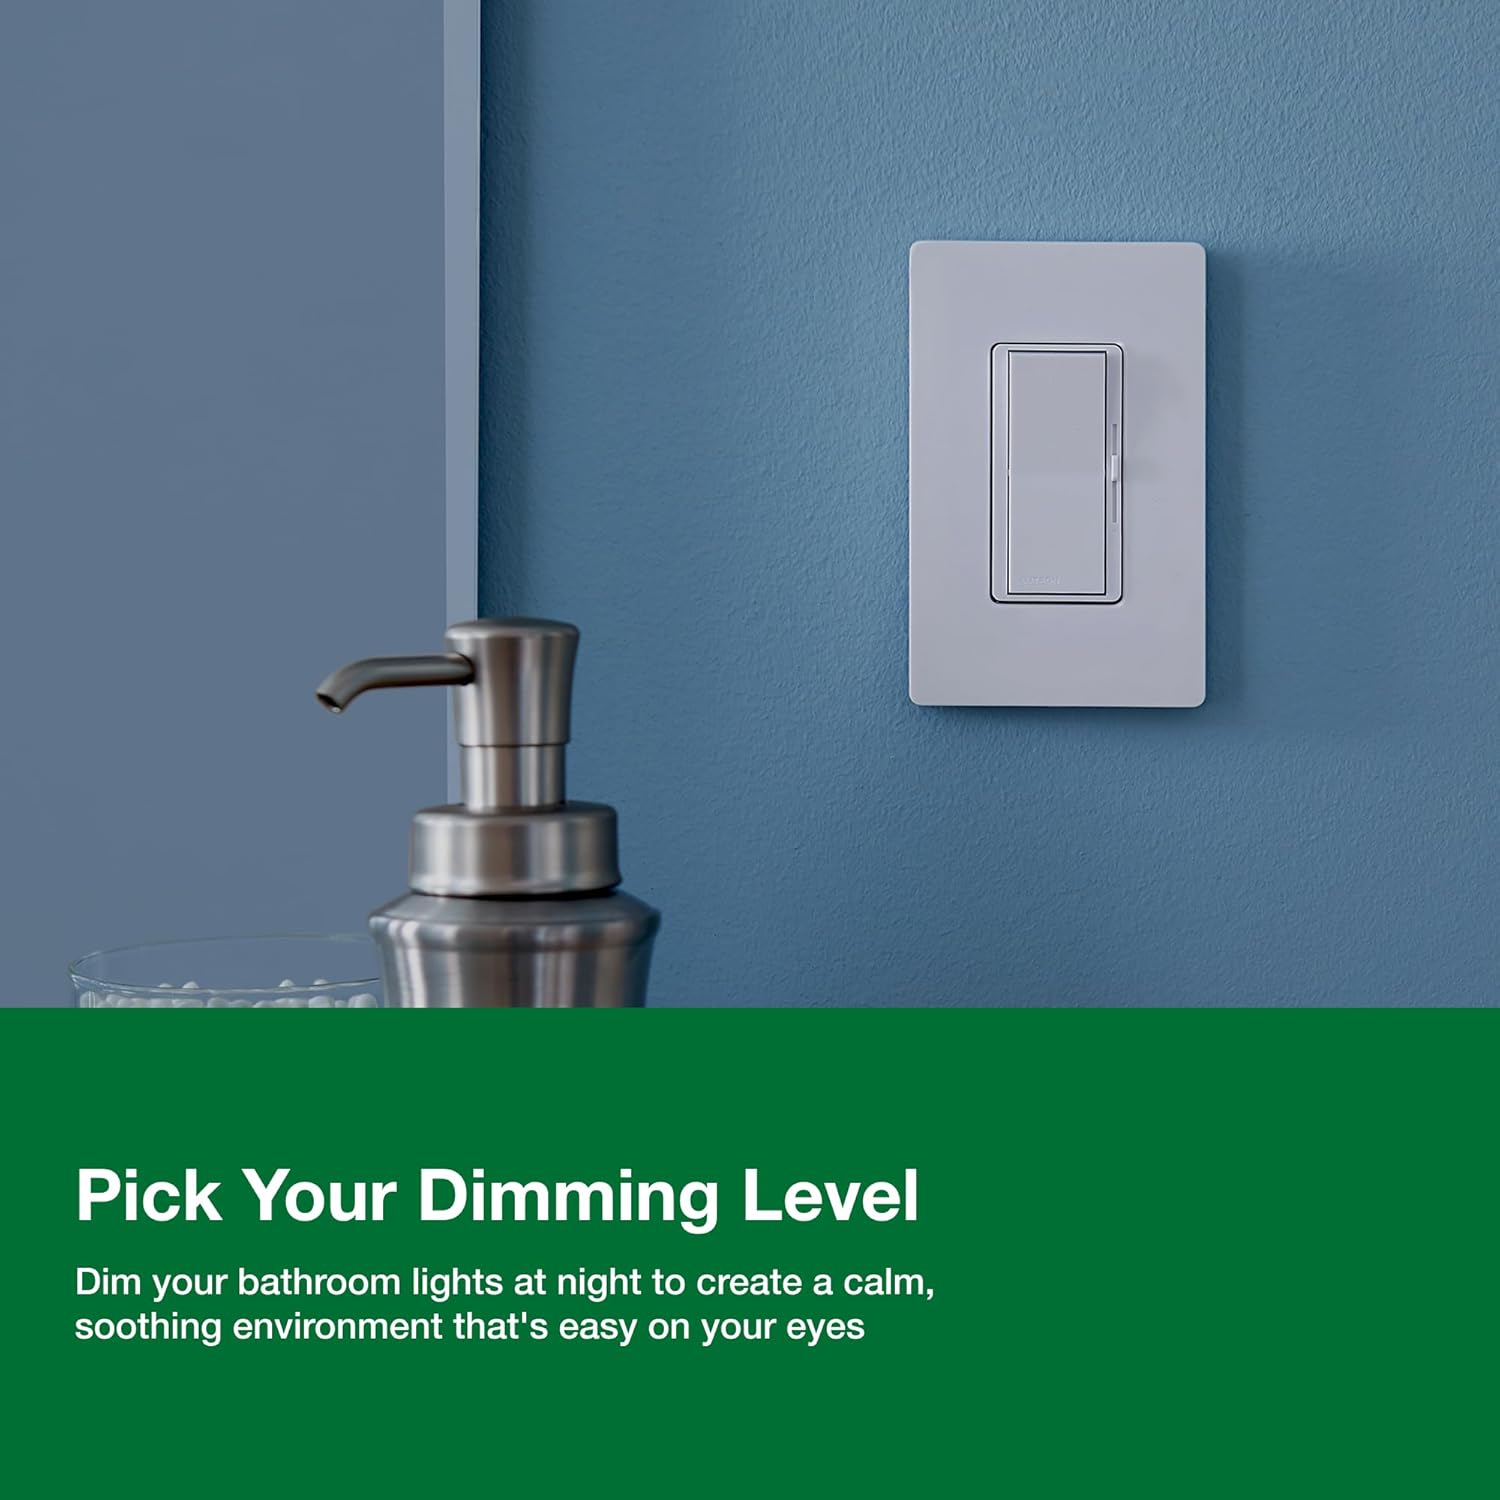
- Provides over 250 lighting levels for precise ambiance control.
2. Safety Information
WARNING: RISK OF ELECTRIC SHOCK. Improper installation can result in serious injury or death.
- Turn off power at the circuit breaker or fuse box before installing or servicing the dimmer.
- Install in accordance with all national and local electrical codes.
- If you are unsure about any part of these instructions, consult a qualified electrician.
- Do not use with non-dimmable bulbs.
- Ensure the total wattage of connected bulbs does not exceed the dimmer's maximum rating (150W LED/CFL or 600W Incandescent/Halogen).
3. Package Contents
- One (1) Lutron Diva LED+ Dimmer Light Switch (DVCL-153P-WH)
- Instruction Guide
Note: Coordinating wallplates are sold separately.

4. Specifications
| Feature | Detail |
|---|---|
| Model Number | DVCL-153P-WH |
| Operation Mode | ON-DIM-OFF |
| Operating Voltage | 120 Volts AC, 60 Hz |
| Max Wattage (LED/CFL) | 150 Watts |
| Max Wattage (Incandescent/Halogen) | 600 Watts |
| Circuit Type | Single Pole, 3-Way with Claro switch |
| Mounting Type | Wall Mount |
| Actuator Type | Paddle switch |
| Dimensions (L x W x H) | 2.3 x 2.3 x 4.5 inches |
| Wallbox Depth Requirement | 2 inches (64 mm) minimum |
| Color | White |


5. Setup (Installation)
Installation of the Lutron Diva LED+ Dimmer Switch can be completed in as little as 15 minutes. No neutral wire is required, simplifying installation in various home electrical systems.
5.1 Before You Begin
- Turn off power: Locate your circuit breaker or fuse box and turn off the power to the light switch you are replacing. Verify power is off by attempting to turn the light on.
- Prepare the wallbox: Ensure your wallbox has a minimum depth of 2 inches (64 mm).
- Identify wiring: Carefully remove the existing switch and identify the wires. The Diva dimmer supports single-pole (one switch controlling lights) and 3-way (two switches controlling lights) applications.
5.2 Wiring Instructions
The Diva dimmer comes with pre-stripped wires for easy connection. Refer to the diagrams below for common wiring configurations.


5.3 Completing Installation
- Secure the dimmer into the wallbox using the provided screws.
- Attach the wallplate (sold separately) to the dimmer.
- Restore power at the circuit breaker.
6. Operating Instructions
The Lutron Diva LED+ Dimmer offers intuitive control over your lighting.

6.1 Basic Operation
- Turn On/Off: Press the large paddle switch to turn the lights on or off. When turned on, the lights will return to your last preferred dimming level.
- Adjust Brightness: Use the discreet slider located next to the paddle switch to brighten or dim the lights to your desired level. Slide up to brighten, slide down to dim.


6.2 Adjusting the Dimming Range (Trim Wheel)
The dimmer features a small trim wheel, typically located behind the wallplate, which allows you to set the minimum dimming level. This helps optimize performance for specific bulb types and can prevent issues like flickering or lights turning off prematurely at low settings.
- Remove the wallplate to access the trim wheel.
- Turn the lights on and dim them to the lowest desired level using the slider.
- Adjust the trim wheel (usually a small blue lever) until the lights dim smoothly without flickering or turning off.
- Replace the wallplate.

7. Maintenance
The Lutron Diva LED+ Dimmer Switch requires minimal maintenance.
- Cleaning: To clean the dimmer, wipe with a soft, damp cloth. Do not use chemical cleaners or abrasives, as these can damage the finish.
- Inspection: Periodically inspect the dimmer and wallplate for any signs of damage or wear. If damage is observed, turn off power at the circuit breaker and replace the unit.
8. Troubleshooting
If you experience issues with your Lutron Diva LED+ Dimmer, refer to the following common problems and solutions.
| Problem | Possible Cause | Solution |
|---|---|---|
| Lights flicker or turn off at low dimming levels. | Incompatible bulbs or incorrect low-end trim setting. | Adjust the trim wheel (see Section 6.2). Ensure you are using dimmable LED/CFL bulbs. Visit the Lutron LED Compatibility Tool for recommended bulbs. |
| Lights do not dim or only dim slightly. | Non-dimmable bulbs, incorrect wiring, or overloaded circuit. | Verify bulbs are dimmable. Check wiring connections. Ensure total wattage does not exceed dimmer's rating. |
| Dimmer is warm to the touch. | Normal operation. | It is normal for dimmers to feel warm during operation. If it becomes excessively hot or emits smoke, immediately turn off power at the circuit breaker and contact support. |
| Lights do not turn on. | No power, loose wiring, or faulty bulb. | Check circuit breaker. Verify all wiring connections are secure. Test with a known working bulb. |
For further assistance, consult the Lutron LED Compatibility Tool or the Lutron Wiring Wizard online resources.
9. Warranty
The Lutron Diva LED+ Dimmer Light Switch comes with a One (1) Year Limited Warranty. An extended 10-Year Warranty is available with product registration. Without registration, a 5-year warranty applies.
For detailed warranty information and to register your product, please visit the official Lutron website.
10. Support
Lutron offers 24/7, U.S.-based lifetime technical support for any troubleshooting issues or questions you may have.
For support, please visit the Lutron website or contact their customer service directly.


