1. Introduction
Thank you for choosing the Bosch VeroBar 100 Automatic Espresso Machine. This manual provides essential information for the safe and efficient operation, maintenance, and troubleshooting of your appliance. Please read these instructions carefully before first use and keep them for future reference.
The Bosch VeroBar 100 is designed to prepare a variety of coffee beverages, including espresso and milk-based drinks, with ease and consistency.
2. Safety Information
Always observe the following safety precautions to prevent injury or damage to the appliance:
- Read all instructions before operating the appliance.
- Do not immerse the appliance, cord, or plug in water or other liquids.
- Ensure the voltage indicated on the appliance matches your local mains voltage.
- Keep the appliance out of reach of children.
- Do not operate the appliance with a damaged cord or plug.
- Always unplug the appliance before cleaning or when not in use.
- Use only original Bosch spare parts and accessories.
- Hot surfaces: Avoid contact with hot parts of the machine, such as the brewing unit or steam nozzle, during and immediately after operation.
3. Product Components
Familiarize yourself with the main parts of your Bosch VeroBar 100 espresso machine:
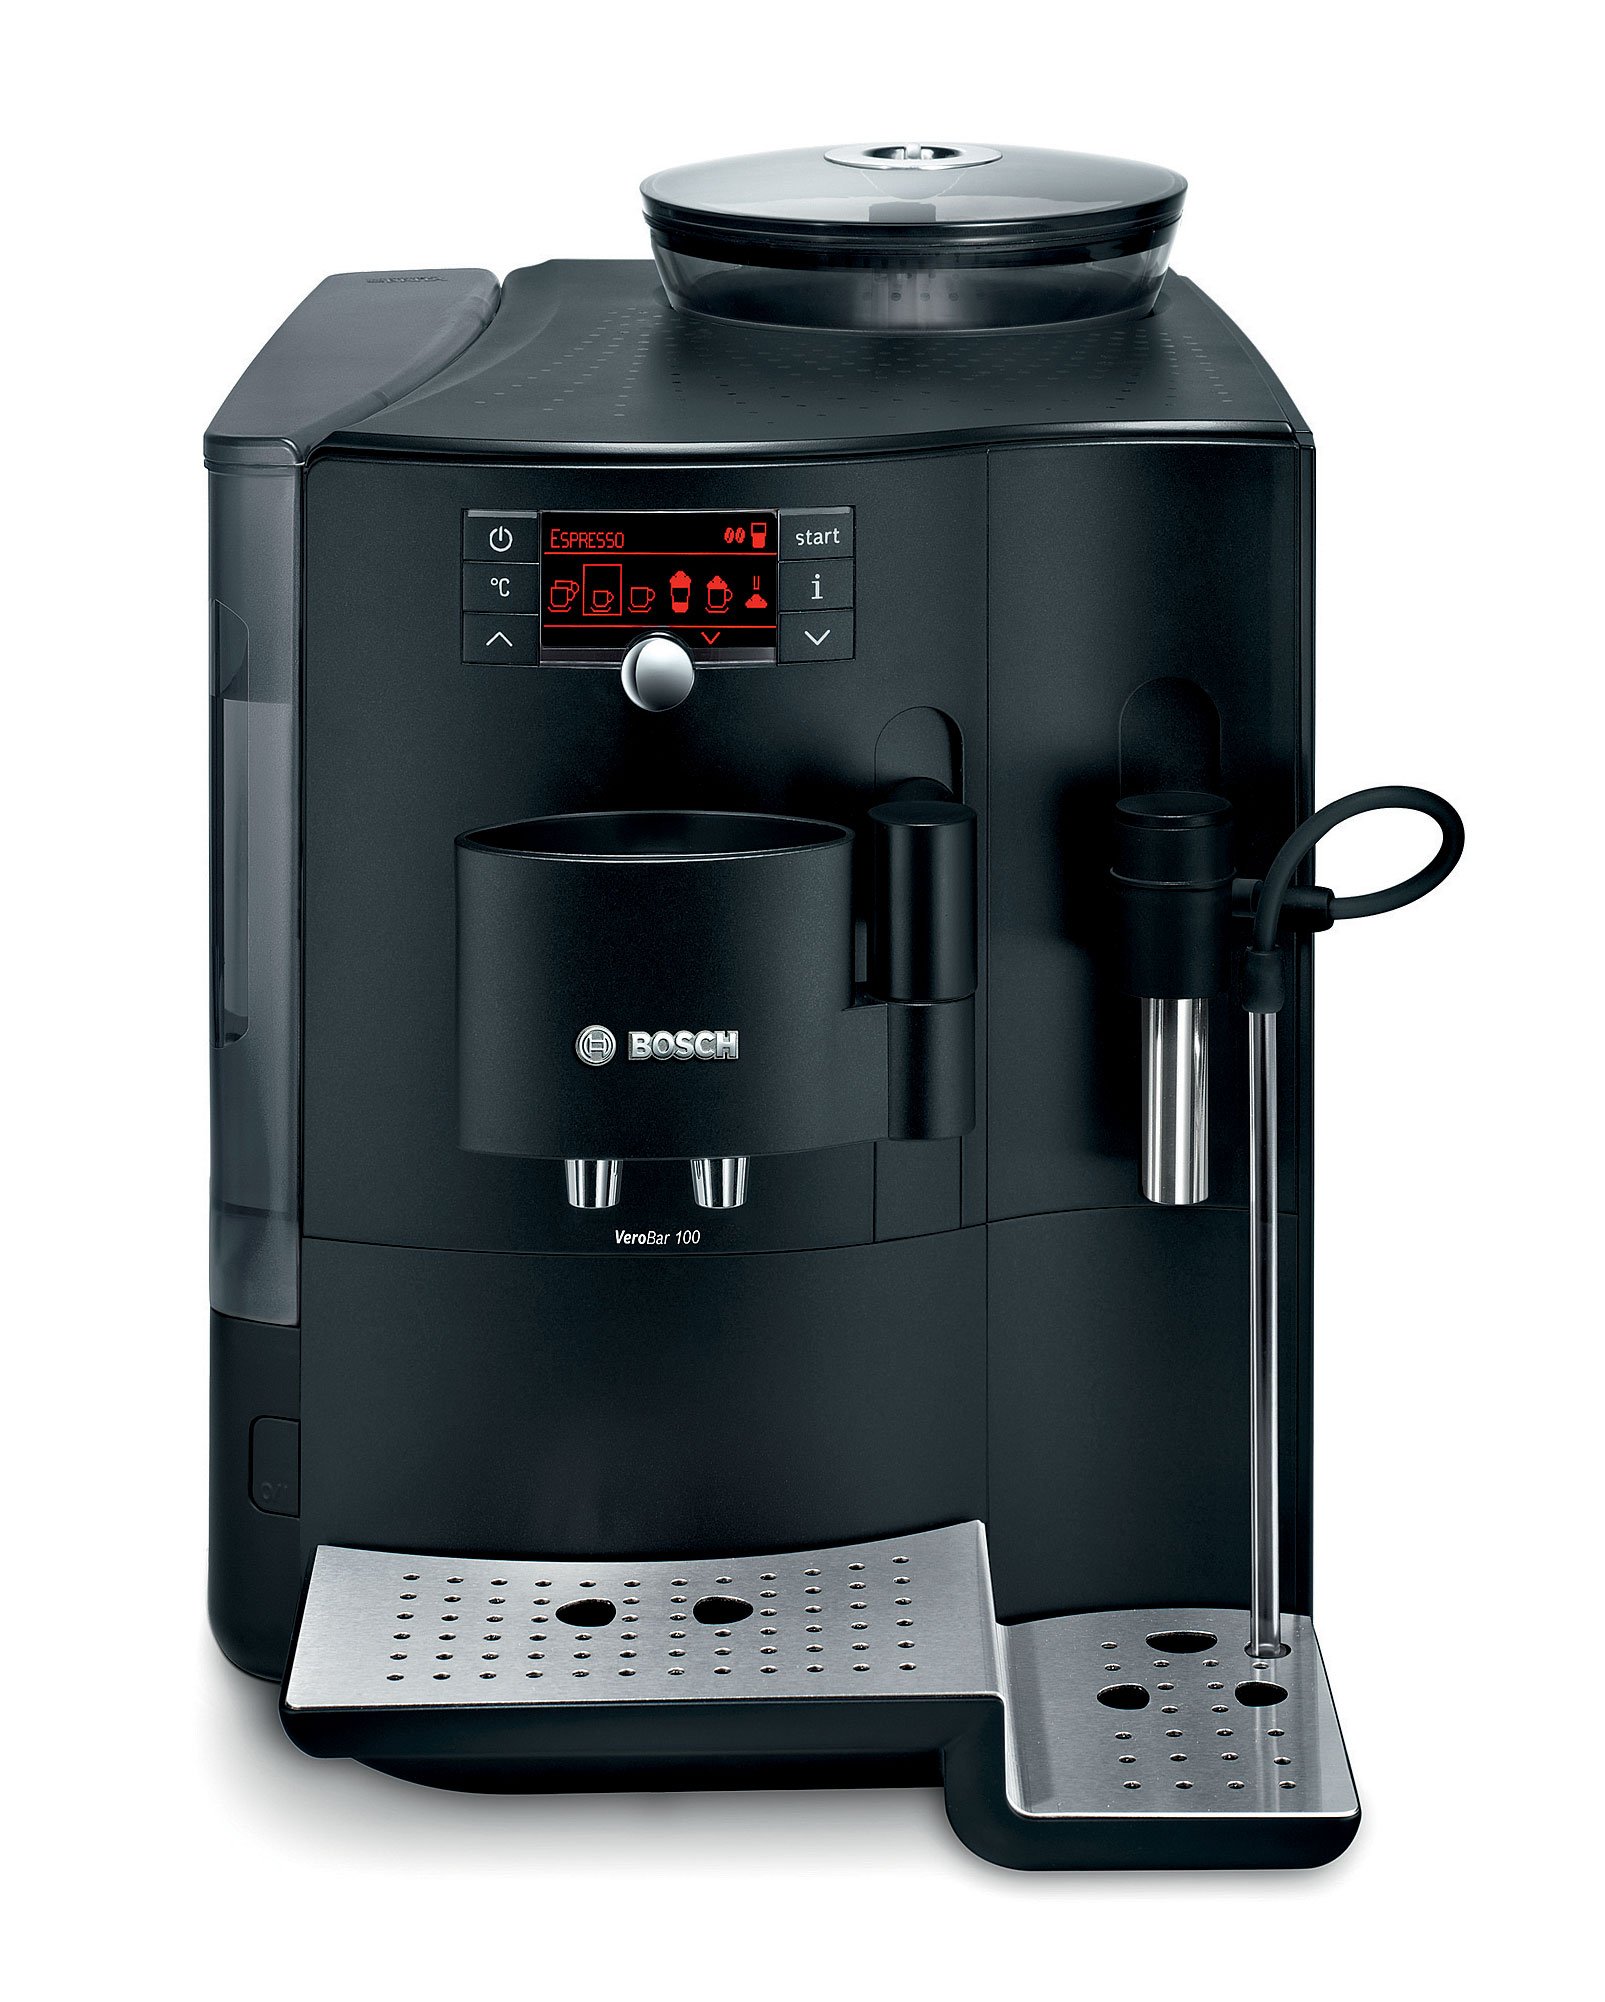
Figure 1: Front view of the Bosch VeroBar 100 Automatic Espresso Machine, showing the main display, coffee spouts, and milk frother attachment.

Figure 2: Close-up of the control panel, featuring power button, temperature setting, and beverage selection icons.
- Control Panel: Features buttons and a display for selecting beverages, adjusting settings, and indicating status.
- Water Reservoir: Removable container for fresh water, located on the side or back of the machine. (Capacity: 2.1 liters)
- Bean Container: Located on top, for whole coffee beans.
- Ground Coffee Compartment: For pre-ground coffee.
- Brew Group: The internal unit where coffee is brewed.
- Drip Tray: Removable tray to collect excess water and coffee drips.
- Coffee Spouts: Adjustable spouts for dispensing coffee.
- Milk Frother: Attachment for frothing milk for specialty beverages.
- Cable Storage: Integrated storage for the power cable.
4. Setup
- Unpacking: Carefully remove the machine from its packaging. Retain packaging for future transport.
- Placement: Place the machine on a stable, level surface, away from heat sources and direct sunlight. Ensure adequate ventilation.
- Initial Cleaning: Wipe down the exterior with a damp cloth. Wash the water reservoir, drip tray, and milk frother components with warm soapy water and rinse thoroughly.
- Fill Water Reservoir: Remove the water reservoir, fill it with fresh, cold tap water up to the MAX mark, and reinsert it securely.
- Fill Bean Container: Open the lid of the bean container and fill it with whole coffee beans. Close the lid.
- Power Connection: Plug the power cord into a grounded electrical outlet.
- First Use Cycle: Follow the on-screen instructions for the initial rinse cycle. This primes the system and cleans internal components.

Figure 3: Top view of the espresso machine showing the transparent lid of the bean container filled with whole coffee beans.
5. Operating Instructions
5.1 Basic Coffee Preparation
- Turn On: Press the power button on the control panel. The machine will perform a short rinse cycle.
- Select Beverage: Use the control panel to select your desired coffee beverage (e.g., Espresso, Coffee Crema).
- Adjust Settings (Optional): You can adjust coffee strength and volume using the intuitive controls.
- Place Cup: Position a cup under the coffee spouts.
- Start Brewing: Press the start button. The machine will grind the beans and brew your coffee.
5.2 Using Pre-Ground Coffee
- Open Compartment: Open the ground coffee compartment.
- Add Coffee: Add one level scoop of pre-ground coffee into the compartment. Do not overfill.
- Select Pre-Ground Function: Select the pre-ground coffee option on the control panel.
- Brew: Place a cup and press start.

Figure 4: A measuring spoon adding ground coffee into the dedicated compartment on the machine.
5.3 Milk Frothing
- Attach Milk Frother: Connect the milk frother tube to the machine and immerse the other end into a container of cold milk.
- Select Milk Beverage: Choose a milk-based beverage (e.g., Latte Macchiato, Cappuccino) or the milk frothing function.
- Start: Press the start button. The machine will automatically froth and dispense milk, then brew coffee if a combined beverage was selected.
6. Maintenance and Cleaning
Regular cleaning ensures optimal performance and extends the lifespan of your espresso machine.
6.1 Daily Cleaning
- Empty Drip Tray and Coffee Grounds Container: Empty and rinse these components daily.
- Clean Milk Frother: After each use, rinse the milk frother components thoroughly to prevent milk residue buildup.
- Wipe Exterior: Use a soft, damp cloth to wipe the exterior of the machine.
6.2 Cleaning the Brew Group
The brew group should be cleaned regularly, typically weekly or as indicated by the machine.
- Turn Off Machine: Ensure the machine is turned off and unplugged.
- Remove Brew Group: Open the service door and carefully remove the brew group by pressing the release button and pulling it out.
- Rinse: Rinse the brew group thoroughly under running lukewarm water until all coffee residues are removed. Do not use detergent.
- Dry and Reinsert: Allow the brew group to air dry completely before reinserting it into the machine. Ensure it clicks into place.

Figure 5: A hand removing the brew group from the side compartment of the espresso machine for cleaning.
6.3 Descaling
The machine will prompt you when descaling is required. Use a suitable descaling solution recommended by Bosch and follow the on-screen instructions or the detailed steps in the full manual.
7. Troubleshooting
This section addresses common issues you might encounter. For more complex problems, refer to the full product manual or contact customer support.
| Problem | Possible Cause | Solution |
|---|---|---|
| Machine does not turn on. | No power supply. | Check if the power cord is securely plugged into the machine and the wall outlet. Check the circuit breaker. |
| "Water level too low" message appears. | Water reservoir is empty or not correctly inserted. | Refill the water reservoir and ensure it is properly seated. |
| Coffee is not brewing. | No coffee beans, brew group not inserted correctly, or system needs priming. | Fill bean container. Reinsert brew group. Perform a rinse cycle to prime the system. |
| Milk frother not producing foam. | Milk frother is clogged or not properly assembled. | Clean the milk frother components thoroughly. Ensure all parts are correctly assembled. Use cold milk. |
| Machine is unusually loud. | Air in the system or foreign object in grinder. | Run a rinse cycle. If noise persists, contact customer service. Do not attempt to remove foreign objects from the grinder yourself. |
8. Specifications
- Model Number: TES70159DE
- Brand: Bosch
- Power (Wattage): 1700 watts
- Water Reservoir Capacity: 2.1 liters
- Product Dimensions: 38.51 x 30 x 45.29 cm
- Weight: 9.07 g (Note: This weight seems unusually low for an espresso machine, please verify with product packaging if possible.)
- Color: Black
- Special Functions: Milk frother, Water filter (optional/accessory)
- Human Interface Input: Buttons
9. Warranty and Support
For warranty information, please refer to the warranty card included with your product or visit the official Bosch website. Keep your proof of purchase for warranty claims.
If you require technical assistance or have questions not covered in this manual, please contact Bosch customer support. Contact details can typically be found on the Bosch website or in the product packaging.