
Introduction
This manual provides essential information for the safe and efficient installation, operation, and maintenance of your Tripp Lite SRW18US 18U Wall Mount Rack Enclosure Server Cabinet. Please read these instructions thoroughly before proceeding with installation or use.
Safety Information
Observe the following safety precautions to prevent injury and damage to the equipment:
- Ensure the wall structure can support the combined weight of the cabinet and all installed equipment. The maximum load capacity is 250 lbs (113.4 kg).
- Always use appropriate lifting techniques and assistance when moving or mounting the cabinet.
- Do not overload the rack. Distribute equipment weight evenly.
- Ensure proper grounding of the cabinet and all installed electrical equipment.
- Keep all doors and panels secured to prevent unauthorized access and maintain structural integrity.
- Avoid placing the cabinet in areas with excessive moisture, dust, or extreme temperatures.
Package Contents
Verify that all components are present before beginning installation:
- SRW18US SmartRack 18U Low-Profile Switch-Depth Wall-Mount Rack Enclosure Cabinet
- (42) M6 screws
- (42) M6 cage nuts
- (42) M6 washers
- (42) 12-24 screws
- (2) Keys
- Owner’s manual (this document)
Specifications
| Attribute | Value |
|---|---|
| Brand | TRIPP LITE |
| Model Number | SRW18US |
| Rack Units | 18U |
| Depth | 20.5 inches |
| Weight Capacity | 250 lbs (113.4 kg) |
| Material | Alloy Steel |
| Color | Black |
| Mounting Type | Wall Mount |
| Assembly Required | No (Ships fully assembled) |
| Warranty | 5 Year Limited Warranty |
Setup
The Tripp Lite SRW18US cabinet ships fully assembled, simplifying the setup process. The primary setup involves mounting the cabinet to a wall and installing your equipment.
1. Wall Mounting
Identify a suitable wall location capable of supporting the cabinet's weight plus the weight of all installed equipment. Use appropriate wall anchors and fasteners (not included) for your specific wall type. The cabinet features a hinged design, allowing it to swing away from the wall for easy rear access to equipment and cabling.
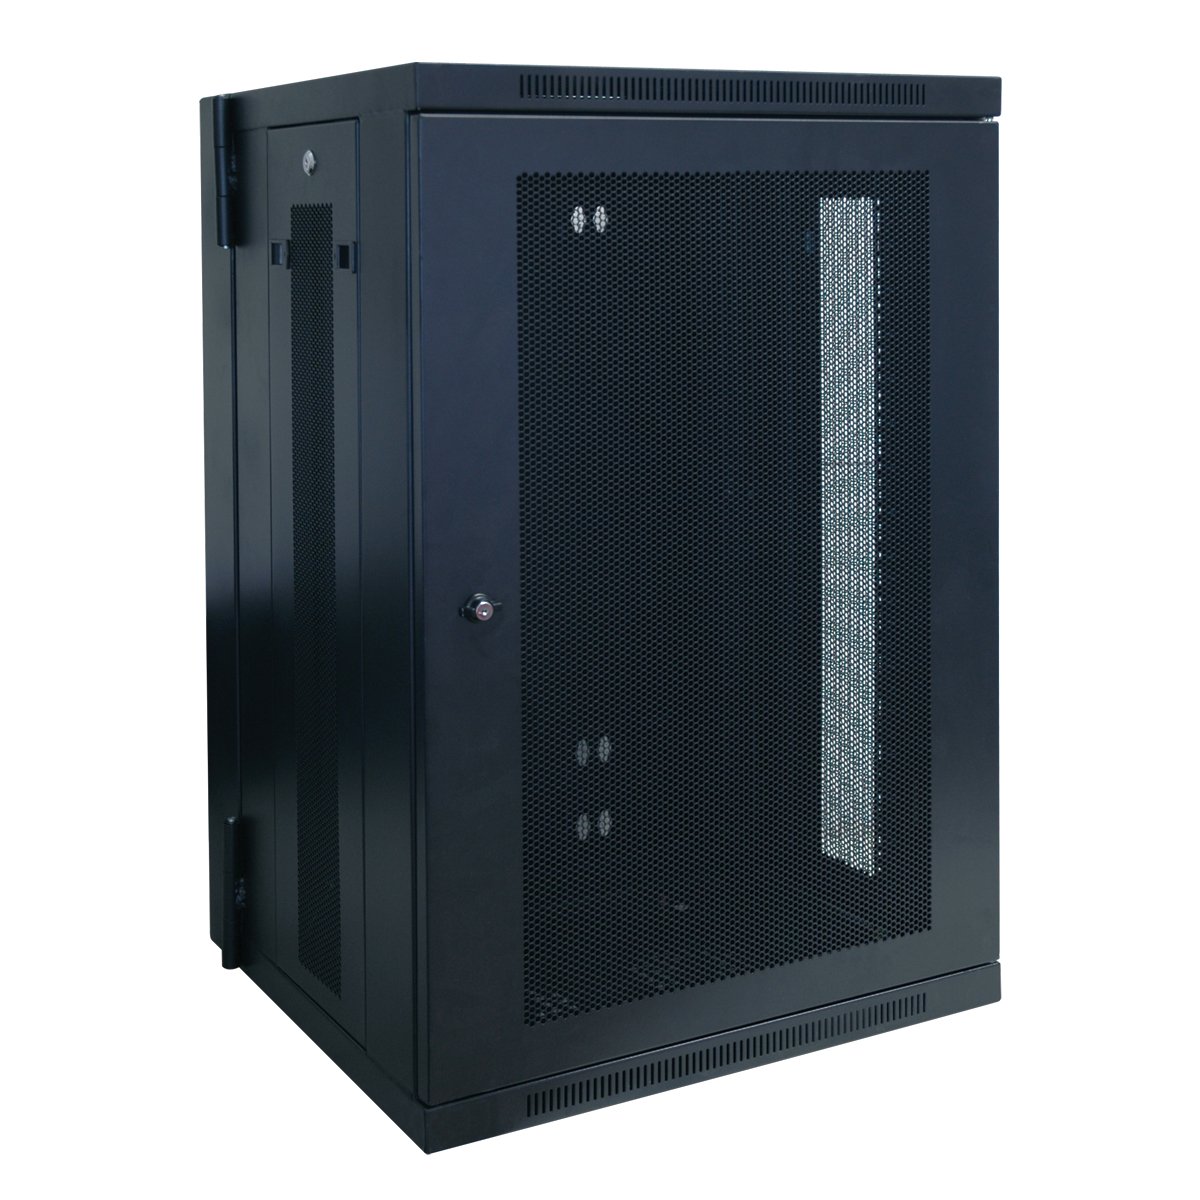
Image: The Tripp Lite SRW18US 18U Wall Mount Rack Enclosure shown with its front and hinged side doors open, illustrating the accessibility for installation and maintenance.
2. Equipment Installation
The rack rails feature both #12-24 threaded holes and square holes for M6 cage nuts, providing versatility for mounting various types of equipment. Use the provided M6 screws, cage nuts, and washers for square-hole mounting, or the 12-24 screws for threaded holes.

Image: A detailed view of the rack rail, highlighting the dual mounting options: #12-24 threaded holes and square holes designed for M6 cage nuts, ensuring compatibility with diverse rack equipment.
3. Optional Caster Installation
If mobility is desired, the SRW18US can be used with optional SRCASTER rolling casters (sold separately). Follow the instructions provided with the caster kit for proper installation.
4. Cable Management
Utilize the various cable access points and internal space to route and secure cables, ensuring proper airflow and preventing strain on connections.
Operating
The SRW18US cabinet is designed for straightforward operation. Access to equipment is provided through the front door and the hinged side panel.
- Front Door Access: Use the provided keys to unlock and open the front door for direct access to the front of your rack-mounted equipment.
- Rear Access: The cabinet's hinged design allows the entire enclosure to swing away from the wall, providing full access to the rear of your equipment for cabling, maintenance, and adjustments. Ensure all equipment is powered down and cables are managed to avoid damage during this operation.
- Security: Always lock the front door and secure the hinged panel after accessing the cabinet to protect your equipment from unauthorized access.
Maintenance
Regular maintenance ensures the longevity and optimal performance of your rack enclosure.
- Cleaning: Periodically clean the exterior surfaces with a soft, damp cloth. Avoid abrasive cleaners or solvents.
- Inspection: Regularly inspect all mounting hardware, hinges, and locking mechanisms for signs of wear or damage. Tighten any loose screws.
- Airflow: Ensure that ventilation openings are clear of obstructions to maintain proper airflow and prevent overheating of equipment.
- Cable Management: Review cable routing periodically to ensure cables are not pinched or obstructing access.
Troubleshooting
This section addresses common issues you might encounter with your rack enclosure.
- Difficulty Opening/Closing Doors: Check hinges for obstructions or damage. Ensure the cabinet is level and securely mounted. Lubricate hinges if necessary.
- Equipment Overheating: Verify that all ventilation openings are clear. Ensure proper cable management to avoid blocking airflow. Consider adding optional cooling fans if needed.
- Unstable Mounting: Re-check wall anchors and fasteners. Ensure they are appropriate for your wall type and installed correctly. Verify all mounting bolts are tightened.
Warranty Information
The Tripp Lite SRW18US 18U Wall Mount Rack Enclosure Server Cabinet is backed by a 5-Year Limited Warranty. This warranty covers defects in materials and workmanship under normal use. For full warranty terms and conditions, please refer to the official Tripp Lite website or contact customer support.
Customer Support
For technical assistance, product information, or warranty claims, please contact Tripp Lite customer support. Free Chicago-based tech support is available to assist you.
- Website: Visit the official Tripp Lite website for FAQs, documentation, and support resources.
- Phone: Refer to the Tripp Lite website for current contact numbers for technical support.
Product Overview Video
Video: An overview of Tripp Lite wall mount racks, highlighting various features and options available, including different sizes, depths, and specialized designs for diverse applications.


