
1. Introduction and Overview
The Milwaukee 48-22-0012 Compact Hand Operated Hack Saw is designed for small cutting applications, offering efficiency and user comfort. Its compact design allows for versatile use in tight spaces. Key features include a tool-free blade change mechanism, adjustable blade length for flush cutting, and a rubber over-mold grip for enhanced comfort during operation.

Figure 1: Milwaukee 48-22-0012 Compact Hand Operated Hack Saw.

Figure 2: Key features of the Milwaukee Compact Hack Saw.
2. Safety Information
Always prioritize safety when using any hand tool. Failure to follow these instructions may result in injury.
- Wear appropriate personal protective equipment (PPE): Always wear safety glasses or goggles to protect your eyes from flying debris. Consider gloves for hand protection.
- Inspect the tool before use: Ensure the blade is securely fastened and not damaged. Check the handle for any cracks or loose parts.
- Secure your workpiece: Always clamp or otherwise secure the material you are cutting to prevent it from moving during operation.
- Maintain a firm grip: Hold the saw firmly with both hands if possible, or with one hand on the handle and the other guiding the blade, ensuring stability.
- Cut away from your body: Position yourself and the workpiece so that the cutting action moves away from your body.
- Do not force the cut: Let the saw's teeth do the work. Applying excessive force can cause the blade to bind, break, or slip, leading to injury.
- Keep hands clear of the blade path: Ensure your hands and fingers are never in line with the cutting path.
- Store safely: When not in use, store the hack saw in a dry, secure place, out of reach of children. Consider a blade guard if available.
3. Setup
3.1 Blade Installation and Removal
The Milwaukee Compact Hack Saw features a tool-free blade change mechanism for quick and easy blade replacement.
- To remove the blade: Locate the tension lever at the front of the saw frame. Push the lever to release the tension on the blade. Carefully unhook the blade from both mounting pins and remove it.
- To install a new blade: Ensure the new blade is a standard 10-inch hack saw blade. Hook one end of the blade onto the fixed pin at the handle end of the saw. Align the other end of the blade with the pin on the tension lever. Push the tension lever to secure the blade onto its pin. Release the lever to apply tension. The blade should be taut and straight.

Figure 3: Operating the tool-free blade change mechanism.
3.2 Blade Length Adjustment
The saw allows for adjustable blade length, which can be useful for flush cutting or working in confined spaces.
- To adjust blade length: With the blade tension released (as described in 3.1), slide the blade through the front mounting mechanism to the desired length.
- Secure the blade: Once the desired length is achieved, re-engage the tension lever to lock the blade in place. Ensure the blade is firmly secured before use.
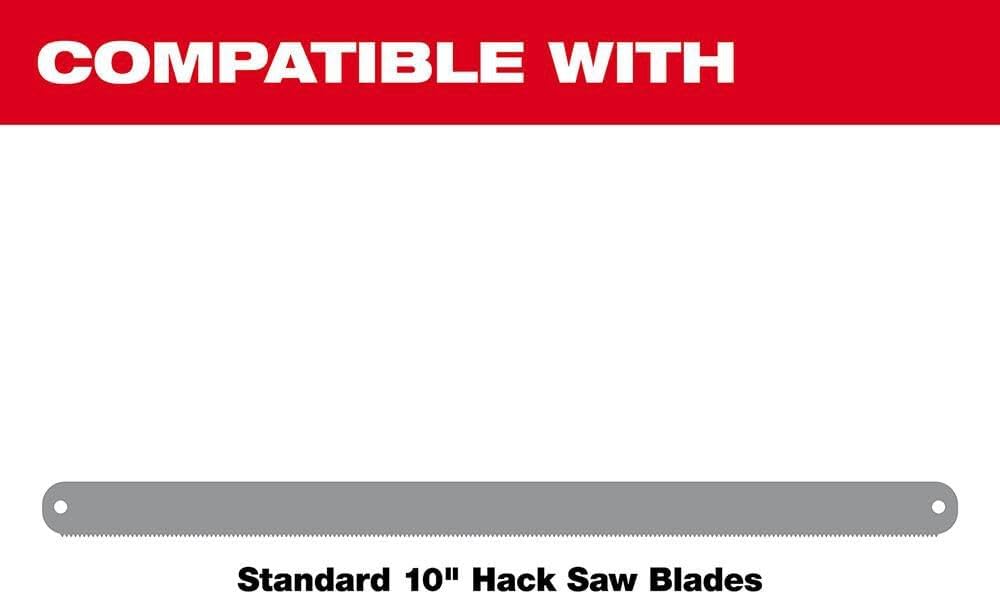
Figure 4: Adjusting the blade length for specific cutting needs.
4. Operating Instructions
Follow these steps for effective and safe operation of your hack saw.
- Prepare the workpiece: Mark the cutting line clearly on the material. Secure the material to prevent movement during cutting.
- Position the saw: Place the blade on the marked line. Start with a gentle push stroke to create a groove, guiding the blade.
- Begin cutting: Apply light, even pressure on the forward stroke. Relieve pressure on the return stroke. Use long, steady strokes to maximize efficiency and reduce fatigue.
- Maintain control: Keep the blade perpendicular to the workpiece. Avoid twisting or bending the blade, which can cause it to bind or break.
- Finish the cut: As you approach the end of the cut, reduce pressure to prevent splintering or sudden breakage of the material. Support the cut-off piece to prevent it from falling unexpectedly.

Figure 5: Cutting a metal pipe with the hack saw.
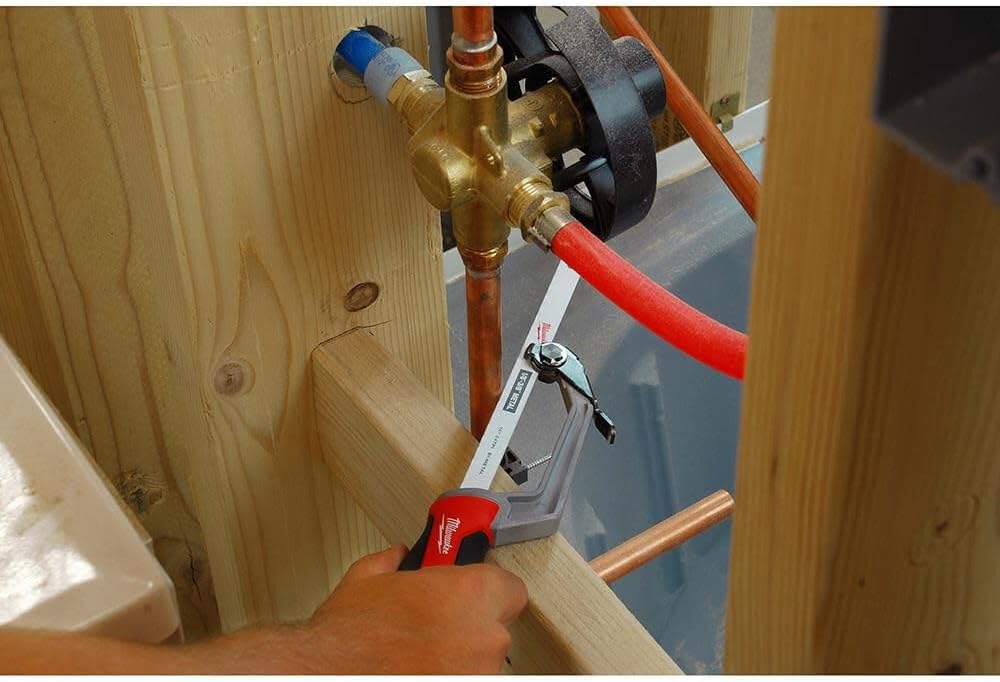
Figure 6: Cutting a wooden board with the hack saw.
5. Maintenance
Proper maintenance ensures the longevity and optimal performance of your Milwaukee Compact Hack Saw.
- Clean after each use: Remove any sawdust, metal shavings, or other debris from the blade and frame using a brush or cloth.
- Lubricate the blade (optional): For cutting metal, a small amount of cutting oil can extend blade life and improve cutting performance.
- Inspect the blade: Regularly check the blade for dullness, bent teeth, or cracks. Replace dull or damaged blades promptly to maintain cutting efficiency and safety.
- Check the frame and handle: Periodically inspect the saw frame and rubber grip for any signs of wear, damage, or looseness.
- Store properly: Store the saw in a dry environment to prevent rust. If storing for extended periods, consider applying a light coat of oil to the blade.
6. Troubleshooting
Common issues and their solutions:
- Blade binds or sticks:
- Ensure the workpiece is securely clamped.
- Check if the blade is dull and needs replacement.
- Verify that you are not applying excessive downward pressure.
- Ensure the blade is properly tensioned and not twisted.
- Cut is uneven or crooked:
- Confirm the blade is taut and straight.
- Practice maintaining a consistent angle and pressure throughout the cut.
- Ensure the workpiece is stable and not shifting.
- Excessive effort required to cut:
- The blade may be dull; replace it.
- Ensure you are using the correct blade type for the material being cut (e.g., metal-cutting blade for metal).
- Apply cutting oil when working with metal.
7. Specifications
| Feature | Detail |
|---|---|
| Brand | Milwaukee |
| Model Number | 48-22-0012 |
| Color | Red/Black |
| Blade Material | High Speed Steel (Bi-Metal) |
| Blade Length | 10 Inches |
| Number of Teeth (TPI) | 24 |
| Handle Material | Rubber Over-Molded Grip |
| Item Weight | 8 ounces (approx. 227 grams) |
| Product Dimensions | 14.5 x 4.7 x 2.1 inches |
| Special Features | Tool-Free Blade Change, Compact Design, Adjustable Blade Length, Durable |
| Included Components | (1) Compact Hack Saw, (1) 10" Blade |
8. Warranty
This Milwaukee product is covered by a limited lifetime warranty. For specific details regarding warranty coverage, terms, and conditions, please refer to the official Milwaukee warranty documentation included with your product or visit the manufacturer's website.

Figure 7: Milwaukee Limited Lifetime Warranty.
9. Support
For further assistance, technical support, or to purchase replacement parts and accessories, please contact Milwaukee customer service or visit their official website. Contact information can typically be found on the product packaging or on the Milwaukee website.
Manufacturer: Milwaukee


