
Introduction
This manual provides detailed instructions for the installation, operation, and maintenance of your MiLocks TKK-02AQ Digital Door Knob with Keypad. Please read these instructions carefully before installation and use to ensure proper function and longevity of your lock.
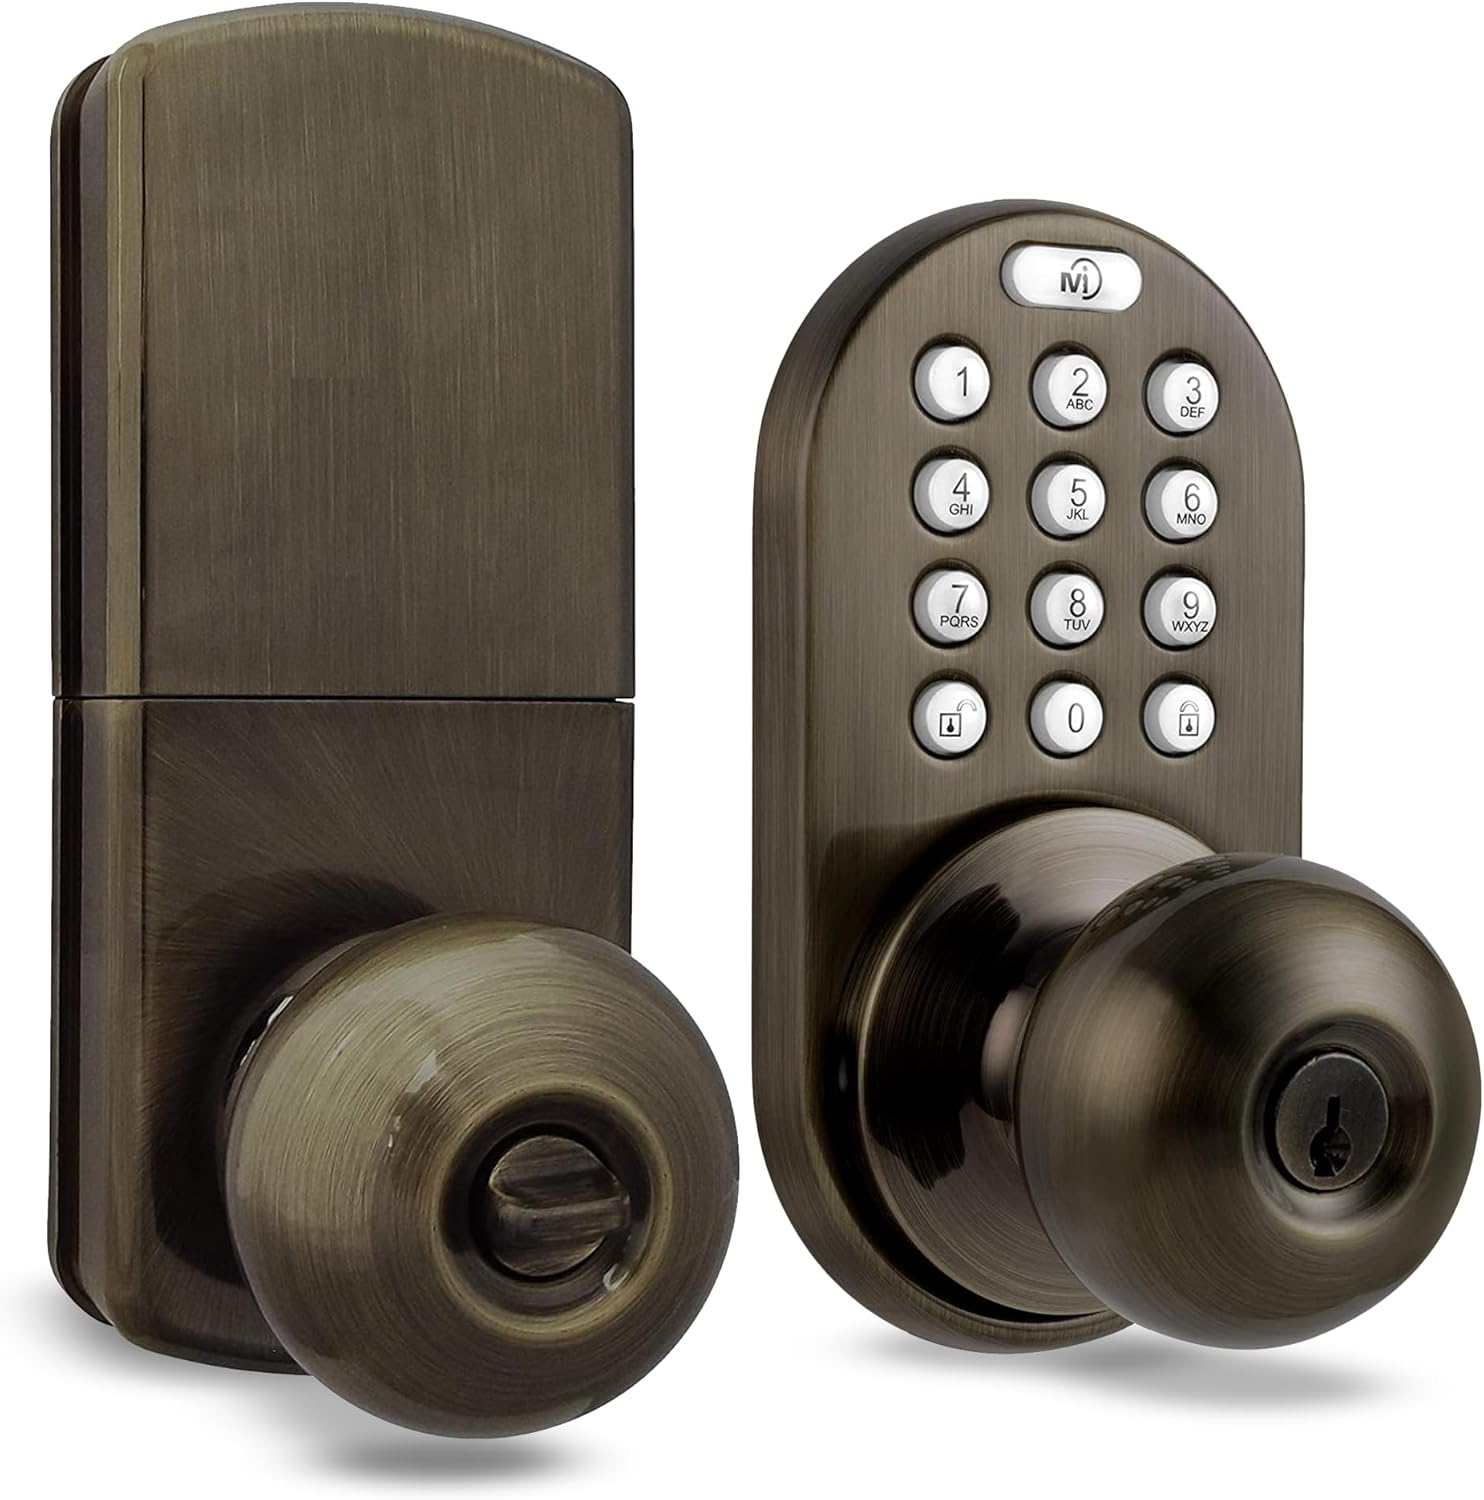
Image: MiLocks TKK-02AQ Digital Door Knob with Keypad, Antique Brass finish.
Key Features
- Keyless Entry: Stores up to 6 individual user codes.
- Glow-in-the-Dark Keypad: Physical buttons remain visible in low-light conditions.
- Adjustable Latch: Compatible with 2-3/8" and 2-3/4" backsets.
- Versatile Fit: Installs on left- or right-handed interior doors 1-1/4" to 1-7/8" thick.
- Auto-Lock Function: Optional automatic re-locking after entry.
- Audible Alerts: Tones for locking, unlocking, and low battery status.
- Durable Construction: Solid brass build with concealed fasteners.
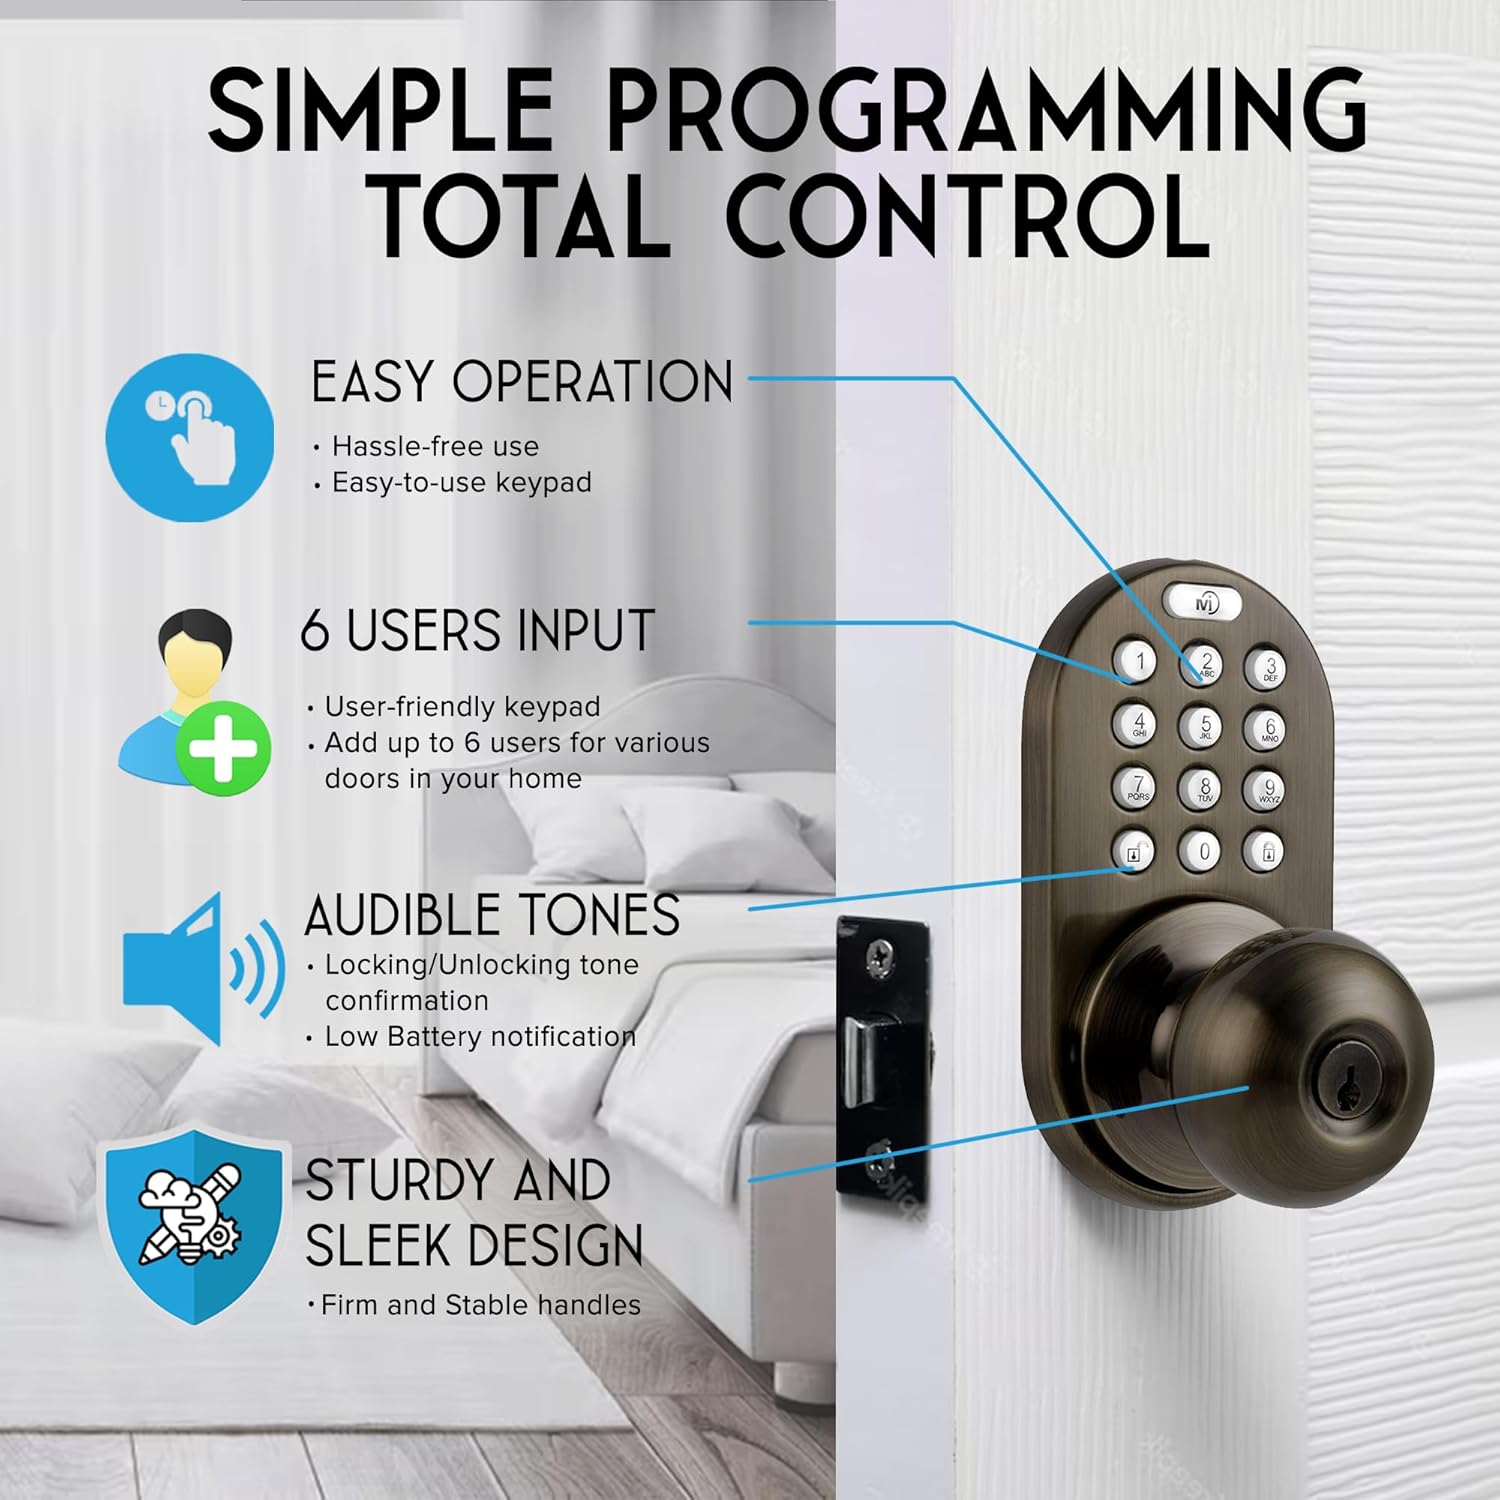
Image: Overview of MiLocks TKK-02AQ features.
Setup and Installation
The MiLocks TKK-02AQ is designed for straightforward installation on standard interior doors. Ensure your door thickness is between 1-1/4" and 1-7/8".
Before You Begin
- Verify all components are present: Electronic Lock Assembly, Installation Hardware, 2 Traditional Keys.
- Obtain 4 AA batteries (not included).
- Refer to the detailed Installation Manual (PDF) for step-by-step diagrams.
Installation Steps
- Prepare the Door: Ensure existing hardware holes are clean and correctly sized. The adjustable latch accommodates both 2-3/8" and 2-3/4" backsets.
- Install Latch: Insert the latch into the door edge. Ensure the drive bar is in a vertical position.
- Install Exterior Assembly: Place the exterior keypad assembly onto the door, aligning the spindle with the latch mechanism.
- Install Interior Assembly: Connect the interior assembly, ensuring wires are not pinched. Secure with screws.
- Insert Batteries: Open the battery compartment on the interior assembly and insert 4 AA batteries.
- Test Operation: Test the lock with the default code (if any) and the traditional key before closing the door.
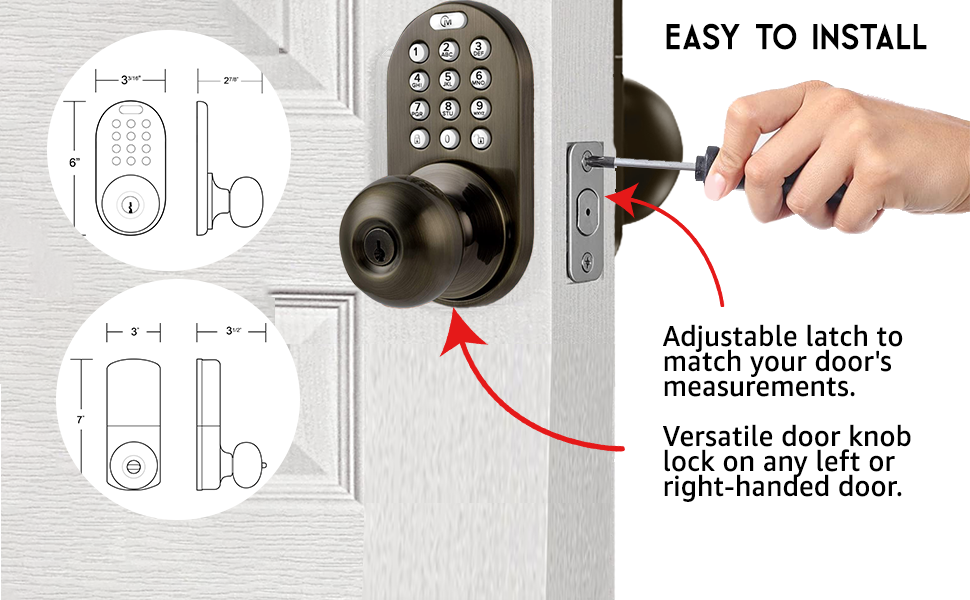
Image: Installation diagram showing adjustable latch and door compatibility.
Installation Video
Video: Official MiLocks installation guide for lever/knob door locks. This video demonstrates the physical installation process for the lock.
Operating Instructions
Your MiLocks TKK-02AQ offers convenient keyless access and security features.
Unlocking the Door
- Using a Code: Enter your 4-10 digit user code on the keypad, then turn the knob to open.
- Using a Key: Insert the traditional key into the keyhole and turn to unlock, then turn the knob.
Locking the Door
- Manual Locking: Press any key on the keypad for 2 seconds, or turn the interior knob to the locked position.
- Auto-Lock: If enabled, the lock will automatically re-lock a few seconds after being unlocked. A distinct tone confirms locking.
Programming User Codes
The lock can store up to 6 unique user codes. Refer to the User Manual (PDF) for detailed programming instructions, including adding, deleting, and changing codes.
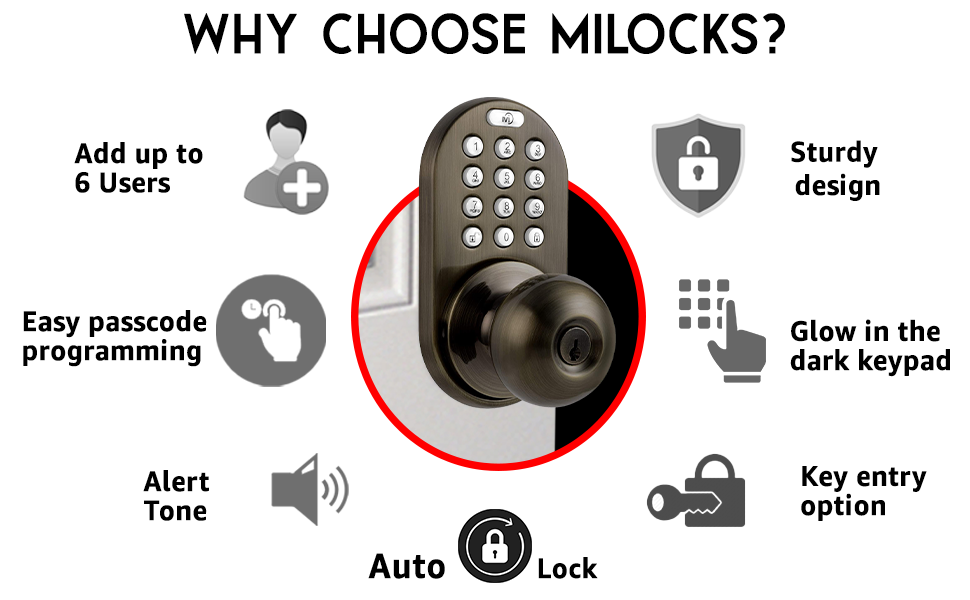
Image: Features of the MiLocks TKK-02AQ, including user management and auto-lock.
Maintenance
Regular maintenance ensures optimal performance of your digital door knob.
Battery Replacement
- The lock operates on 4 AA batteries.
- A distinct audible alert will sound when batteries are low. Replace all four batteries promptly to avoid loss of function.
- To replace, open the battery cover on the interior side of the knob, remove old batteries, and insert new ones, observing polarity.
Cleaning
- Clean the keypad and knob surfaces with a soft, damp cloth.
- Avoid abrasive cleaners or solvents, as these can damage the finish and electronic components.
Troubleshooting
If you encounter issues with your MiLocks TKK-02AQ, refer to the following common solutions:
| Problem | Possible Cause | Solution |
|---|---|---|
| Keypad not responding | Low batteries; incorrect code entry; internal wiring issue. | Replace batteries. Re-enter code carefully. Check internal wiring connections during re-installation. |
| Lock not engaging/disengaging | Misalignment during installation; drive bar not vertical; low batteries. | Check installation alignment. Ensure drive bar is vertical. Replace batteries. |
| Auto-lock not working | Auto-lock feature is disabled. | Toggle the auto-lock switch located in the interior battery compartment. |
| Audible alerts are too loud/quiet | Volume setting not adjustable. | The volume for audible alerts is fixed and cannot be adjusted. |
For further assistance, please consult the full User Manual (PDF) or contact MiLocks customer support.
Specifications
| Brand | MiLocks |
| Model Number | TKK-02AQ |
| Lock Type | Keypad |
| Material | Brass |
| Finish Type | Antique |
| Color | Antique Brass |
| Item Dimensions (L x W x H) | 5.75 x 3.18 x 2.87 inches |
| Item Weight | 16 ounces |
| Power Source | 4 AA Batteries (not included) |
| Door Thickness Compatibility | 1-1/4" to 1-7/8" |
| Backset Compatibility | 2-3/8" and 2-3/4" (adjustable) |
| Included Components | Electronic Lock Assembly, Installation Hardware, Product Instructions, Traditional Keys (2) |
Warranty Information
MiLocks provides the following warranty for the TKK-02AQ Digital Door Knob:
- Mechanical: 25 Years
- Electrical: 1 Year
- Exterior Finish: Lifetime
Please retain your proof of purchase for warranty claims. For full warranty terms and conditions, refer to the official MiLocks documentation or website.
Support and Contact
For additional support, technical assistance, or to inquire about warranty services, please contact MiLocks customer support. You can also find more information and resources on the official MiLocks website.
Official Manuals:


