1. Introduction
The Verbatim PowerBay Quad RAID system is designed to provide a robust and versatile direct attached storage solution. It offers advanced data protection and redundancy through various RAID configurations, making it suitable for server backup and high-capacity storage needs. Multiple connectivity options ensure broad compatibility and fast data transfer rates.
2. Setup Guide
2.1 Unpacking and Component Identification
Carefully remove all components from the packaging. Verify that the following items are present:
- Verbatim PowerBay Quad RAID System unit
- Power adapter and cable
- USB cable
- Firewire 800 cable
- eSATA cable
- Hard drive cartridges (pre-installed or separate)
2.2 Physical Connections
- Power Connection: Connect the power adapter to the PowerBay unit and then to a power outlet.
- Data Connection: Choose one of the following interfaces to connect the PowerBay to your computer or server:
- USB: Connect the USB cable from the PowerBay to an available USB port on your computer.
- Firewire 800: Connect the Firewire 800 cable from the PowerBay to an available Firewire 800 port on your computer.
- eSATA: Connect the eSATA cable from the PowerBay to an available eSATA port on your computer for maximum transfer speeds.
- Hard Drive Cartridge Insertion: If not pre-installed, gently slide the hard drive cartridges into the bays until they click into place. Ensure the locking mechanism is engaged if available.
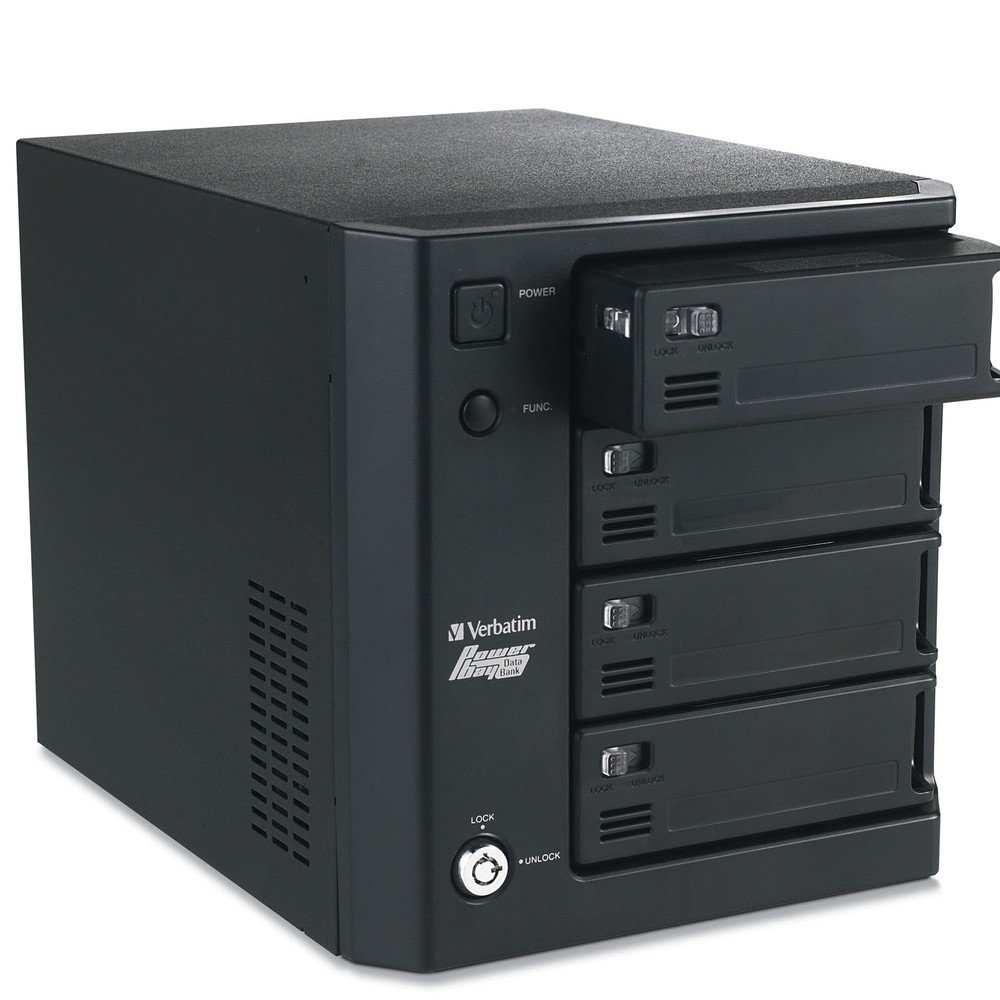
Figure 1: Front view of the Verbatim PowerBay Quad RAID system. This image displays the black external storage device with four front-loading bays for hard drive cartridges. One cartridge is shown partially ejected. The front panel includes power and function buttons, along with a lock mechanism at the bottom.
2.3 Initial Configuration (RAID Modes)
The PowerBay Quad RAID system supports RAID modes 0, 5, and 10 for data protection and redundancy. The setup for these modes is designed to be straightforward and does not typically require a PC connection for initial configuration. Refer to the dedicated RAID configuration guide (if provided separately) or the device's display/buttons for specific instructions on selecting and initializing your desired RAID level.
3. Operating Instructions
3.1 Powering On/Off
- Power On: Press the 'POWER' button located on the front panel. The power indicator light will illuminate.
- Power Off: Press and hold the 'POWER' button until the unit powers down. Always ensure data transfer is complete before powering off.
3.2 Data Transfer
Once connected to your computer, the PowerBay will appear as an external drive. You can drag and drop files, or use backup software to transfer data. For optimal performance, especially with large files, utilize the eSATA interface.
3.3 Hot-Swapping Drive Cartridges
The PowerBay supports hot-swapping of drive cartridges. This means you can remove and insert cartridges while the system is operational, provided the RAID configuration allows for it (e.g., in RAID 5 or 10 for drive replacement). When replacing a drive in a redundant RAID array, the system will automatically begin rebuilding the data set onto the new cartridge upon insertion.
3.4 Understanding RAID Modes
- RAID 0 (Striping): Offers increased performance and capacity by combining drives, but provides no data redundancy. If one drive fails, all data is lost.
- RAID 5 (Striping with Parity): Provides a balance of performance and data redundancy. Data is striped across drives with parity information, allowing the system to recover from a single drive failure.
- RAID 10 (Striping of Mirrors): Combines RAID 1 (mirroring) and RAID 0 (striping) for high performance and excellent data redundancy. It can withstand multiple drive failures, depending on which drives fail.
4. Maintenance
4.1 General Care
Keep the unit in a clean, dust-free environment. Avoid exposing it to extreme temperatures or humidity. Clean the exterior with a soft, dry cloth. Do not use liquid cleaners.
4.2 Fan Replacement
The PowerBay system includes a replaceable fan to ensure optimal cooling. If the fan becomes noisy or stops functioning, it may require replacement. Consult the manufacturer's support resources or a qualified technician for instructions on replacing the fan to avoid damaging internal components.
5. Troubleshooting
5.1 Unit Does Not Power On
- Ensure the power adapter is securely connected to both the PowerBay unit and a working power outlet.
- Verify the power outlet is functional by plugging in another device.
5.2 PowerBay Not Detected by Computer
- Check that the data cable (USB, Firewire, or eSATA) is securely connected to both the PowerBay and your computer.
- Try a different port on your computer.
- Try a different data cable.
- Ensure the PowerBay unit is powered on.
- For eSATA connections, ensure your computer's eSATA controller is properly configured and drivers are installed.
5.3 Drive Cartridge Not Recognized
- Ensure the cartridge is fully inserted into the bay and the locking mechanism is engaged.
- If the drive is new, it may need to be initialized and formatted through your operating system's disk management utility.
- If replacing a drive in a RAID array, allow time for the system to rebuild the data.
6. Specifications
| Feature | Detail |
|---|---|
| Brand | Verbatim |
| Model Number | 96956 |
| Digital Storage Capacity | 2 TB (2000 GB) |
| Hard Disk Form Factor | 3.5 Inches |
| Hard Disk Interface | USB 1.1, eSATA |
| Connectivity Technology | USB, eSATA |
| Compatible Devices | Desktop |
| Color | Black |
| Item Weight | 16 pounds |
| Manufacturer | SmartDisk |
| Date First Available | December 19, 2005 |
7. Warranty and Support
For detailed warranty information, please refer to the documentation included with your product or visit the official Verbatim website. Technical support and additional resources can be found on the Verbatim Store or by contacting SmartDisk, the manufacturer.