1. Introduction
This manual provides comprehensive instructions for the installation, operation, and maintenance of your Honeywell Ademco V20P60PK Vista-20P Intrusion Kit. This kit is designed to provide reliable security for residential and commercial applications, offering an 8-zone alarm system with advanced features.
Kit Contents
The V20P60PK kit includes the following components:
- Vista-20P Control Panel: The central processing unit for your security system.
- 6160 Alpha Keypad: An alphanumeric keypad essential for system programming and daily operation.
- Wave2 Siren: A high-decibel siren to alert in case of an intrusion.
- IS2535PIR Motion Detector: An infrared motion sensor for detecting movement within a protected area.
- Battery: Backup power supply for the control panel.
- Cord and Jack: For power connection and telephone line interface (RJ-31X).
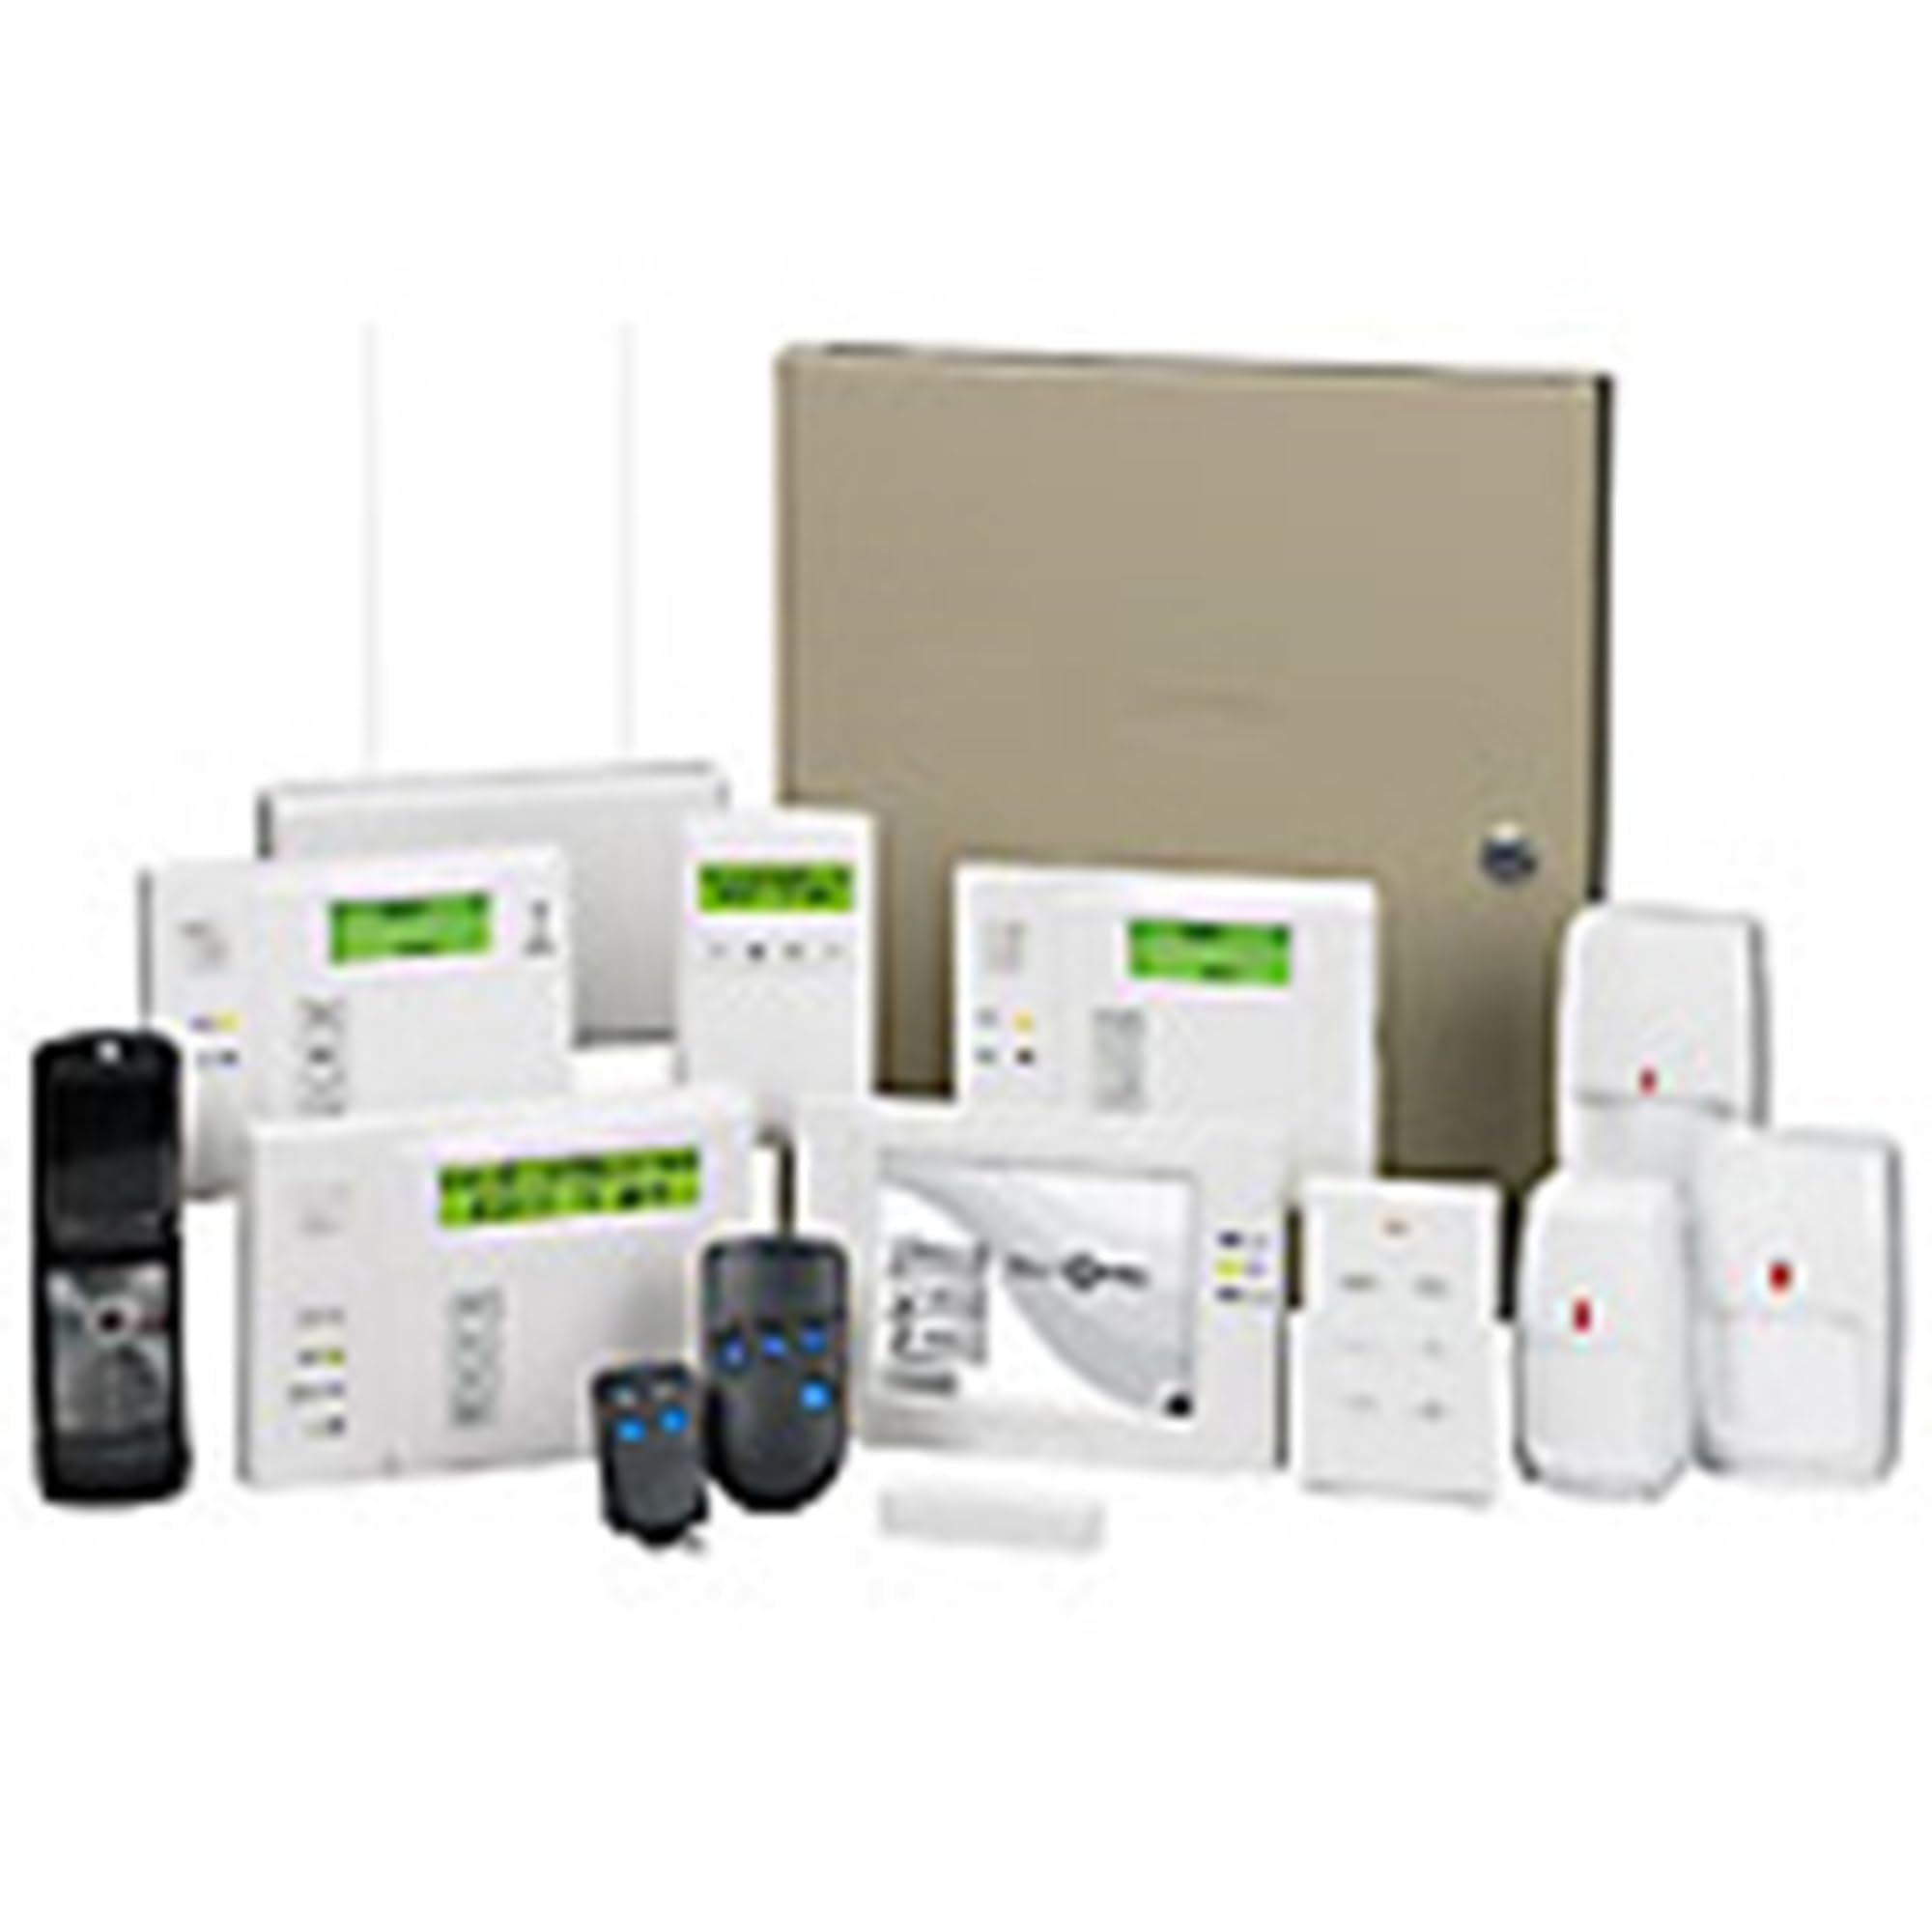
Image: The Honeywell Ademco V20P60PK Vista-20P Intrusion Kit, showing the control panel, keypad, siren, motion detector, and associated accessories.
2. Important Safety Information
Please read all instructions carefully before attempting to install or operate this system. Improper installation or use can lead to system malfunction, property damage, or personal injury. Always disconnect power before servicing any component. Installation of security systems can be complex and may require professional knowledge of electrical wiring and programming. If you are unsure about any step, consult a qualified security system installer.
3. Components Overview
3.1 Vista-20P Control Panel
The Vista-20P is an advanced 8-zone control panel that serves as the brain of your security system. It manages all connected sensors, keypads, and communication devices. It supports both wired and wireless zones (with optional wireless receiver) and can be expanded to accommodate various security needs.
3.2 6160 Alpha Keypad
The 6160 Alpha Keypad is your primary interface for the Vista-20P control panel. It features an alphanumeric display that provides detailed system status messages and is crucial for programming the system, entering user codes, and performing daily operations like arming and disarming.
3.3 Wave2 Siren
The Wave2 Siren produces a loud, piercing sound (approximately 106 dB) when an alarm is triggered, designed to deter intruders and alert occupants and neighbors. Ensure it is mounted in a location where its sound can be effectively heard.
3.4 IS2535PIR Motion Detector
The IS2535PIR is a passive infrared (PIR) motion detector that senses changes in infrared radiation caused by movement. It is designed for indoor use to detect intruders within its field of view. Proper placement is critical to avoid false alarms from pets or environmental factors.
3.5 Battery, Cord, and Jack
The kit includes a backup battery to ensure the system remains operational during power outages. The power cord connects the control panel to a standard electrical outlet via a transformer. The RJ-31X jack and cable are used for connecting the system to a telephone line for alarm reporting to a central monitoring station (if subscribed).
4. Setup and Installation
The Honeywell Ademco V20P60PK kit includes detailed DIY installation instructions. However, due to the complexity of security system wiring and programming, professional installation is often recommended. Incorrect wiring or programming can lead to system malfunctions or security vulnerabilities.
4.1 Mounting the Control Panel
Mount the Vista-20P control panel in a secure, dry, and accessible location, typically in a utility closet or basement. Ensure it is not easily discoverable by intruders. Use appropriate screws for secure installation.
4.2 Wiring Components
Connect all sensors, keypads, and the siren to the control panel using appropriate wiring. Refer to the detailed wiring diagrams provided in the separate installation guide for specific terminal connections. Ensure all connections are secure and properly insulated.
4.3 Initial Power-Up
Before applying main power, connect the backup battery to the control panel. Then, connect the transformer to the control panel and plug it into a non-switched electrical outlet. The system should power on, and the keypad will display initial messages.
4.4 Keypad Programming
The 6160 Alpha Keypad is essential for programming. Enter installer programming mode using the designated key sequence. You will need to configure zones, user codes, communication settings, and other system parameters. This process is detailed in the comprehensive programming manual. Online resources, such as instructional videos, can also be helpful for specific programming steps.
5. Operating Your System
Once installed and programmed, operating your Honeywell Vista-20P system is straightforward using the 6160 Alpha Keypad.
5.1 Arming the System
To arm the system, enter your 4-digit user code followed by the desired arming command:
- Arm Away: (User Code) + [AWAY] - Arms all zones, including interior motion detectors. Use when leaving the premises.
- Arm Stay: (User Code) + [STAY] - Arms perimeter zones (doors/windows) but bypasses interior motion detectors. Use when staying inside.
5.2 Disarming the System
To disarm the system, enter your 4-digit user code followed by the [OFF] button. This will silence any alarms and disarm all zones.
5.3 Zone Bypassing
To bypass a specific zone (e.g., a window left open), enter your 4-digit user code + [BYPASS] + (Zone Number). The system will confirm the bypassed zone. Remember to un-bypass zones when no longer needed.
5.4 Alarm Conditions
In the event of an alarm, the siren will activate, and the keypad will display the zone that triggered the alarm. If connected to a monitoring station, an alarm signal will be sent. Disarm the system to silence the siren.
6. Maintenance
Regular maintenance ensures the continued reliability of your security system.
6.1 Battery Replacement
The control panel's backup battery typically lasts 3-5 years. The keypad will display a 'LOW BATTERY' message when replacement is needed. Disconnect AC power before replacing the battery. Ensure the replacement battery is of the correct type and voltage.
6.2 System Testing
Test your system monthly. Arm the system and trigger each zone (e.g., open a door, walk past a motion detector) to ensure all sensors are functioning correctly. If monitored, notify your central station before testing to avoid dispatching emergency services.
6.3 Cleaning
Clean keypads and sensors periodically with a soft, dry cloth. Avoid using abrasive cleaners or solvents, which can damage the components. Keep motion detectors free from dust and obstructions.
7. Troubleshooting
This section addresses common issues you might encounter with your Honeywell Vista-20P system.
7.1 Common Issues and Solutions
- Keypad displays 'NO AC': Check the transformer connection to the outlet and the control panel. Ensure the outlet has power.
- Keypad displays 'LOW BATTERY': Replace the control panel's backup battery as described in the Maintenance section.
- System will not arm: Check the keypad for 'FAULT' or 'NOT READY' messages. Identify and secure any open doors, windows, or motion in protected areas. Bypass any zones you wish to leave open.
- False Alarms: Ensure motion detectors are not obstructed or exposed to drafts, direct sunlight, or pets. Verify all wiring connections are secure.
- Siren not sounding: Check the siren's wiring connections to the control panel. Ensure the system is fully armed when testing.
For more complex issues or persistent problems, consult the full installation and programming manuals. You may also find helpful resources and troubleshooting guides on the Honeywell website or through professional security system technicians.
8. Specifications
| Feature | Detail |
|---|---|
| Brand | Honeywell |
| Model Number | V20P60PK (Kit), Vista 20P (Control Panel) |
| Connectivity Technology | Wired |
| Power Source | Battery Powered (with AC transformer) |
| Compatible Devices | Control Panel, Keypad, Siren, Motion Sensor |
| Alert Type | Motion |
| Voltage | 5 Volts (for certain components, system operates on higher voltage) |
| Control Method | Keypad, App (with compatible modules) |
| Sensor Technology | Wired |
| Installation Method | Screw-In |
| UPC | 781410941144 |
9. Warranty and Support
9.1 Warranty Information
This product is sold with No Warranty from the manufacturer, Honeywell. Please refer to your retailer's return policy for any initial product defects.
9.2 Technical Support
For technical assistance, additional documentation, or to explore other Honeywell products, please visit the official Honeywell store or support website. You can find more information at the Honeywell Store.


