
Sharper Image F3405471
Sharper Image Digital Camera User Manual
Model: F3405471
Introduction
Thank you for purchasing the Sharper Image Digital Camera. This compact and easy-to-use digital camera is designed to capture your precious moments with clarity. Featuring a 3.0 MP effective still image resolution and 4x digital zoom, it is ideal for everyday photography. This manual provides detailed instructions to help you set up, operate, and maintain your camera for optimal performance.
Safety Information
- Battery Safety: Use only the specified battery type. Do not mix old and new batteries, or different types of batteries. Insert batteries with correct polarity. Remove batteries if the camera will not be used for an extended period.
- Water and Moisture: Keep the camera away from water and excessive moisture. Do not operate the camera with wet hands.
- Temperature: Avoid exposing the camera to extreme temperatures (hot or cold) or direct sunlight for prolonged periods.
- Cleaning: Use a soft, dry cloth for cleaning. Do not use liquid cleaners or solvents.
- Disassembly: Do not attempt to disassemble or repair the camera yourself. Refer all servicing to qualified personnel.
- Disposal: Dispose of the camera and batteries according to local regulations.
Package Contents
Please check that all items are present in the package:
- Sharper Image Digital Camera (Model F3405471)
- USB Cable
- Wrist Strap
- User Manual (this document)
- (Optional: Software CD, Pouch, Batteries - check your specific packaging)
Product Overview
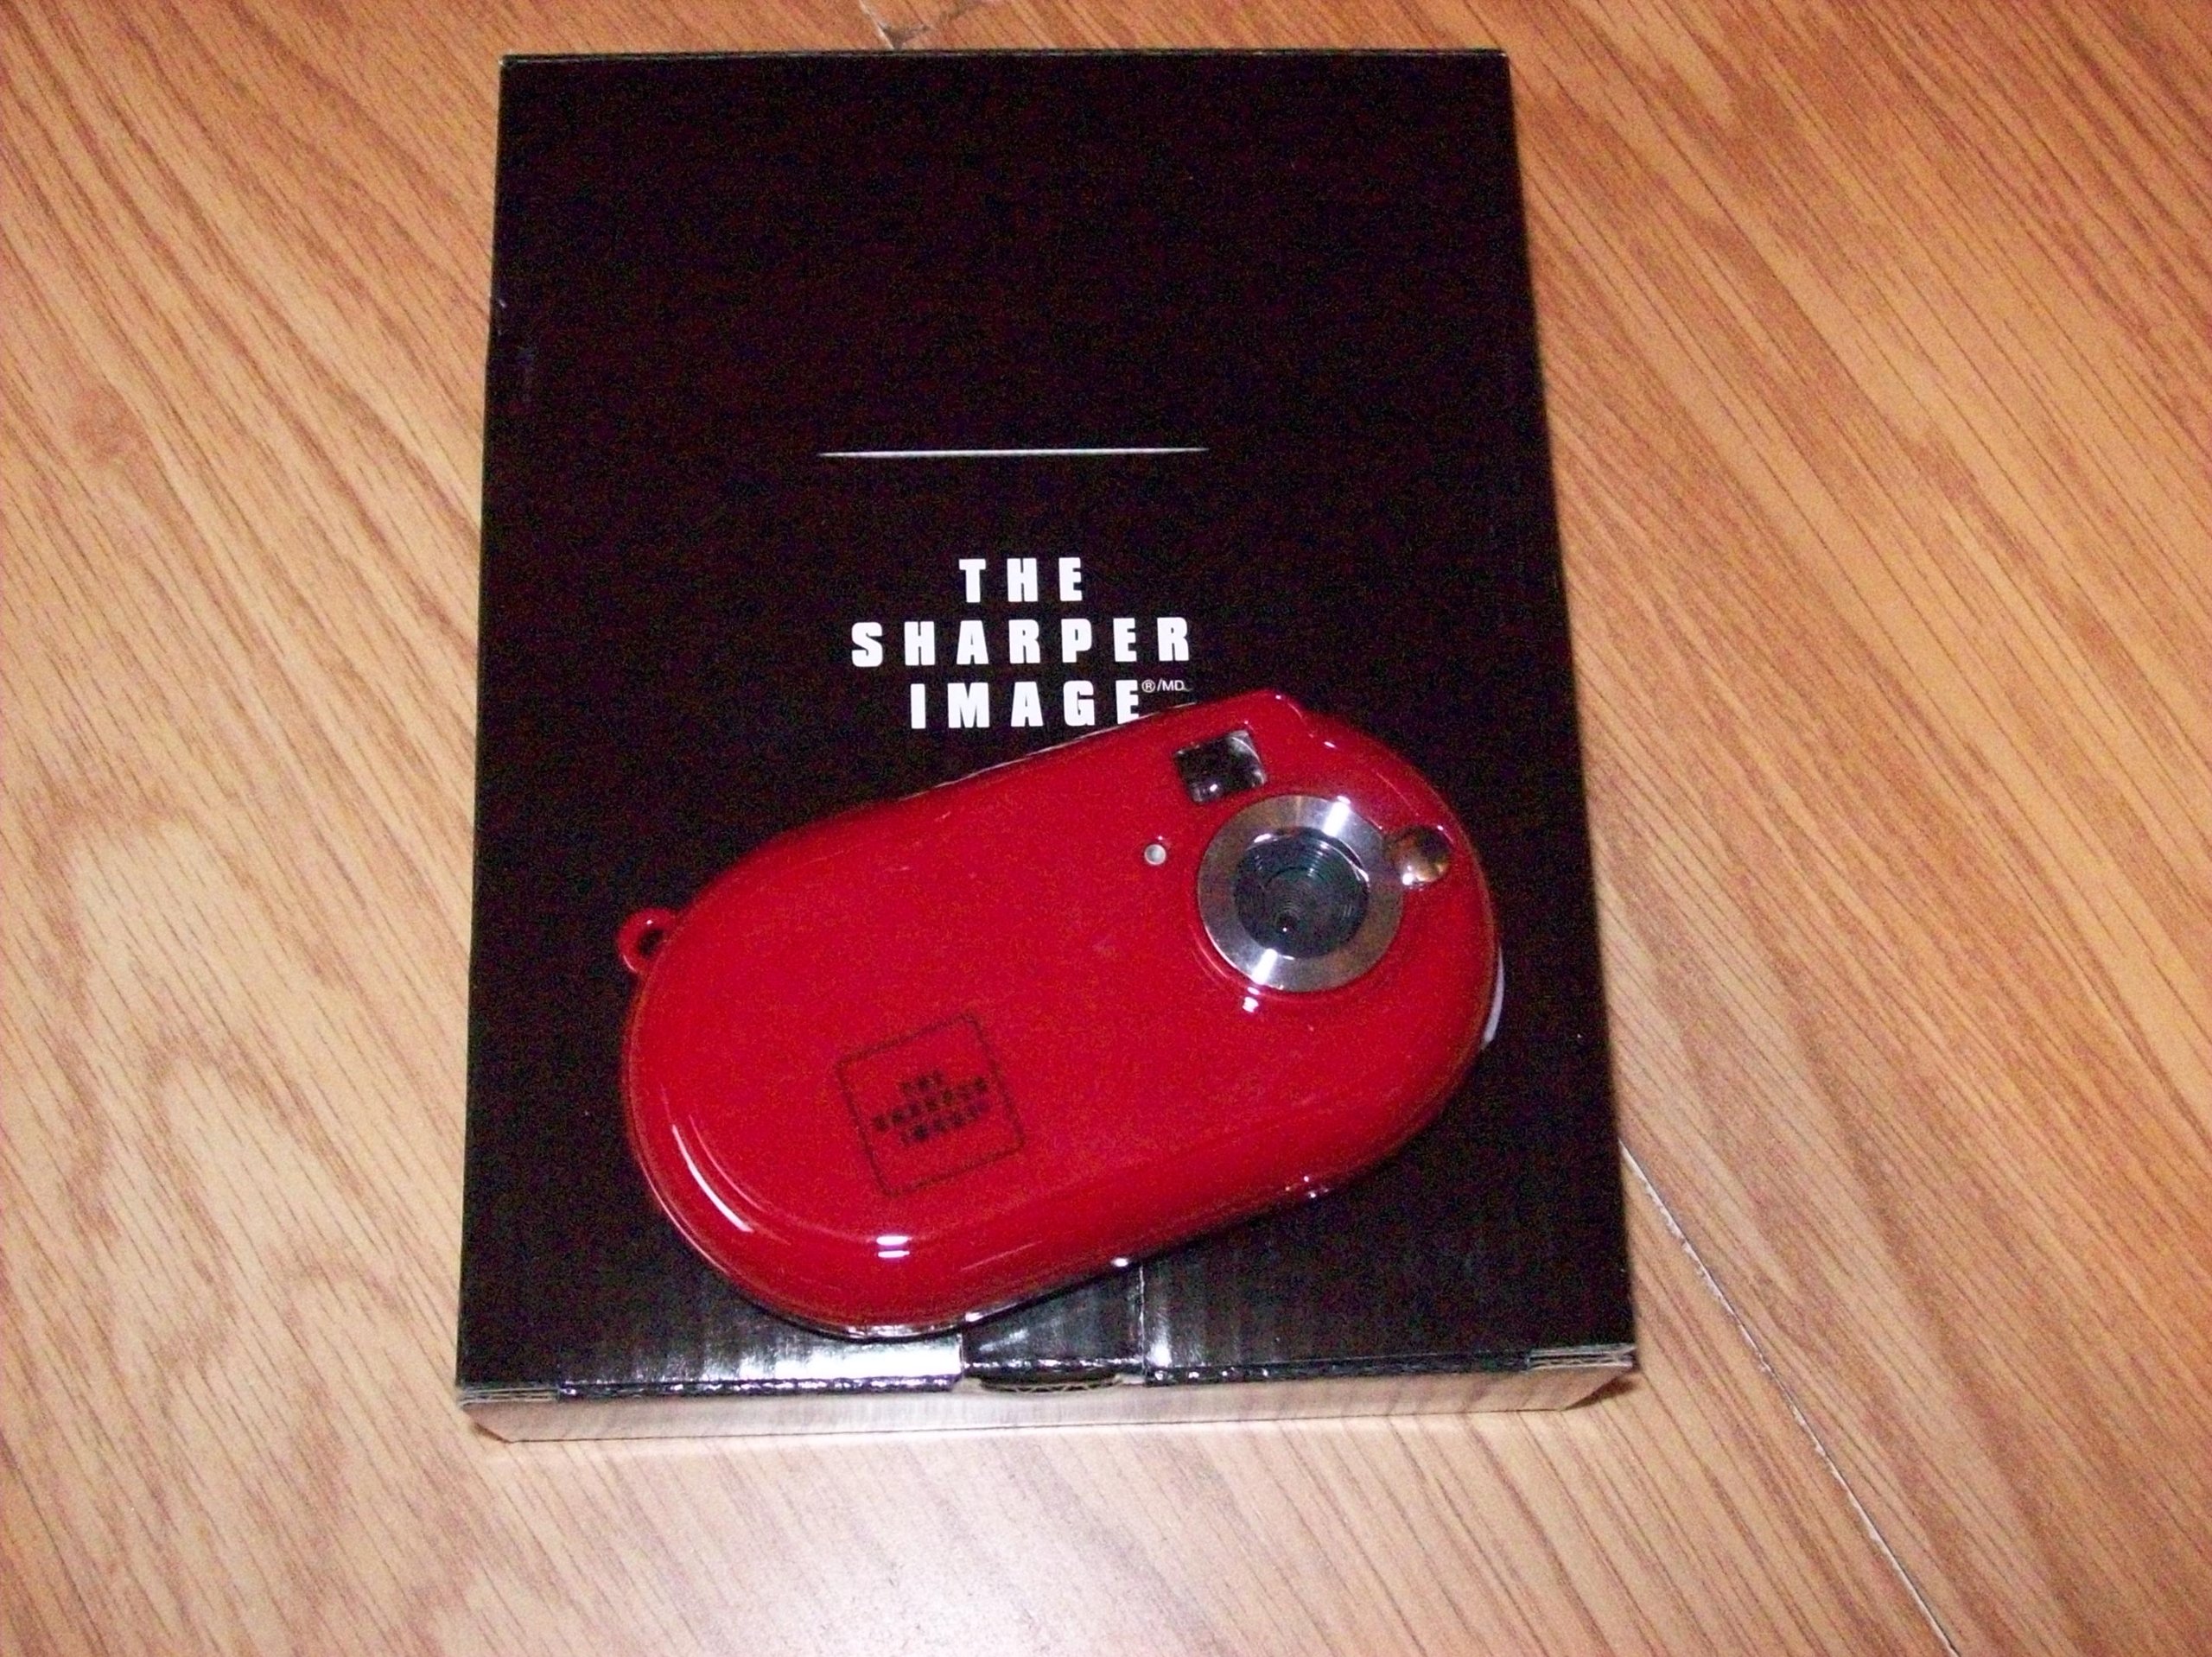
Figure 1: The Sharper Image Digital Camera (red, oval-shaped) resting on its black packaging box, which features the "THE SHARPER IMAGE" logo.
The Sharper Image Digital Camera is a compact device with a distinctive red, oval-shaped body. It features a lens assembly on the front, along with a flash and a small indicator light. The camera is designed for portability and ease of use, making it suitable for capturing everyday moments.
Key Components:
- Lens: Captures images.
- Flash: Provides illumination in low-light conditions.
- Shutter Button: Activates the camera to take a photo.
- Power Button: Turns the camera on/off.
- LCD Screen (if applicable): Displays menus, captured images, and live view.
- Navigation Buttons: For menu navigation and playback.
- Battery Compartment: Holds the batteries.
- Memory Card Slot: For inserting an SD card or similar storage media.
- USB Port: For connecting to a computer to transfer photos.
Setup
- Insert Batteries: Open the battery compartment cover. Insert the required batteries (e.g., AAA or AA, refer to the compartment label) ensuring correct polarity (+/-). Close the cover securely.
- Insert Memory Card: Locate the memory card slot. Insert a compatible memory card (e.g., SD card) until it clicks into place. Ensure the card is inserted in the correct orientation.
- Attach Wrist Strap: Thread the wrist strap through the designated loop on the camera body to prevent accidental drops.
- Power On: Press and hold the Power button until the camera turns on.
- Initial Settings: If prompted, set the date, time, and language using the navigation buttons and confirmation button.
Operating Instructions
Taking Photos:
- Turn On: Press the Power button to turn on the camera.
- Frame Your Shot: Use the LCD screen or viewfinder (if available) to compose your image.
- Zoom (Digital): Use the zoom buttons (if present) to digitally zoom in or out. Note that digital zoom may reduce image quality compared to optical zoom.
- Take Photo: Press the Shutter button fully down to capture the image. The camera may take a moment to process and save the photo.
Viewing Photos (Playback Mode):
- Enter Playback: Press the Playback button (often indicated by a triangle icon).
- Browse: Use the left/right navigation buttons to scroll through your captured images.
- Exit Playback: Press the Playback button again or the Shutter button to return to shooting mode.
Connecting to a Computer:
- Connect Cable: With the camera turned off, connect one end of the USB cable to the camera's USB port and the other end to a free USB port on your computer.
- Turn On Camera: Turn on the camera. It should be recognized as a removable disk or mass storage device by your computer.
- Transfer Files: Open the camera's drive on your computer and copy the desired image files to your computer's hard drive.
- Disconnect Safely: Safely eject the camera from your computer before disconnecting the USB cable.
Maintenance
- Cleaning the Camera Body: Use a soft, lint-free cloth to wipe the camera body. For stubborn dirt, slightly dampen the cloth with water, then wipe dry.
- Cleaning the Lens: Use a lens cleaning brush or a soft, clean microfiber cloth specifically designed for optics. Gently wipe the lens in a circular motion. Do not use abrasive materials or harsh chemicals.
- Storage: When not in use, store the camera in a cool, dry place, away from direct sunlight and extreme temperatures. If storing for a long period, remove the batteries to prevent leakage.
- Battery Care: Rechargeable batteries should be fully charged before storage and periodically recharged if stored for extended periods.
Troubleshooting
| Problem | Possible Cause / Solution |
|---|---|
| Camera does not turn on. |
|
| Cannot take photos. |
|
| Images are blurry. |
|
| Camera not recognized by computer. |
|
Specifications
| Feature | Detail |
|---|---|
| Product Model Number | F3405471 |
| Optical Zoom Magnification | 4 X |
| Lens Configuration | Zoom |
| Motor Type | Digital, Digital Zoom |
| Batteries Included | No |
| Item Weight | 907.18 g |
| Model Name | Sharper Image Digital Camera |
| Effective Still Image Resolution | 3 MP |
Warranty and Support
For warranty information and technical support, please refer to the warranty card included with your product or visit the official Sharper Image website. Keep your purchase receipt as proof of purchase for any warranty claims.
If you encounter issues not covered in the Troubleshooting section, please contact Sharper Image customer service for assistance.
Related documentsF3405471


Ask a question about this manual
Ask about setup, troubleshooting, compatibility, parts, safety, or missing instructions. Manuals+ will review the question and use this page’s manual context to help answer it.