
1. Important Safety Instructions
Always observe basic safety precautions to reduce the risk of fire, electric shock, and personal injury when operating this power tool. Read and understand all instructions before use.
- Work Area Safety: Keep your work area clean and well-lit. Cluttered or dark areas invite accidents. Do not operate power tools in explosive atmospheres, such as in the presence of flammable liquids, gases, or dust.
- Electrical Safety: Power tool plugs must match the outlet. Never modify the plug in any way. Avoid body contact with earthed or grounded surfaces such as pipes, radiators, ranges, and refrigerators.
- Personal Safety: Always wear eye protection (safety glasses or goggles) and hearing protection (earplugs or earmuffs). Use a dust mask in dusty conditions. Dress properly; do not wear loose clothing or jewelry. Secure long hair.
- Tool Use and Care: Do not force the power tool. Use the correct power tool for your application. Disconnect the plug from the power source before making any adjustments, changing accessories, or storing power tools.
- Specific Demolition Hammer Safety: Be aware of hidden wiring or plumbing when working in walls, floors, or ceilings. Always hold the tool firmly with both hands.
2. Product Overview
The Makita HM0870C is an 11-pound demolition hammer designed for demanding applications, featuring an SDS-Max chuck system for quick bit changes and a powerful 10 AMP motor.

Figure 2.1: Overall view of the Makita HM0870C Demolition Hammer.
Key components include:
- SDS-Max Chuck: For quick and secure bit insertion and removal.
- Side Handle: Adjustable for optimal control and comfort.
- Power Switch: Slide switch for continuous operation.
- LED Service Light: Indicates approximately 8 hours before carbon brushes require replacement.
- LED Power Light: Illuminates to indicate switch failure or cord damage.

Figure 2.2: Side view highlighting the main body and controls.

Figure 2.3: Detail of the LED service and power indicators.
3. Setup
Before operating the demolition hammer, ensure it is properly set up and all safety measures are in place.
3.1 Attaching the Side Handle
The side handle provides additional control and stability during operation.
- Loosen the clamp on the side handle by turning it counter-clockwise.
- Slide the handle onto the tool body to your desired position.
- Tighten the clamp by turning it clockwise until the handle is securely fastened.

Figure 3.1: Attaching and adjusting the side handle.
3.2 Installing the SDS-Max Bit
The SDS-Max chuck allows for quick and tool-free bit changes.
- Clean the shank of the SDS-Max bit and apply a small amount of grease to prevent premature wear.
- Pull back the chuck sleeve on the tool.
- Insert the bit into the chuck until it clicks into place.
- Release the chuck sleeve. Pull on the bit to ensure it is securely locked. A slight axial play is normal for SDS-Max systems.

Figure 3.2: Front view of the SDS-Max chuck for bit installation.
4. Operating Instructions
Follow these steps for safe and effective operation of your Makita HM0870C Demolition Hammer.
4.1 Starting and Stopping
- Ensure the tool is connected to a suitable power supply.
- To start the tool, slide the power switch to the 'ON' (I) position. The tool features a soft start function to suppress start-up reaction.
- To stop the tool, slide the power switch to the 'OFF' (O) position.

Figure 4.1: Detail of the ON/OFF slide switch.
4.2 Demolition Techniques
Hold the tool firmly with both hands. Apply moderate pressure to the workpiece. The tool's constant speed control will automatically apply additional power to the motor to maintain speed under load, ensuring consistent performance.
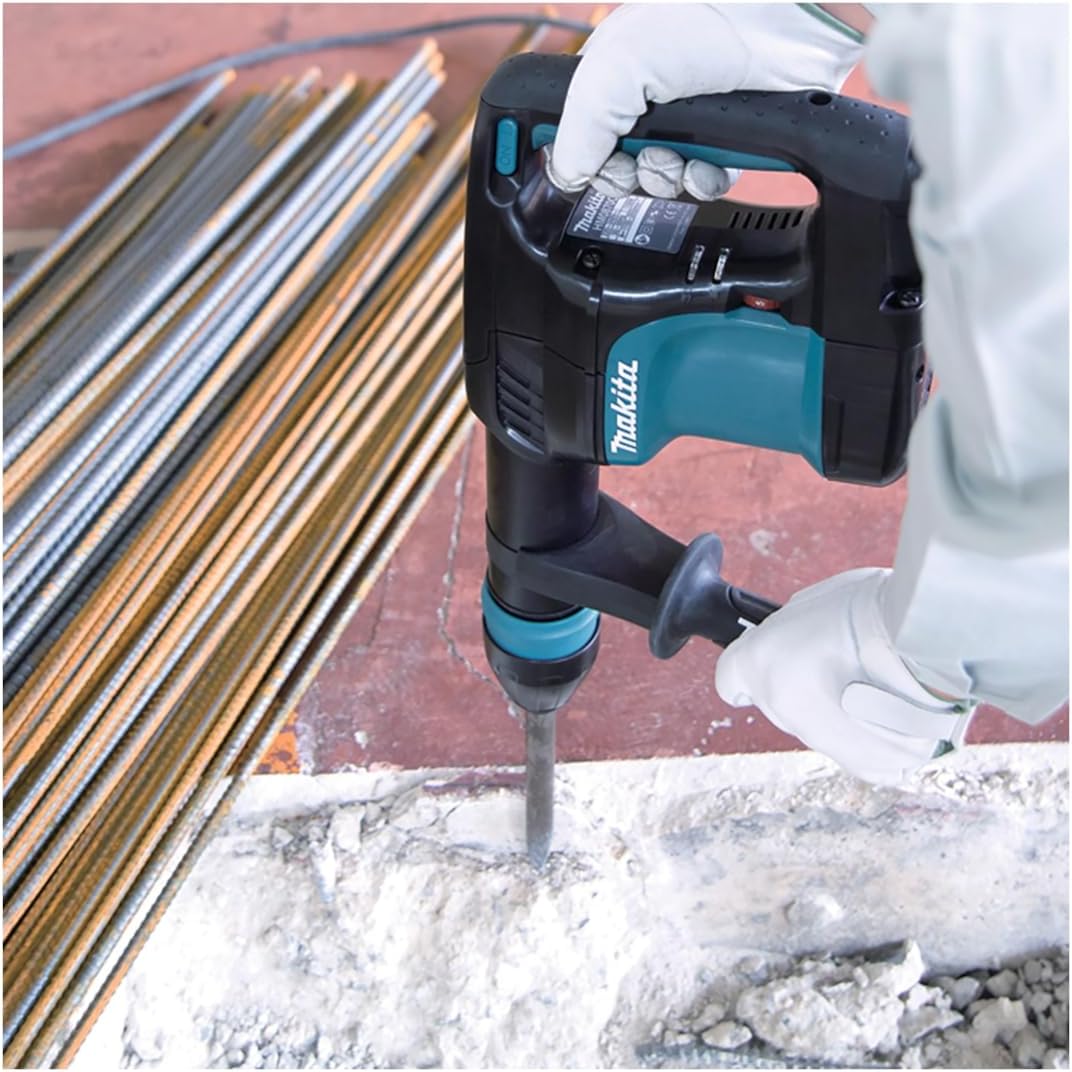
Figure 4.2: Demolition hammer in operation, demonstrating proper handling.
5. Maintenance
Regular maintenance ensures optimal performance and extends the life of your tool. Always disconnect the tool from the power supply before performing any maintenance.
- Cleaning: Regularly clean the tool's ventilation openings to prevent overheating. Wipe down the exterior with a soft, damp cloth. Do not use harsh chemicals or abrasive cleaners.
- Carbon Brush Replacement: The LED service light will illuminate approximately 8 hours before the carbon brushes need replacement. Replace both carbon brushes simultaneously. Refer to a qualified service center for brush replacement.
- Power Cord Inspection: The LED power light indicates switch failure or cord damage. Regularly inspect the power cord for any signs of damage. If damaged, have it replaced by a qualified technician.
- Lubrication: The internal components are factory-lubricated. Do not attempt to lubricate internal parts yourself. Refer to an authorized service center for any internal maintenance.
6. Troubleshooting
This section addresses common issues you might encounter with your demolition hammer.
| Problem | Possible Cause | Solution |
|---|---|---|
| Tool does not start | No power supply; Power switch off; Damaged cord/switch (LED power light on) | Check power connection; Ensure switch is ON; Inspect cord for damage, seek professional repair if LED power light is on. |
| Reduced impact power | Worn carbon brushes (LED service light on); Incorrect bit installation; Tool overheating | Replace carbon brushes (professional service recommended); Re-install bit correctly; Allow tool to cool down. |
| Excessive vibration | Worn bit; Loose side handle; Internal issue | Replace bit; Tighten side handle; Seek professional service. |
7. Specifications
Technical specifications for the Makita HM0870C Demolition Hammer.
| Feature | Specification |
|---|---|
| Brand | Makita |
| Model | HM0870C |
| Power Source | Corded Electric |
| Amperage | 10 Amps |
| Voltage | 24 Volts |
| Impact Energy | 8.4 ft. lbs. |
| Chuck Type | SDS-Max |
8. Warranty and Support
This Makita product is covered by the manufacturer's standard warranty. For detailed warranty information, service, or technical support, please refer to the official Makita website or contact an authorized Makita service center.
Official Makita Website: www.makitatools.com
Always use genuine Makita replacement parts and accessories to ensure compatibility and maintain warranty validity.


