1. Introduction
The CURT Venturer Electric Trailer Brake Controller (Model 51110) is a time-based system designed to provide reliable and smooth braking for your trailer. This compact unit is engineered for ease of setup and operation, featuring an automatic power level adjustment and compatibility with various trailer configurations.
It is suitable for trailers with one to three axles (two to six brakes) and is compatible with anti-lock braking systems (ABS), cruise control, low-voltage systems, and PWM systems. The Venturer controller utilizes quick-plug technology for straightforward integration with your vehicle's existing wiring, and its versatile design allows for mounting at any angle within the vehicle's cabin.
2. Key Features and Benefits
- Reliable Safety: Offers safe, dependable operation by increasing trailer brake pressure proportionally as the vehicle's brake pedal is depressed, ensuring a smooth stop for both vehicle and trailer.
- Easy to Use: Features an easy-to-read, ramp-up LED display for monitoring brake operation. Its design is simple and reliable, with no internal moving parts and no leveling required for installation.
- Powerful Control: Provides powerful brake operation through simple controls, including a manual brake slider button, an adjustable power toggle, and adjustable ramp time.
- Versatile Compatibility: Can be used with virtually any trailer equipped with 1 to 3 axles (2 to 6 brakes). It maintains full compatibility with cruise control, anti-lock brakes, low-voltage systems, and PWM systems.
- Simple Setup: Designed for quick plug-in installation using a CURT vehicle-specific quick plug harness (sold separately). Includes an adjustable mounting bracket for flexible installation at any angle.
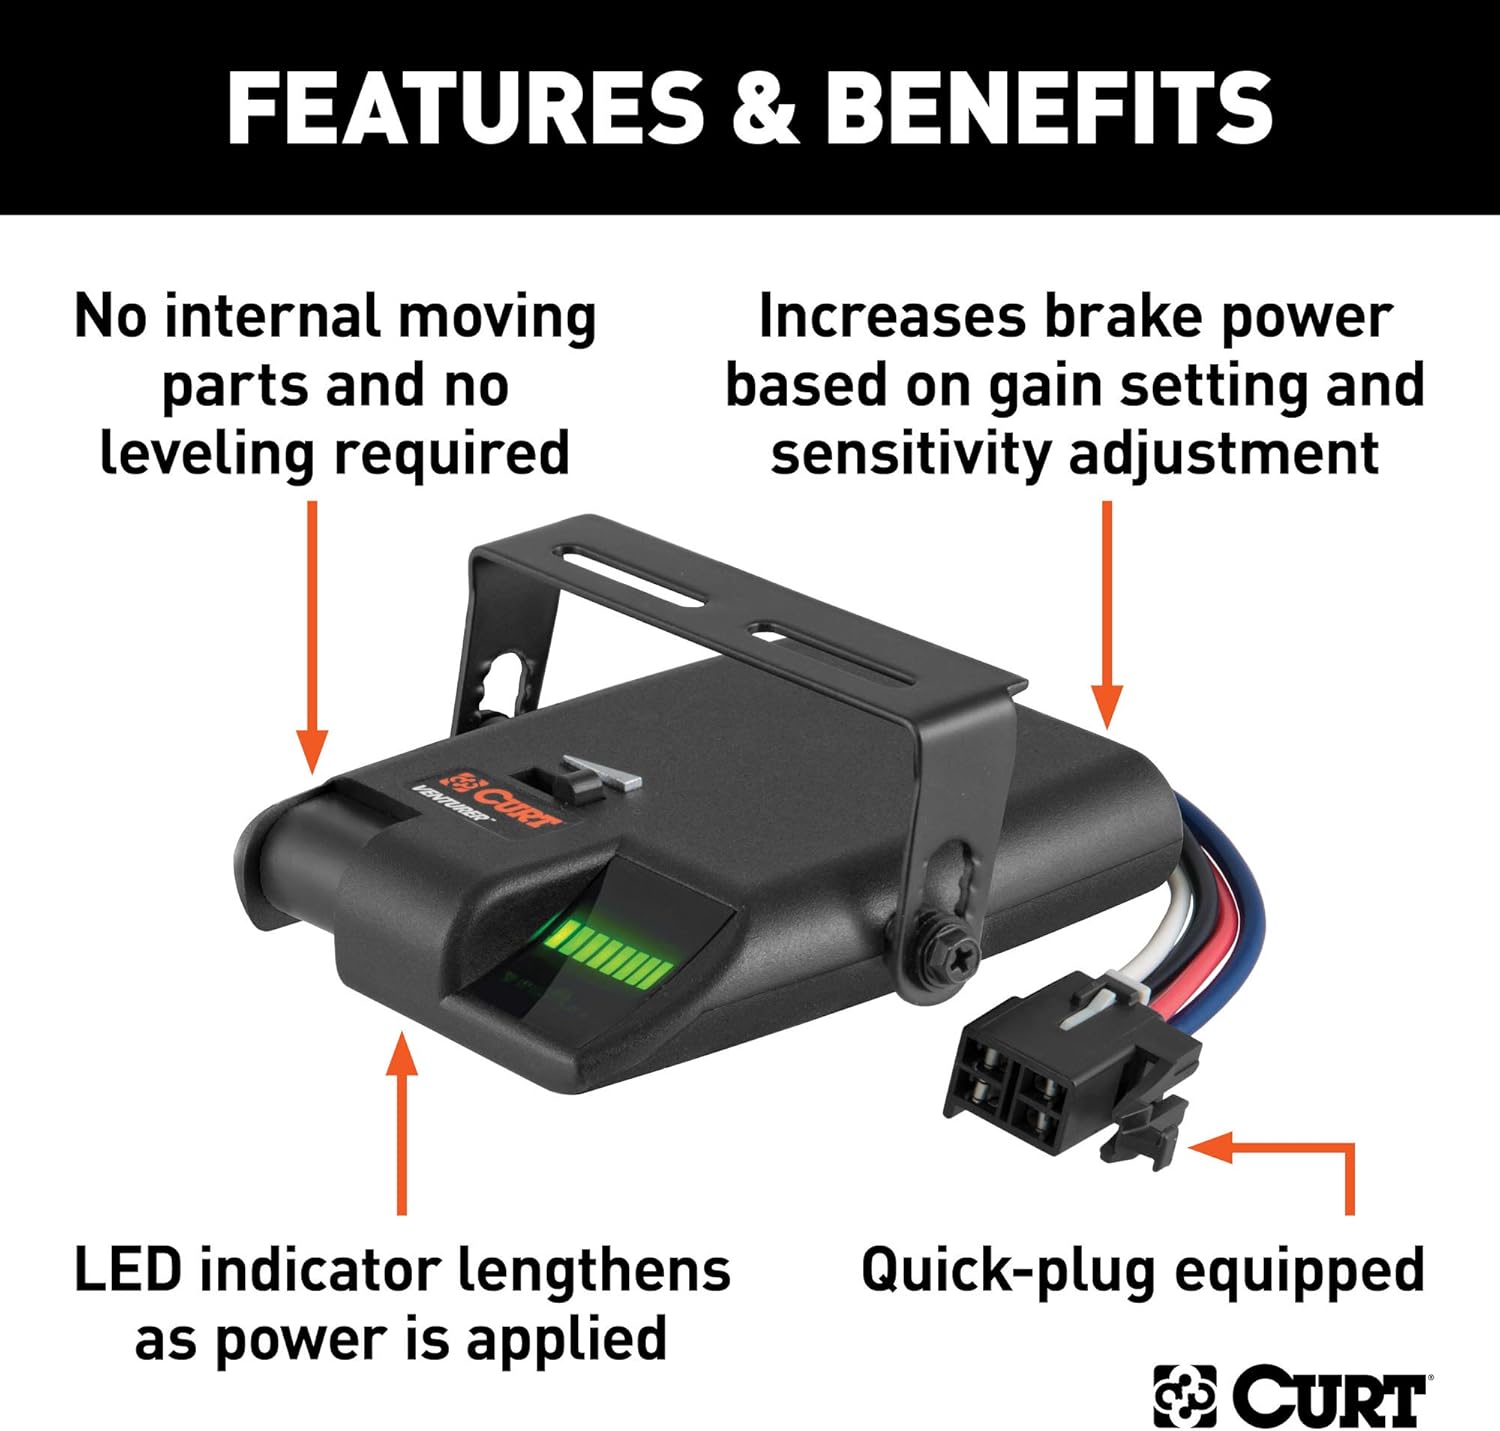
Image: Overview of the CURT Venturer Brake Controller highlighting its key features and benefits, including the LED indicator, quick-plug capability, and absence of internal moving parts.
3. What's in the Box
Upon opening the package, you should find the following components:
- CURT Venturer Electric Trailer Brake Controller (Model 51110)
- Adjustable Mounting Bracket
- Mounting Hardware (screws, nuts, etc.)
Note: A vehicle-specific quick plug harness is sold separately and is required for plug-and-play installation.

Image: The CURT Venturer Brake Controller shown in its retail packaging, indicating the product as it appears when purchased.
4. Specifications
| Attribute | Value |
|---|---|
| Brand | CURT |
| Model | Venturer (51110) |
| Item Dimensions (L x W x H) | 8 x 2 x 5 inches |
| Material | Plastic |
| Item Weight | 7.4 ounces |
| Maximum Supply Voltage | 12 Volts (DC) |
| Measuring Range (Axles/Brakes) | 1 to 3 axles (2 to 6 brakes) |
| Mounting Type | Any angle mount |
| Output Type | Electrical Signal |
| Specific Uses | Towing trailers |

Image: Diagram illustrating the approximate dimensions of the CURT Venturer Brake Controller, including length, width, and height measurements.
5. Setup and Installation
5.1. Mounting Location
The Venturer brake controller can be mounted at any angle. For optimal accessibility and visibility, it is recommended to mount the unit on the dash of your vehicle, preferably below the steering wheel on either the right or left side of the steering column. This placement ensures the control does not obstruct your view while driving but remains within easy reach for adjustments.

Image: The CURT Venturer Brake Controller mounted under a vehicle dashboard, demonstrating its flexible mounting capabilities at various angles.
5.2. Wiring Connection
The Venturer controller is designed to work with quick plugs for easy connection to your vehicle's original equipment socket. A CURT vehicle-specific quick plug harness (sold separately) is recommended for a seamless plug-and-play installation. Refer to the harness instructions for specific wiring details for your vehicle model.
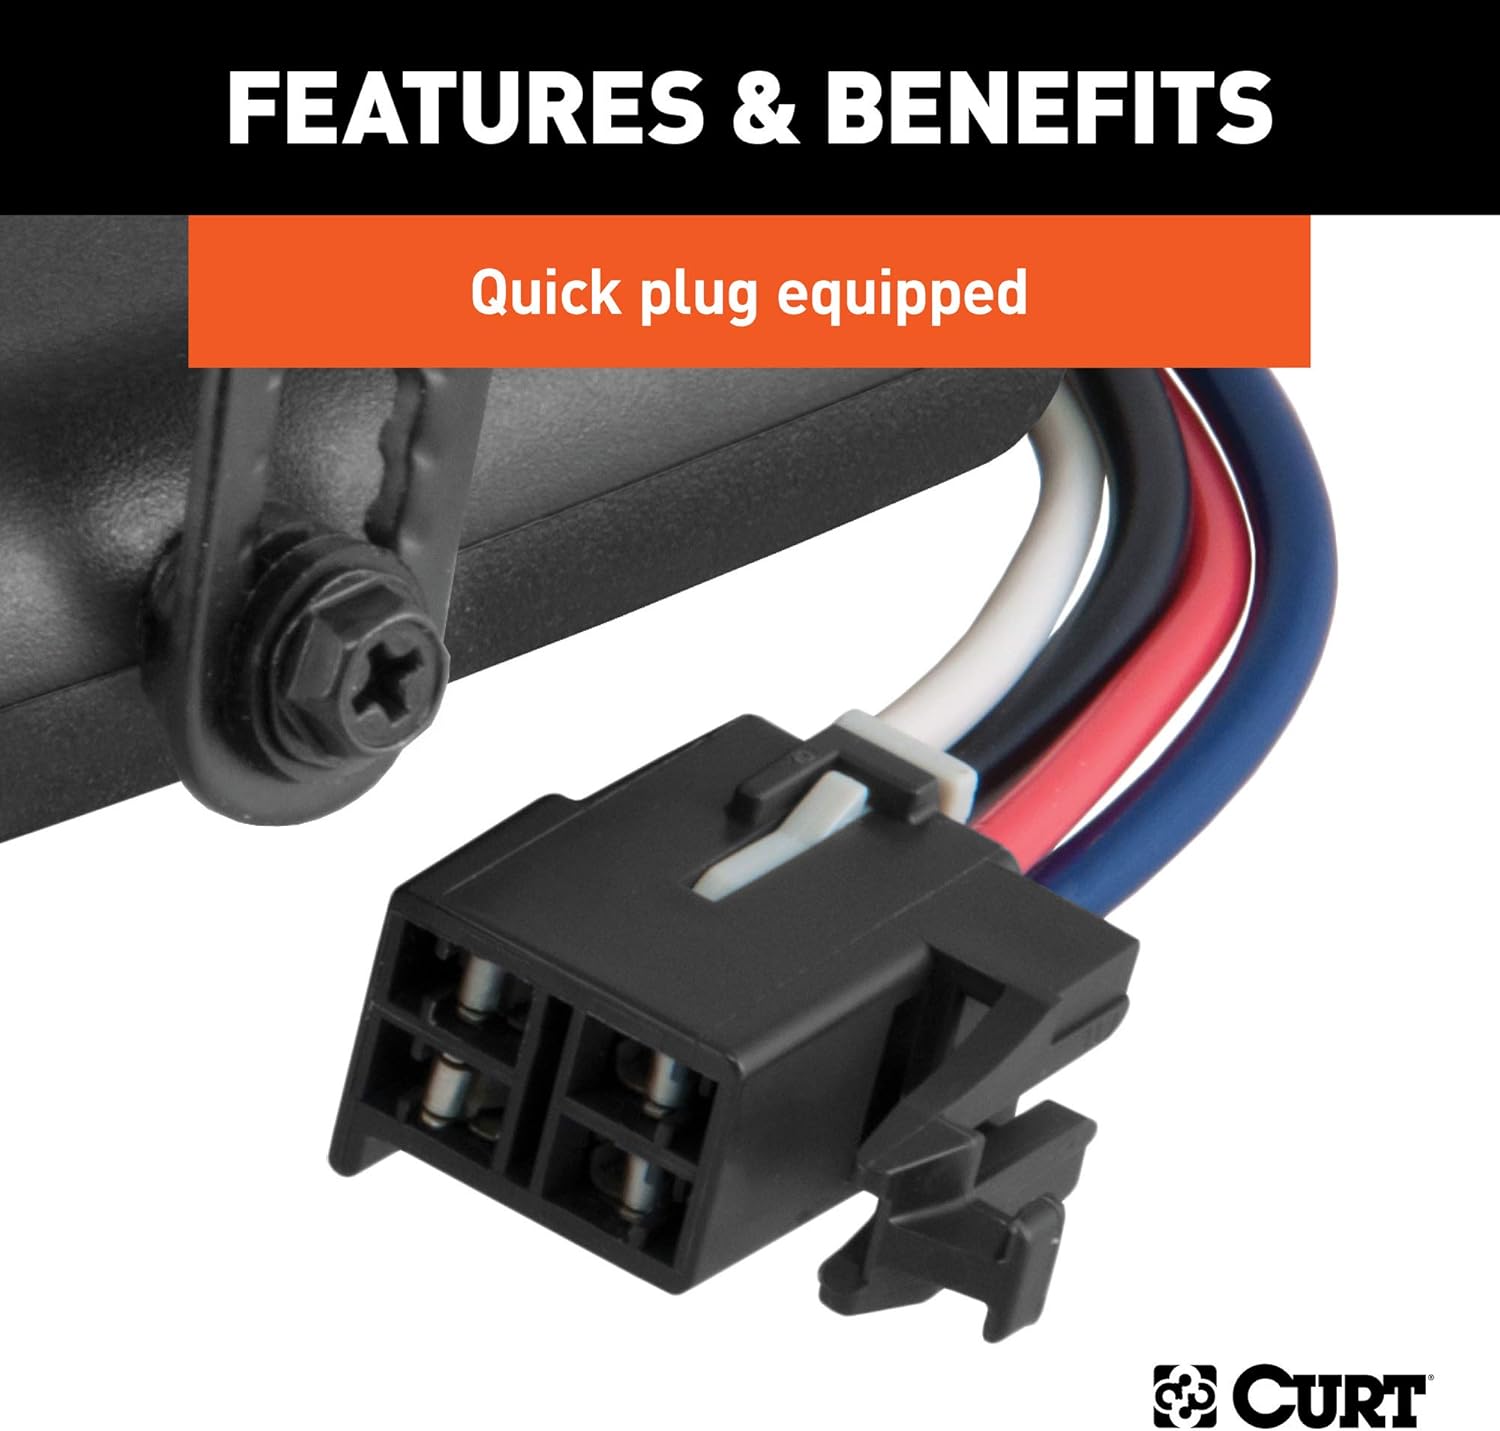
Image: A close-up view of the quick-plug connector on the CURT Venturer Brake Controller, illustrating its design for easy and secure electrical connection.
5.3. Initial Power-Up
Once mounted and connected, the unit will power on when the vehicle's ignition is active. The LED display will indicate its status.
6. Operating Instructions
6.1. LED Display
The Venturer features an LED display that provides visual feedback on brake pressure. As brake power is applied, the LED indicator will lengthen, showing the increasing intensity of the trailer braking.

Image: A detailed view of the LED indicator on the CURT Venturer Brake Controller, showing how the illuminated bars extend to indicate increasing brake power.
6.2. Adjusting Brake Power (Gain)
The controller includes an adjustable power toggle (often referred to as 'gain' control) to set the maximum braking force applied to the trailer. This adjustment allows you to fine-tune the braking intensity to match your trailer's weight and load conditions. Adjust the toggle to achieve smooth, firm braking without locking up the trailer wheels.
6.3. Adjusting Ramp Time (Aggressiveness)
An adjustable ramp time feature allows you to control how quickly the brake power reaches its maximum set level. A shorter ramp time results in more aggressive braking, while a longer ramp time provides a smoother, more gradual application of trailer brakes. Experiment with this setting to find the optimal feel for your towing setup.
6.4. Manual Brake Slider
The manual brake slider button provides immediate, full braking power to the trailer independently of the vehicle's brakes. This feature is useful for testing the trailer brakes, or for situations where additional trailer braking is needed, such as controlling sway or slowing down on a downgrade.
7. Maintenance
- Cleaning: Keep the unit clean and free from dust and debris. Use a soft, dry cloth for cleaning. Do not use abrasive cleaners or solvents.
- Wiring Inspection: Periodically inspect all wiring connections for signs of wear, corrosion, or loose connections. Ensure the quick plug harness is securely seated.
- Functionality Check: Before each towing trip, perform a quick check of the brake controller's functionality. Ensure the LED display responds correctly to brake pedal input and that the manual override functions as expected.
- Storage: If the controller is removed from the vehicle for extended periods, store it in a dry, cool place away from direct sunlight and extreme temperatures.
8. Troubleshooting
| Problem | Possible Cause | Solution |
|---|---|---|
| Controller not powering on. | No power from vehicle; loose connection; blown fuse. | Check vehicle's fuse box for trailer brake circuit fuse. Ensure all connections are secure. Verify vehicle's trailer wiring is active. |
| No trailer brakes when vehicle brakes are applied. | Trailer not connected; incorrect gain setting; wiring issue on trailer or vehicle. | Ensure trailer is properly connected. Increase gain setting. Inspect trailer and vehicle wiring for damage or corrosion. |
| Trailer brakes lock up or are too aggressive. | Gain setting too high; ramp time too short. | Decrease the gain setting. Increase the ramp time for smoother braking. |
| Inconsistent braking. | Loose wiring connections; faulty trailer brake components. | Check all electrical connections. Inspect trailer brake assemblies for proper function. |
| Manual override not working. | Wiring issue; internal controller fault. | Verify wiring to the controller. If problem persists, contact customer support. |
If you encounter issues not listed here or if the suggested solutions do not resolve the problem, please contact CURT customer support.
9. Warranty Information
CURT Manufacturing, LLC warrants this product to be free of defects in material and/or workmanship for a limited period from the date of original purchase. Specific warranty terms and conditions may vary. Please refer to the official CURT website or the warranty card included with your product for complete details regarding warranty coverage, limitations, and claims procedures.
10. Customer Support
For technical assistance, troubleshooting, or to inquire about replacement parts, please contact CURT customer support:
- Website: www.curtmfg.com
- Phone: Refer to the CURT website for current contact numbers.
- Online Resources: Additional installation guides, FAQs, and product information may be available on the CURT website.


