
Introduction
This manual provides detailed instructions for the assembly, use, and maintenance of your Caravan Canopy Powder Coated Heavy Duty Steel Frame Pop Up Carport. Please read all instructions carefully before assembly and use to ensure safe and proper operation. This carport is designed to provide shade and shelter for vehicles, outdoor activities, and events.
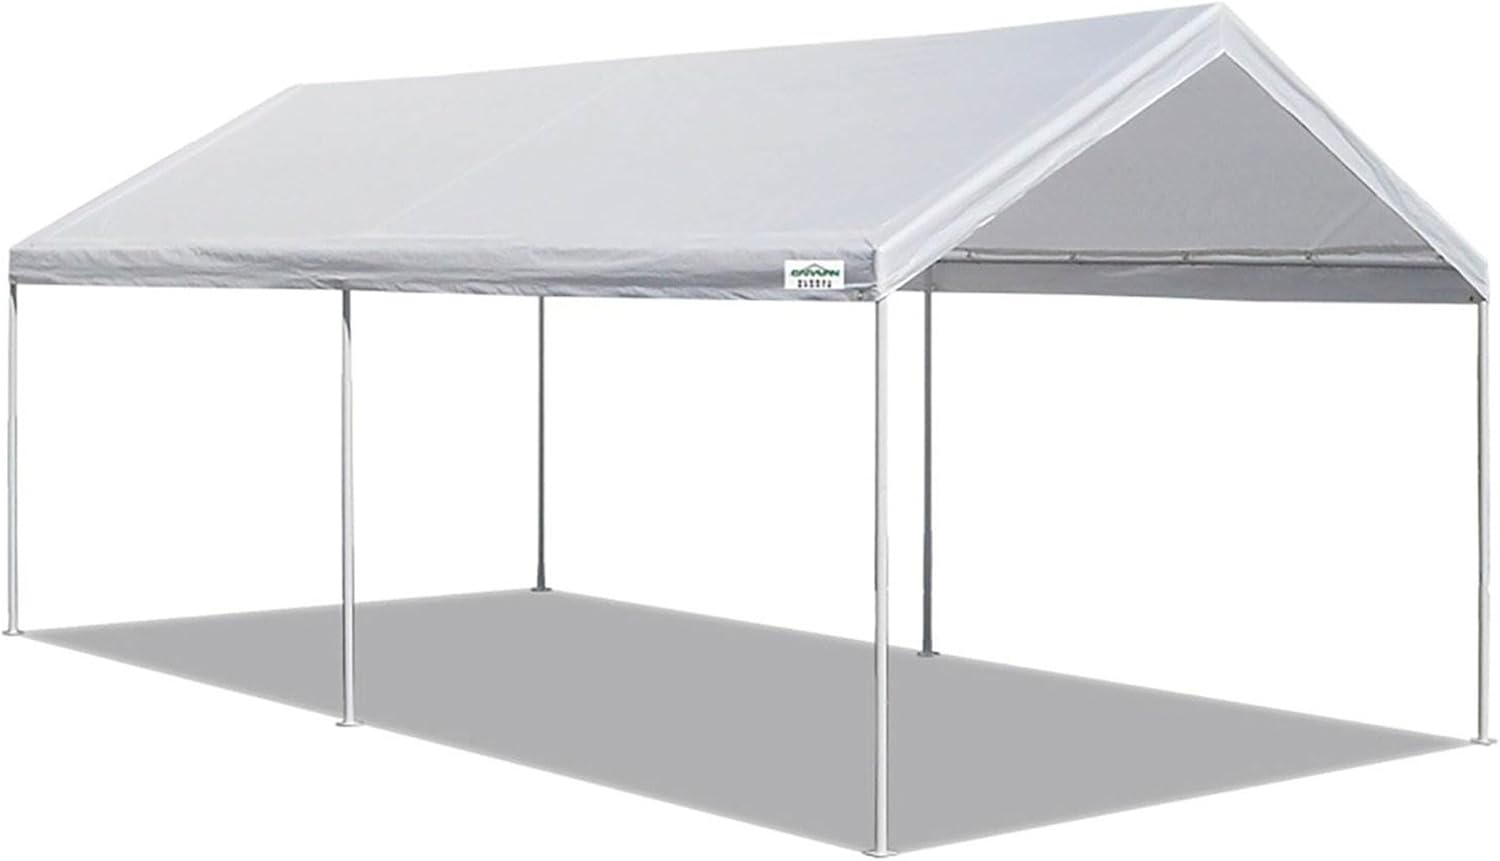
Figure 1: Fully assembled Caravan Canopy Carport, providing shade.
Important Safety Information
WARNING: Failure to follow these instructions may result in serious injury or property damage.
- This product provides protection against sun and rain but should be securely anchored during use, especially in windy conditions.
- Handle the steel frame with care during setup and dismantling to avoid injury.
- Do not use in extreme weather conditions such as heavy winds, snow, or ice. Remove canopy top during such conditions to prevent damage.
- Ensure all connections are secure before use.
- Keep children and pets away from the assembly area.
Parts List
Before beginning assembly, ensure all parts are present and undamaged. Refer to the diagram below for component identification.

Figure 2: All carport components laid out for identification.
| Component | Description | Quantity |
|---|---|---|
| Frame Poles | Various lengths of steel poles for frame structure | Varies |
| Connectors | Corner and center connectors | Varies |
| Canopy Top | Polyethylene fabric cover | 1 |
| Foot Plates | Base plates for leg poles | 6 |
| Stakes | Metal stakes for ground anchoring | 6 |
| Bungee Cords | Elastic cords for securing canopy | Varies |
| Ropes | Ropes for additional anchoring | Varies |
Assembly Instructions
Follow these steps to assemble your carport. It is recommended to have at least two people for assembly.
Step 1: Lay Out All Parts
Unpack all components and lay them out on a flat, clear surface. Organize poles by their labeled numbers (e.g., 1, 2, 4) and connectors (corner, center) to facilitate assembly.
Video 1: Unboxing and laying out carport components.
Step 2: Assemble the Top Frame
Connect the numbered poles according to the instructions, using the appropriate corner and center connectors. Ensure all connections are secure.
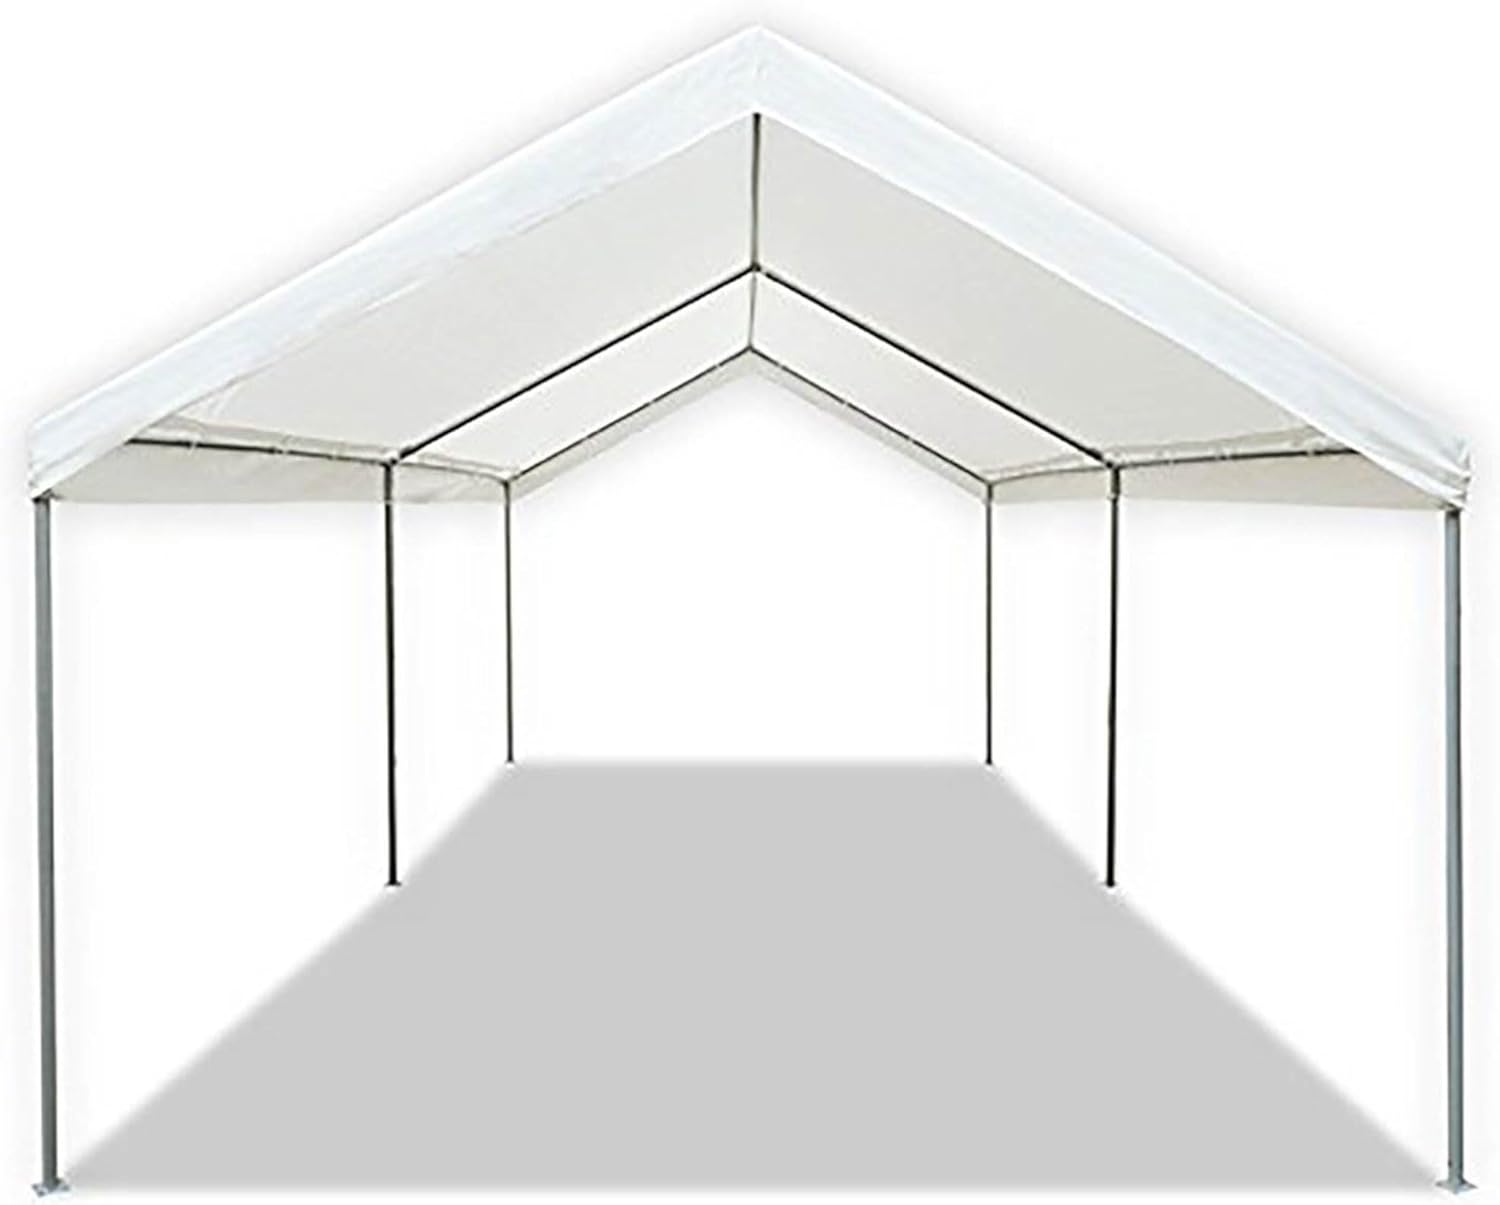
Figure 3: Detail of a frame joint, showing secure connection points.
Video 2: Demonstrating the connection of frame poles and connectors.
Step 3: Add Cross Supports
Install the cross supports to the top frame using the provided brackets and screws. This adds stability to the structure.
Video 3: Installation of cross supports for enhanced frame stability.
Step 4: Attach the Canopy Top
Carefully drape the polyethylene canopy top over the assembled frame. Secure the canopy to the frame using the bungee cords, looping them through the grommets and around the frame poles.
Video 4: Attaching the canopy top to the frame using bungee cords.
Step 5: Install Leg Poles and Foot Plates
Attach the leg poles to the top frame, ensuring they click into place. Secure the foot plates to the bottom of each leg pole. These plates provide a stable base for anchoring.
Video 5: Installing leg poles and securing foot plates.
Step 6: Secure the Carport
Use the provided metal stakes and ropes to anchor the carport firmly to the ground. Drive the stakes through the holes in the foot plates and into the ground. Tie the ropes to the frame and anchor them to the ground for additional stability, especially in anticipation of wind.
Video 6: Demonstrating how to secure the carport with stakes and ropes.
Operating Instructions
Your Caravan Canopy Carport is designed for versatile use:
- Vehicle Shelter: Park your car, truck, or other vehicle underneath to protect it from sun, rain, and light debris.
- Outdoor Activities: Use as a shaded area for picnics, gatherings, or other outdoor events.
- Temporary Storage: Provides temporary shelter for equipment or materials.

Figure 4: A vehicle parked under the carport, illustrating its primary use.

Figure 5: The carport providing shade for an outdoor gathering.
Maintenance
- Cleaning: Clean the canopy top with mild soap and water. Avoid harsh chemicals.
- Frame Care: The powder-coated steel frame is designed to resist rust and corrosion. Inspect regularly for any signs of damage or wear.
- Canopy Longevity: The polyethylene top offers UV protection. To extend its lifespan, especially in areas with intense sun exposure, consider adding an additional UV-resistant tarp over the canopy.
- Storage: When not in use for extended periods or during severe weather, disassemble and store the carport in a dry, protected area.
Troubleshooting
| Problem | Possible Cause | Solution |
|---|---|---|
| Carport instability in wind | Insufficient anchoring; extreme wind conditions | Ensure all 6 stakes are firmly driven into the ground. Use additional ropes and anchors if necessary. Disassemble during severe weather. |
| Poles not fitting together | Incorrect pole orientation; slight manufacturing variance | Verify pole numbers and orientation. Apply slight pressure or gently tap connections. If a pole is bent, contact customer support. |
| Canopy top appears too small/tight | Frame joints not fully seated; cold weather shrinkage | Re-check all frame joints for full seating. Allow canopy to warm up slightly before stretching if assembled in cold weather. |
| Water pooling on canopy | Insufficient tension; heavy rain | Ensure canopy is tightly secured with bungee cords. Periodically clear any accumulated water. |
Specifications
| Feature | Detail |
|---|---|
| Brand | Caravan |
| Model Number | 22006200010 |
| Material | Frame: Alloy Steel, Metal; Canopy: Polyester (Polyethylene) |
| Color | White |
| Product Dimensions | 240"L x 120"W x 103"H (20 ft L x 10 ft W x 8.5 ft H) |
| Item Weight | 51.5 pounds (23.4 Kilograms) |
| Floor Area | 200 Square Feet |
| UV Protection | Yes, up to 99% harmful sun ray protection |
| Water Resistance Level | Water Resistant |
| Assembly Required | Yes |
| Included Accessories | 6 Steel Stakes |
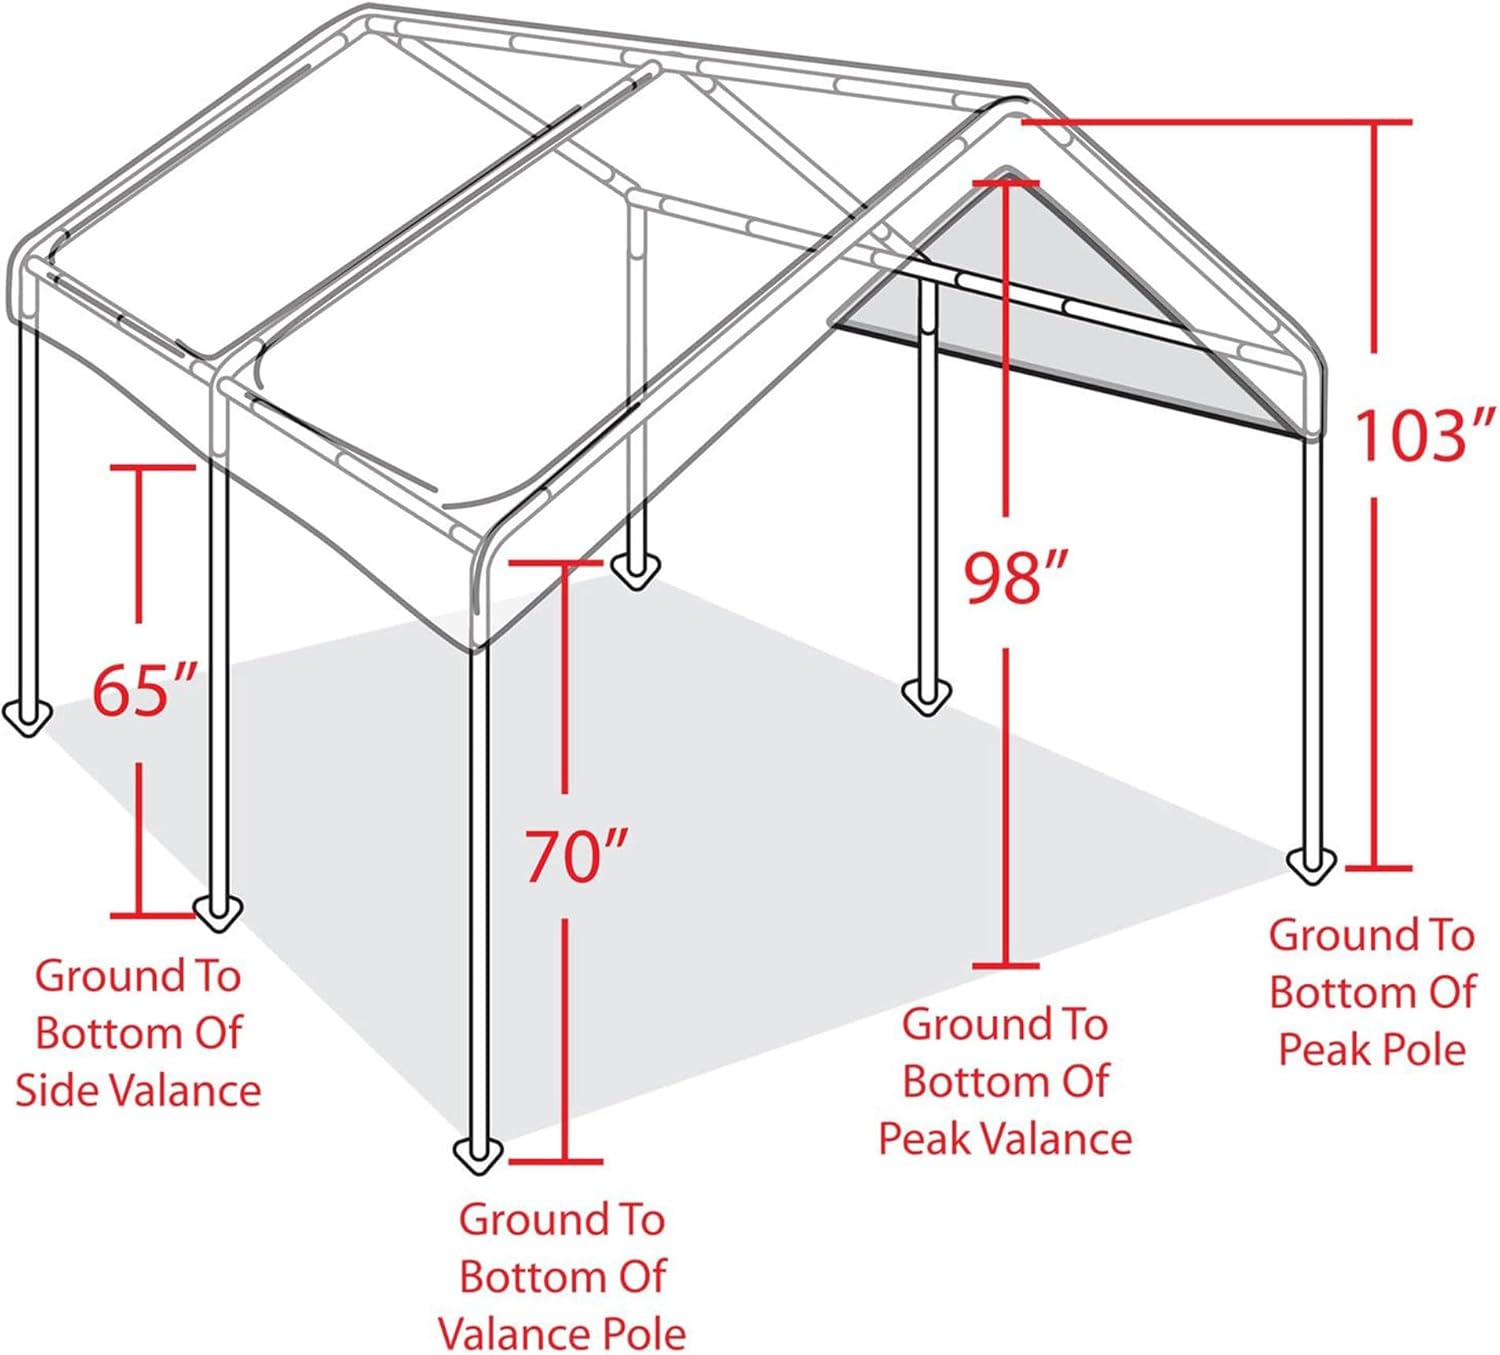
Figure 6: Detailed dimensions of the carport.
Warranty and Support
Caravan Canopy stands behind its products with a limited warranty. For specific warranty details, claims, or customer support, please refer to the documentation included with your purchase or visit the official Caravan website.
For assistance with missing parts, assembly issues, or any other product-related inquiries, please contact Caravan customer service.


