
Dorman 81001
Dorman 81001 U-Joint Repair Kit Instruction Manual
Model: 81001 | Brand: Dorman
1. Product Overview
The Dorman 81001 U-Joint Repair Kit is a direct replacement component designed to match the original parts required to repair and resecure universal joints on specified vehicles. This kit provides a reliable solution for original components that may be missing or have failed due to wear and fatigue, ensuring the proper function and longevity of your vehicle's drivetrain.
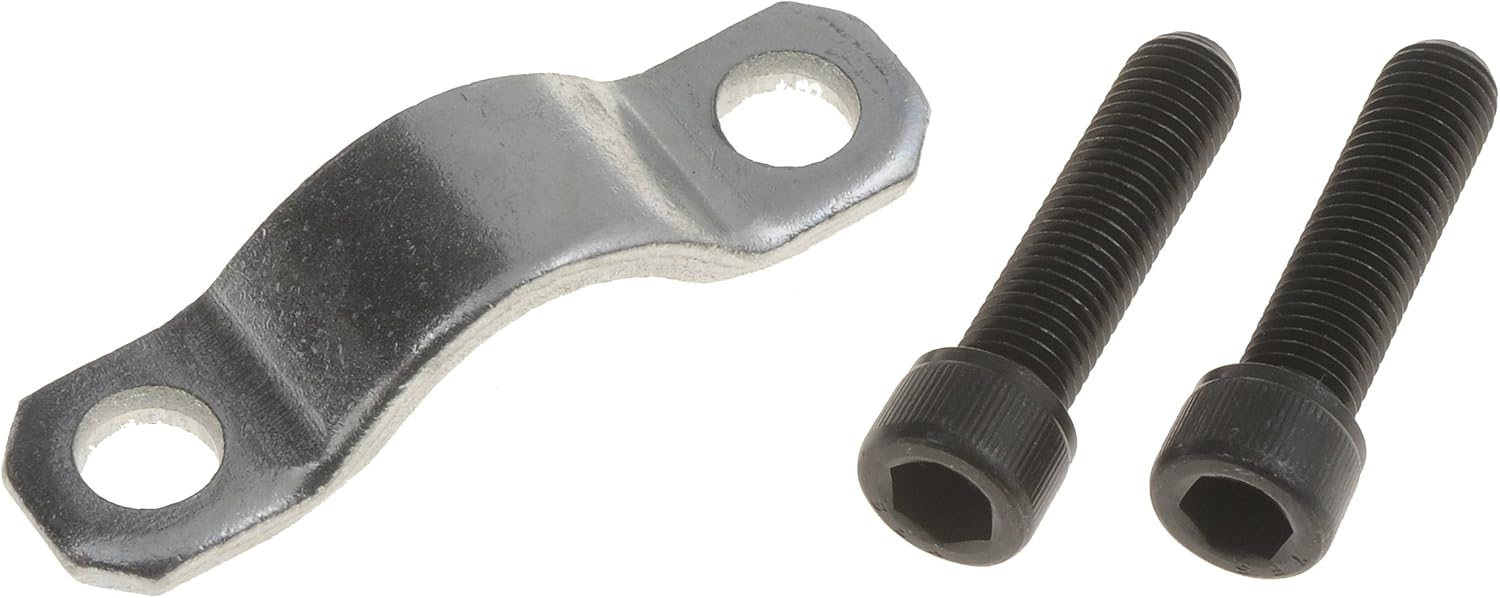
Image 1.1: Components of the Dorman 81001 U-Joint Repair Kit, showing the metal strap and two securing bolts.

Image 1.2: An alternative perspective of the Dorman 81001 U-Joint Repair Kit, highlighting the design of the strap.
2. Preparation and Safety
Before beginning any work on your vehicle, ensure you have read and understood all safety precautions. Proper preparation is crucial for a safe and successful installation.
2.1 Safety Precautions
- Always wear appropriate personal protective equipment (PPE), including safety glasses and gloves.
- Ensure the vehicle is parked on a level surface, the parking brake is engaged, and the wheels are chocked.
- Use jack stands to support the vehicle securely after lifting; never rely solely on a jack.
- Allow the vehicle to cool down before working on hot components.
2.2 Tools Required
- Socket wrench set
- Torque wrench (if specific torque specifications are available for your vehicle)
- Wire brush or cleaner for surface preparation
- Vehicle lift or floor jack and jack stands
3. Installation Instructions
Follow these steps carefully to install the Dorman 81001 U-Joint Repair Kit.
- Prepare Vehicle: Safely lift and support the vehicle using a lift or jack stands, ensuring adequate clearance to access the driveshaft and U-joint.
- Locate U-Joint: Identify the universal joint that requires the strap kit replacement. This is typically where the driveshaft connects to the differential or transmission yoke.
- Remove Old Components: Carefully remove the existing U-joint straps or bolts that secure the U-joint to the yoke. Dispose of old components properly.
- Clean Mounting Surface: Use a wire brush or suitable cleaner to remove any rust, dirt, or debris from the yoke's mounting surface to ensure a clean and secure fit for the new straps.
- Position U-Joint (if applicable): If the U-joint itself was removed or replaced, ensure it is correctly seated in the yoke.
- Install New Straps: Place the new Dorman 81001 straps over the U-joint bearing caps, aligning the holes in the straps with the bolt holes in the yoke.
- Insert and Tighten Bolts: Insert the new bolts provided with the kit through the straps and into the yoke. Hand-tighten them initially.
- Final Tightening: Using a socket wrench, tighten the bolts securely. If your vehicle's service manual specifies a torque value for U-joint strap bolts, use a torque wrench to tighten them to the manufacturer's specifications. Ensure even tightening to prevent stress on the U-joint.
- Lower Vehicle: Once the installation is complete, carefully lower the vehicle.
- Test Operation: After installation, test the vehicle's operation at low speeds to ensure proper function and no unusual noises or vibrations from the drivetrain.
4. Maintenance
The Dorman 81001 U-Joint Repair Kit is designed for durability. Regular inspection of your vehicle's drivetrain components can help identify potential issues early.
- Periodically inspect the U-joint straps and bolts for any signs of loosening, corrosion, or damage.
- Ensure the U-joint itself is free from excessive play or binding.
- Address any unusual noises or vibrations from the driveshaft area promptly.
5. Troubleshooting
If you encounter issues after installing the U-Joint Repair Kit, refer to the table below for common problems and potential solutions.
| Problem | Possible Cause | Solution |
|---|---|---|
| Vibration after installation | U-joint not properly seated; bolts not tightened evenly or to specification; U-joint itself is faulty. | Re-check U-joint seating and bolt torque. Inspect the U-joint for damage or excessive play. |
| Clicking or clunking noise | Loose straps/bolts; worn U-joint. | Verify bolts are tight. If noise persists, the U-joint may need replacement. |
| Straps appear loose | Bolts not tightened sufficiently; incorrect strap size (unlikely for direct replacement). | Re-tighten bolts to specification. Ensure correct part was used for your vehicle. |
6. Product Specifications
Key specifications for the Dorman 81001 U-Joint Repair Kit:
| Specification | Detail |
|---|---|
| Manufacturer | Dorman Products |
| Brand | Dorman |
| Model | 81001 |
| Item Weight | 2.4 ounces |
| Product Dimensions | 5.5 x 1.8 x 1.2 inches |
| Manufacturer Part Number | 81001 |
| OEM Part Number | 14018700; 7846740 |
| Date First Available | November 24, 2009 |
7. Warranty and Support
Dorman products are engineered for reliable performance and durability, backed by over a century of automotive experience. For specific warranty information or technical support, please refer to the official Dorman website or contact their customer service.
You can also visit the official Dorman store for more information and product offerings:
Ask a question about this manual
Ask about setup, troubleshooting, compatibility, parts, safety, or missing instructions. Manuals+ will review the question and use this page’s manual context to help answer it.