1. Introduction
Thank you for choosing the Oypla Outdoor Walkthrough Greenhouse. This manual provides essential information for the safe and effective assembly, operation, and maintenance of your new greenhouse. Designed for growing and displaying plants, seedlings, and shrubs, this greenhouse features a durable PVC cover and a sturdy metal frame with four plant shelves.
Please read these instructions thoroughly before assembly and retain this manual for future reference.

Image 1.1: The Oypla Outdoor Walkthrough Greenhouse, showcasing its clear cover and internal shelving structure.
2. Important Safety Information
WARNING: Always follow assembly instructions carefully to avoid injury. Be cautious of sharp edges on PVC and metal components. Protect the greenhouse from excessive UV exposure to prevent material degradation. Ensure the greenhouse is properly anchored and ventilated to prevent damage or injury.
- Keep all components away from children during assembly.
- Do not use the greenhouse in extreme weather conditions (e.g., strong winds, heavy snow) without additional anchoring.
- Ensure the ground is level and stable before assembly.
- Regularly inspect the frame and cover for any signs of wear or damage.
- Do not hang heavy objects from the frame or shelves.
3. Setup and Assembly
The Oypla Outdoor Walkthrough Greenhouse is designed for easy, no-tool assembly. The components simply clip into place.
3.1 Unpacking and Component Check
- Carefully unpack all components from the box.
- Verify that all parts are present and undamaged according to the packing list (not provided in this manual, refer to product packaging).
- Lay out all frame pieces and the PVC cover in an organized manner.

Image 3.1: The greenhouse is designed for simple assembly, requiring no tools or fixings, as components simply clip together.
3.2 Frame Assembly
- Begin by assembling the base frame using the provided metal poles and connectors. Ensure all connections are secure.
- Attach the vertical support poles to the base, followed by the horizontal crossbars to form the main structure.
- Construct the roof frame, connecting it to the top of the vertical supports.
- Insert the four plant shelves into their designated positions on the side frames. Ensure they are level and stable.

Image 3.2: Key features of the greenhouse, including its steel frame for strength and ease of assembly.
3.3 Cover Installation
- Carefully drape the PVC cover over the assembled metal frame, ensuring it is oriented correctly with the zippered opening at the front.
- Pull the cover down evenly over the frame, securing it at the bottom.
- Utilize the ties or fasteners on the cover to secure it to the frame, especially at the corners and along the roofline, to prevent wind uplift.

Image 3.3: The durable PVC cover provides protection for plants and ensures a long product life.
3.4 Anchoring the Greenhouse
For stability, especially in windy conditions, it is crucial to anchor the greenhouse securely to the ground. Use ground stakes, weights, or tie-downs (not included unless specified in packaging) to prevent the greenhouse from shifting or blowing away.
4. Operating Instructions
4.1 Plant Placement
Utilize the four integrated plant shelves for organizing smaller potted plants, seedlings, or propagation trays. The floor space can accommodate larger plants or additional shelving units.
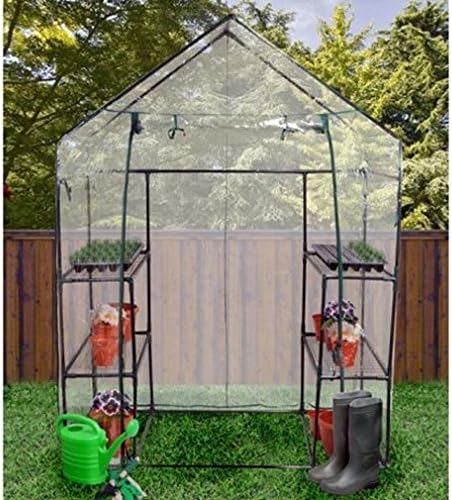
Image 4.1: The greenhouse in an outdoor setting, demonstrating its use for various plants and gardening activities.
4.2 Ventilation and Access
The greenhouse features a roll-up front panel with a zipper for easy access and ventilation. In warmer months, or when humidity levels are high, partially or fully roll up the front panel to allow for air circulation and prevent overheating.
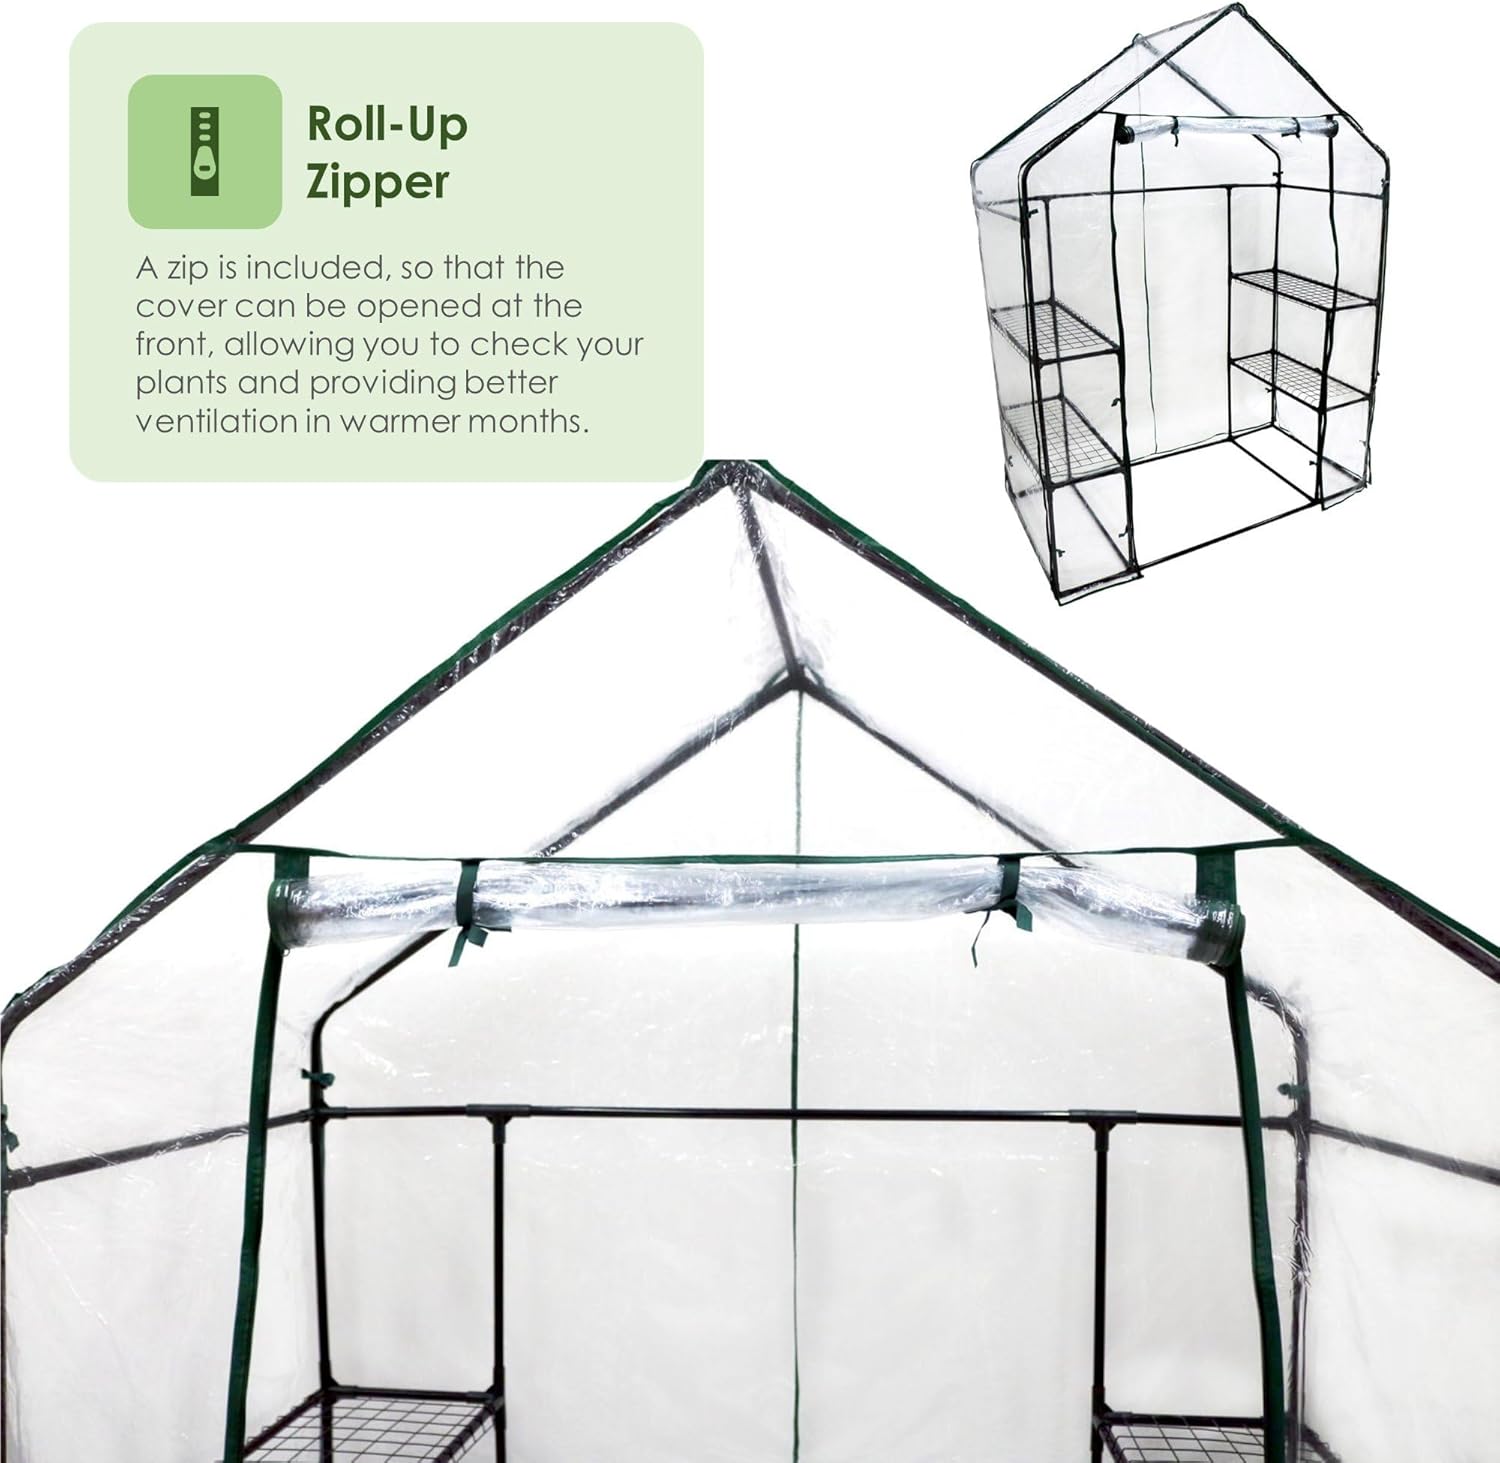
Image 4.2: The roll-up zipper allows for easy access and improved ventilation, crucial for plant health.

Image 4.3: Interior view highlighting the mechanism for securing the rolled-up front panel.
4.3 Environmental Control
- Monitor temperature and humidity inside the greenhouse regularly.
- Adjust ventilation as needed to maintain optimal growing conditions for your plants.
- Consider adding a small fan for air circulation or a heater/cooler depending on external temperatures and plant requirements.
5. Maintenance
5.1 Cleaning the Cover
To ensure maximum light transmission, regularly clean the PVC cover with mild soap and water. Avoid abrasive cleaners or harsh chemicals that could damage the material. Rinse thoroughly with clean water.
5.2 Frame Inspection
Periodically inspect the metal frame for any signs of rust, bending, or loose connections. Tighten any loose joints and address rust promptly to prolong the life of the greenhouse.
5.3 Seasonal Care
- In winter, remove any heavy snow accumulation from the roof to prevent collapse.
- Consider disassembling and storing the greenhouse indoors during extreme off-season weather to extend its lifespan.
6. Troubleshooting
| Problem | Possible Cause | Solution |
|---|
| Greenhouse unstable/wobbly | Improper anchoring; uneven ground; loose frame connections. | Ensure proper anchoring with stakes or weights. Move to level ground. Check and tighten all frame connections. |
| Cover tearing/degrading | Excessive UV exposure; sharp edges on frame; physical damage. | Position greenhouse to minimize direct, prolonged harsh sunlight if possible. Inspect frame for sharp points and cover with tape if found. Handle cover with care. |
| Poor plant growth | Insufficient ventilation; incorrect temperature/humidity; lack of light. | Increase ventilation by opening the zipper. Monitor temperature and humidity. Ensure greenhouse is in a location with adequate sunlight. |
7. Specifications
| Feature | Detail |
|---|
| Model Number | 3671OYP |
| Brand | Oypla |
| Dimensions (L x W x H) | 56.3" x 30.31" x 76.77" (143 x 73 x 195cm) |
| Frame Material | Metal |
| Cover Material | Polyethylene (PE), Polycarbonate (PC), PVC |
| Number of Shelves | 4 |
| Door Style | Roll-Up Door with Zipper |
| Indoor/Outdoor Usage | Outdoor |
| Item Weight | 10.78 pounds (4.89 kg) |
| UPC | 638353968403 |
| GTIN | 05055422913822 |

Image 7.1: Detailed dimensions of the greenhouse: 56.3" L x 30.31" W x 76.77" H.
8. Warranty and Support
Specific warranty information for this product is not provided in this manual. Please refer to the product packaging or contact Oypla customer support directly for details regarding warranty coverage and support services.
For assistance with assembly, parts, or general inquiries, please contact the manufacturer or retailer from whom you purchased the product.


