Product Overview
The SEVERIN AT 2516 is a 2-slice toaster featuring a durable stainless steel design and innovative functions. It includes removable sandwich bars, a convenient crumb tray, and cold sides for safe operation. This toaster is designed for efficient and precise toasting, offering adjustable browning control to suit your preferences.
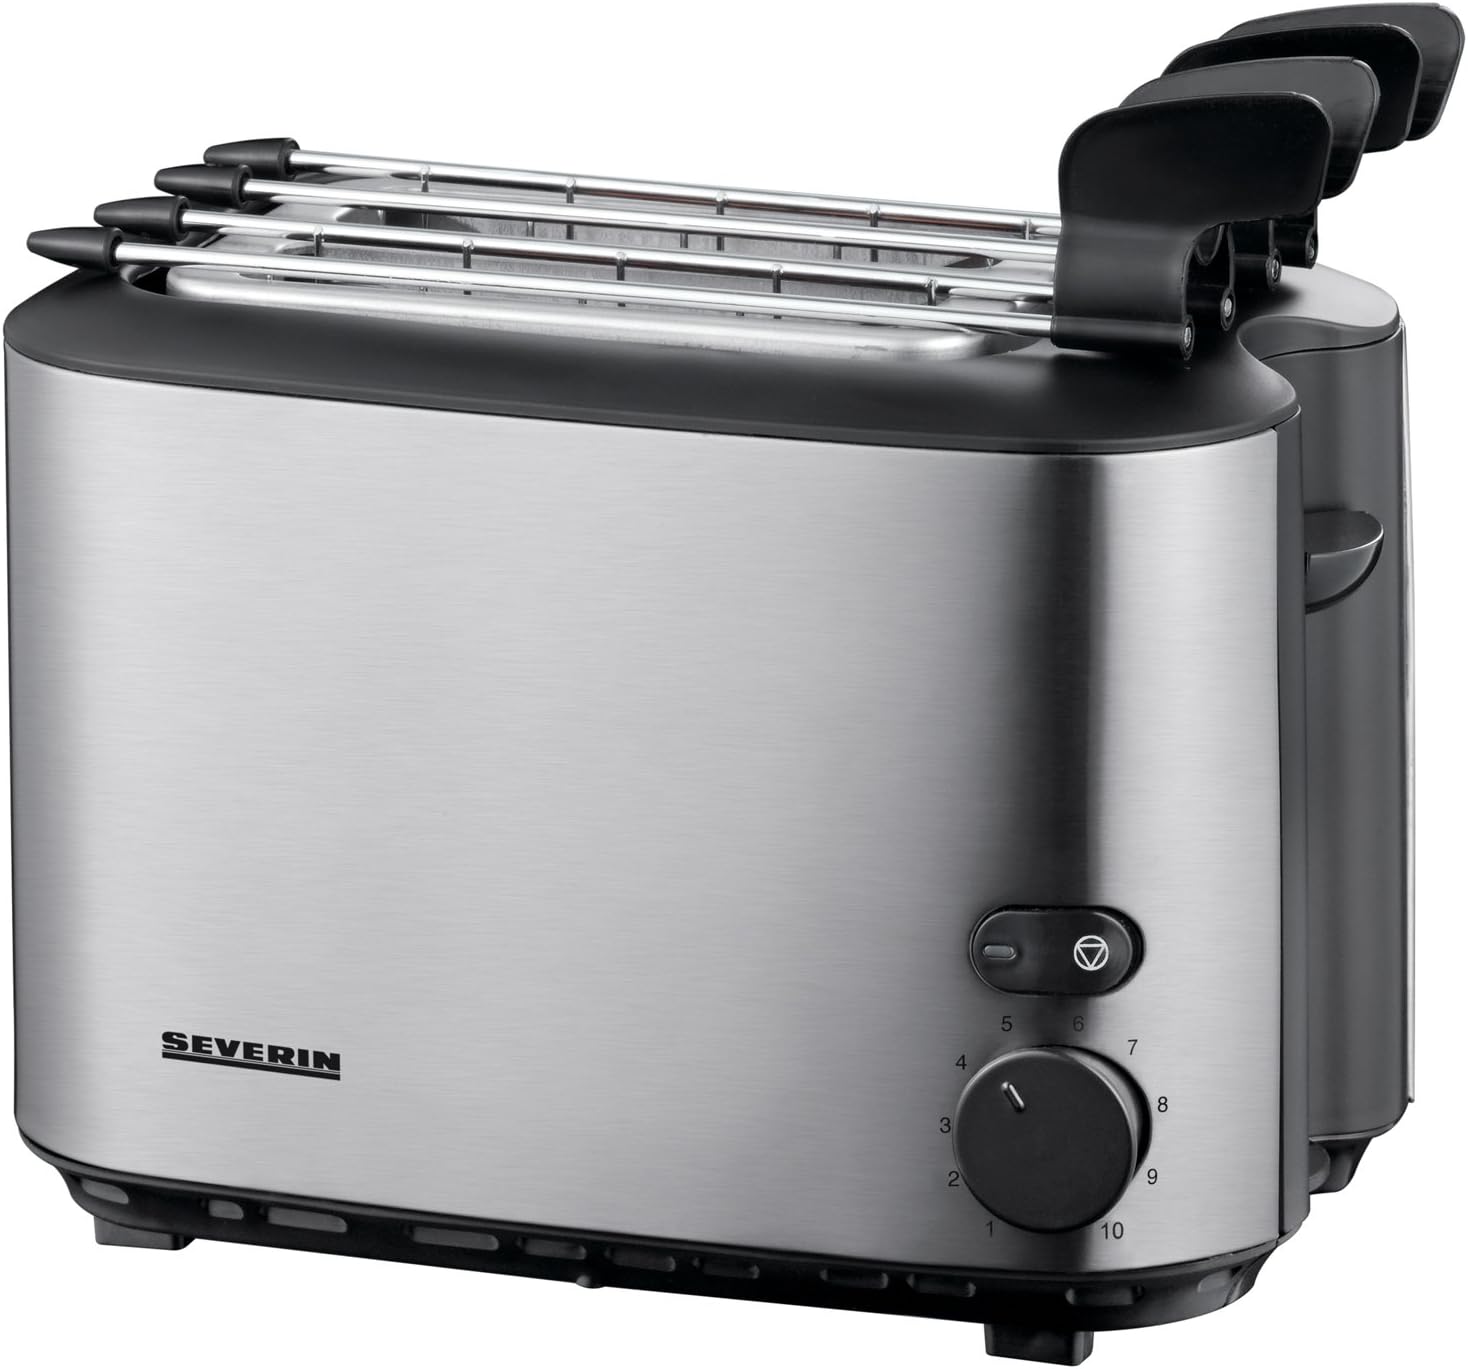
Image: Front view of the SEVERIN AT 2516 Toaster, showcasing its stainless steel finish and control dial.
Important Safety Instructions
When using electrical appliances, basic safety precautions should always be followed, including the following:
- Read all instructions before using the toaster.
- Do not touch hot surfaces. Use handles or knobs.
- To protect against electrical shock, do not immerse cord, plugs, or toaster in water or other liquid.
- Close supervision is necessary when any appliance is used by or near children.
- Unplug from outlet when not in use and before cleaning. Allow to cool before putting on or taking off parts.
- Do not operate any appliance with a damaged cord or plug or after the appliance malfunctions, or has been dropped or damaged in any manner.
- The use of accessory attachments not recommended by the appliance manufacturer may cause injuries.
- Do not use outdoors.
- Do not let cord hang over edge of table or counter, or touch hot surfaces.
- Do not place on or near a hot gas or electric burner, or in a heated oven.
- Extreme caution must be used when moving an appliance containing hot oil or other hot liquids.
- Do not use appliance for other than intended use.
- Oversize foods, metal foil packages, or utensils must not be inserted in a toaster as they may create a risk of fire or electric shock.
- A fire may occur if toasters are covered or touching flammable material, including curtains, draperies, walls, and the like, when in operation.
- Do not attempt to dislodge food when toaster is plugged in.
- Always unplug the toaster after use.
Product Components
Familiarize yourself with the main parts of your SEVERIN AT 2516 Toaster:
- Toasting Slots: Two slots for bread slices.
- Browning Control Dial: Adjustable dial for selecting desired toast shade (levels 1-10).
- Toast Lever: Lowers bread into the toasting slots and initiates the toasting cycle.
- Stop Button: Immediately cancels the toasting cycle.
- Removable Sandwich Bars: Integrated tongs designed for toasting sandwiches or thicker items.
- Crumb Tray: Removable tray located at the bottom for easy cleaning of crumbs.
- Cold Sides: The exterior remains cool to the touch during operation for safety.
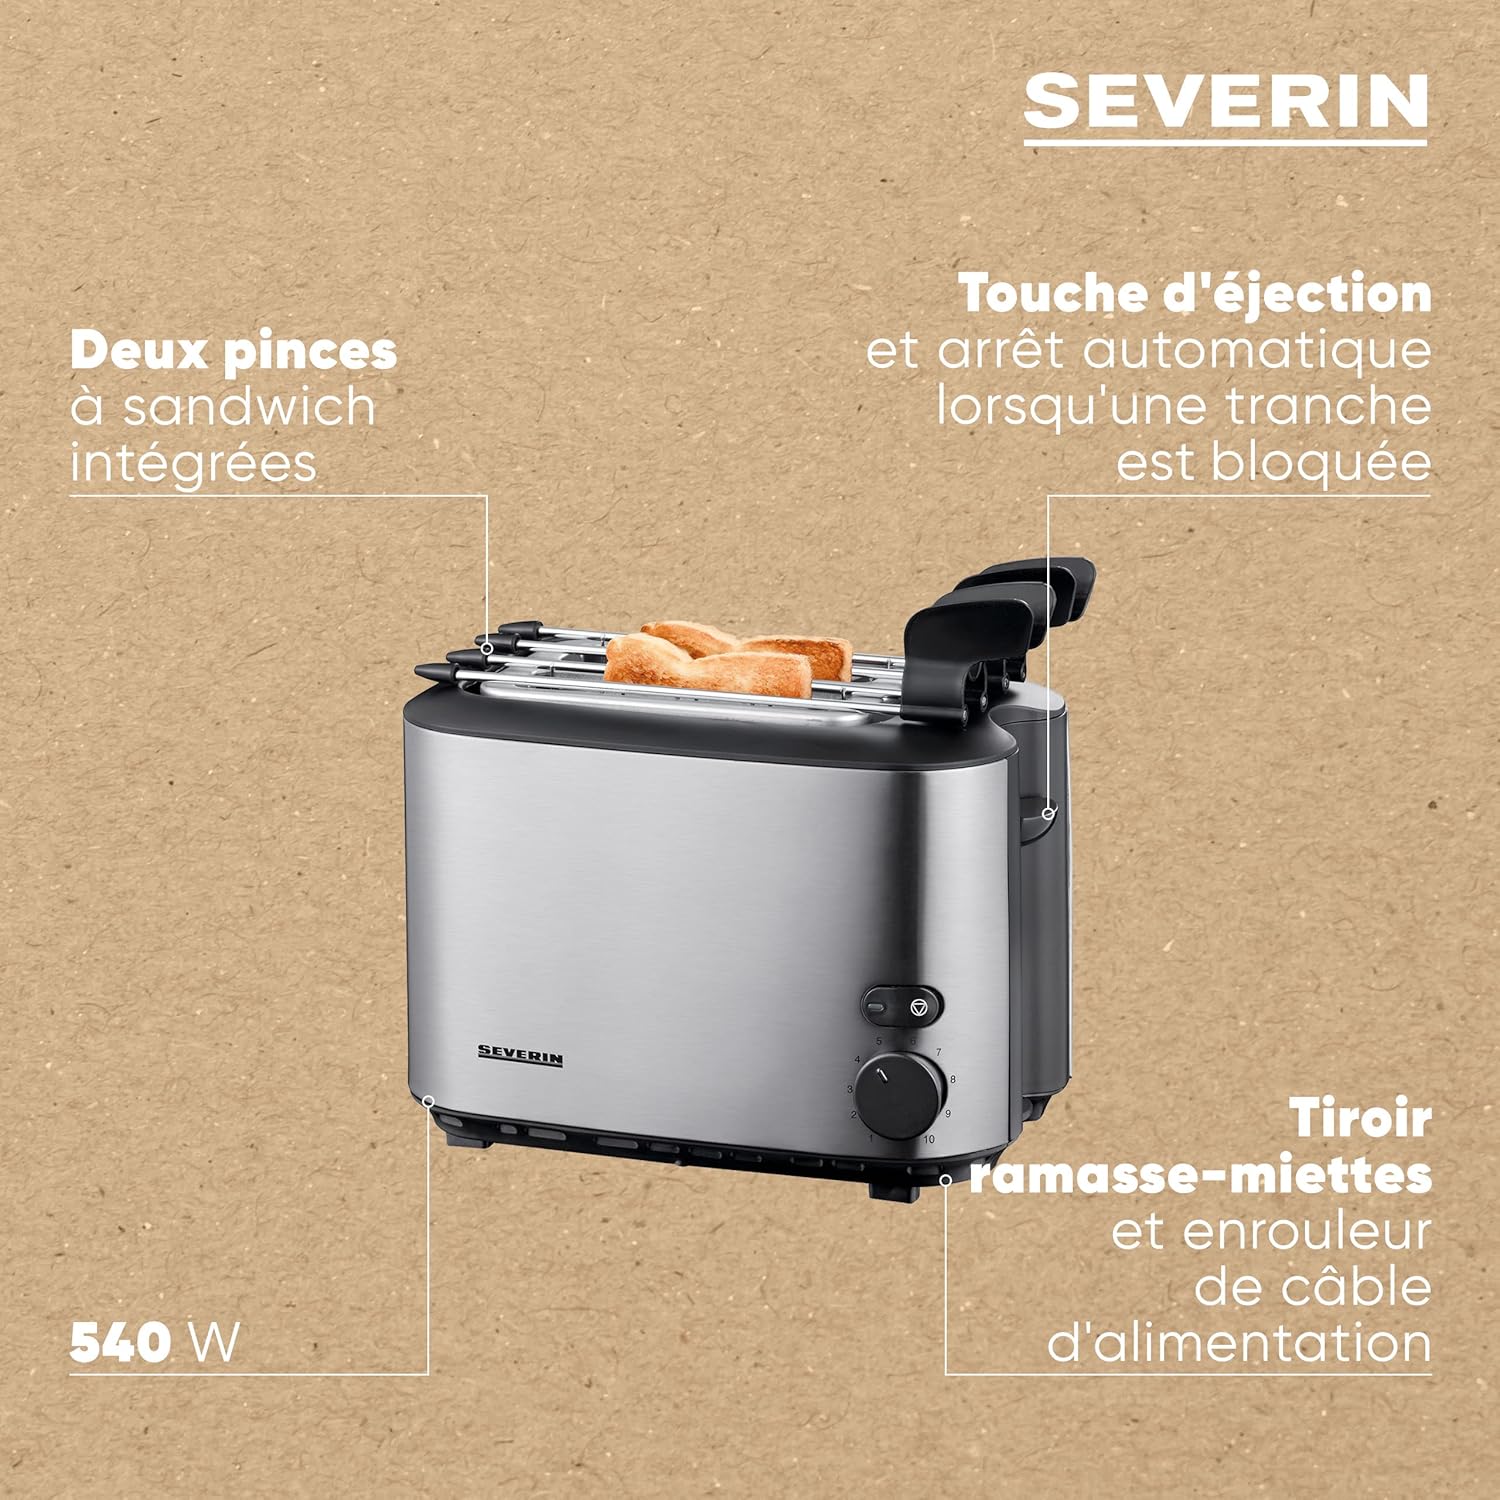
Image: A diagram highlighting key features of the toaster, including the 540W power, two integrated sandwich tongs, ejection button, and crumb tray.
Setup
- Unpacking: Carefully remove the toaster and all packaging materials. Retain packaging for future storage or transport if needed.
- Placement: Place the toaster on a stable, flat, heat-resistant surface, away from flammable materials such as curtains or walls. Ensure adequate ventilation around the appliance.
- First Use: Before toasting bread for the first time, operate the toaster without bread for a few cycles at the highest browning setting (10) to burn off any manufacturing residues. A slight odor or smoke may be present; this is normal and will dissipate. Ensure the area is well-ventilated.
- Power Connection: Plug the power cord into a suitable grounded electrical outlet. Ensure the voltage matches the specifications of your toaster (230V).
Operating Instructions
Basic Toasting (2 Slices)
- Ensure the toaster is plugged into a power outlet.
- Place one slice of bread into each toasting slot.
- Adjust the browning control dial to your desired setting. A lower number (e.g., 1-3) will result in lighter toast, while a higher number (e.g., 7-10) will result in darker toast. Experiment to find your preferred setting.
- Press the toast lever down until it locks into place. The toasting cycle will begin.
- Once the desired browning is achieved, the toast will automatically pop up, and the cycle will end.
- To stop the toasting cycle at any time, press the Stop button.

Image: The toaster shown with bread slices, illustrating its capacity and the browning control dial with 10 different levels.
Using the Removable Sandwich Bars
The SEVERIN AT 2516 comes with integrated sandwich bars, also referred to as detachable pliers, which are ideal for toasting sandwiches or thicker bread items.
- Prepare your sandwich or thicker bread item. Ensure fillings are not excessive and will not drip into the toaster mechanism.
- Open the sandwich bars. Place your sandwich or bread item securely between the bars.
- Carefully insert the sandwich bars with the food into the toasting slots.
- Adjust the browning control dial to your desired setting. Thicker items or sandwiches may require a slightly higher setting or multiple cycles.
- Press the toast lever down to begin toasting.
- Once the cycle completes, carefully remove the sandwich bars from the toaster. The bars can be opened to release the toasted item.
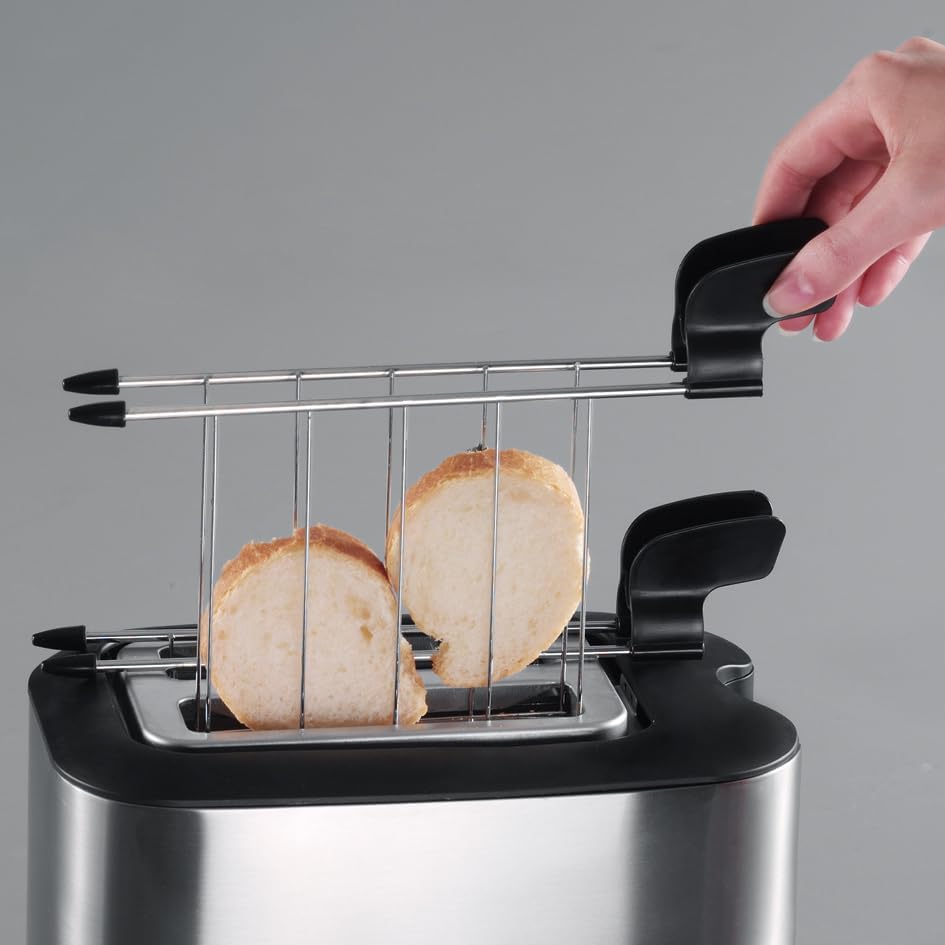
Image: A hand demonstrating how to place bread into the removable sandwich bars before inserting them into the toaster.

Image: The SEVERIN AT 2516 Toaster displayed with its sandwich bars holding toasted bread, alongside a plate of prepared food, demonstrating its versatility.
Maintenance and Cleaning
Regular cleaning ensures optimal performance and extends the life of your toaster.
- Always Unplug: Before cleaning, ensure the toaster is unplugged from the power outlet and has completely cooled down.
- Crumb Tray Cleaning:
The toaster is equipped with a removable crumb tray for easy cleaning. Pull out the crumb tray from the bottom of the toaster. Dispose of accumulated crumbs. Wipe the tray with a damp cloth and dry thoroughly before reinserting it into the toaster.
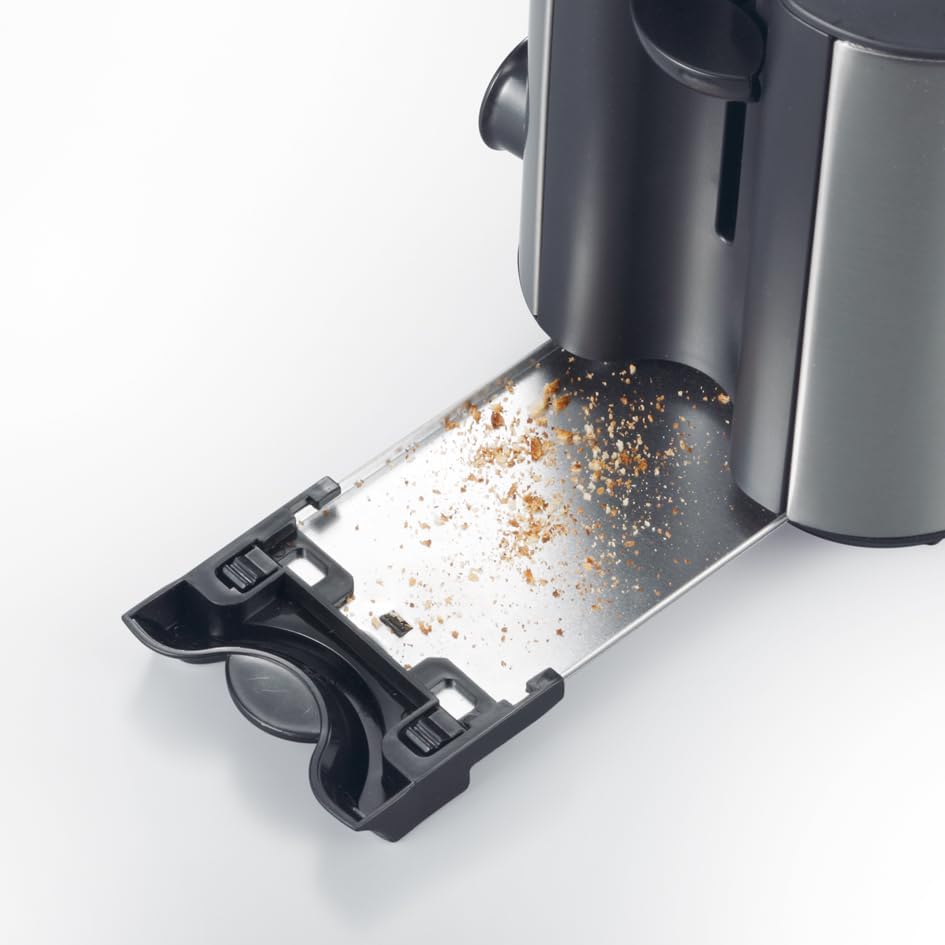
Image: The crumb tray of the toaster partially pulled out, showing accumulated crumbs, illustrating the ease of cleaning.
- Exterior Cleaning: Wipe the exterior of the toaster with a soft, damp cloth. For stubborn marks on the stainless steel, use a mild stainless steel cleaner. Do not use abrasive cleaners or scouring pads, as they can scratch the surface.
- Interior Cleaning: Never insert any objects into the toasting slots to clean them. If food becomes lodged, unplug the toaster and carefully turn it upside down to dislodge the item.
- Storage: When not in use, store the toaster in a clean, dry place.
Troubleshooting
If you encounter issues with your SEVERIN AT 2516 Toaster, refer to the following common problems and solutions:
| Problem | Possible Cause | Solution |
|---|---|---|
| Toaster does not turn on. | Not plugged in; power outlet malfunction; toast lever not fully depressed. | Ensure the toaster is securely plugged into a working outlet. Press the toast lever down firmly until it locks. Check your household circuit breaker. |
| Toast is too light or too dark. | Browning control setting is incorrect. | Adjust the browning control dial to a higher setting for darker toast or a lower setting for lighter toast. |
| Bread is stuck in the toaster. | Bread slice is too large or unevenly cut; internal mechanism obstruction. | Immediately unplug the toaster. Allow it to cool. Carefully remove the bread using non-metallic tongs. Never use metal utensils. |
| Smoke coming from the toaster. | Crumbs accumulated in the bottom; food lodged in slots; first use residue. | Press the Stop button and unplug the toaster. Allow to cool. Clean the crumb tray. If food is lodged, carefully remove it. Smoke during first use is normal. |
If the problem persists after trying these solutions, please contact Severin customer support.
Specifications
Key technical specifications for the SEVERIN AT 2516 Toaster:
- Brand: Severin
- Model Number: S72516
- Colour: Stainless
- Product Dimensions (L x W x H): 26.8 x 15.8 x 23.5 cm
- Item Weight: 1.58 kg
- Power / Wattage: 540 watts
- Voltage: 230V
- Material: Metal Stainless
- Number of Slices: 2
- Special Features: Cold sides, Detachable Pliers (Sandwich Bars), Crumb trays, Roasting control
- Date First Available: 9 Aug. 2012
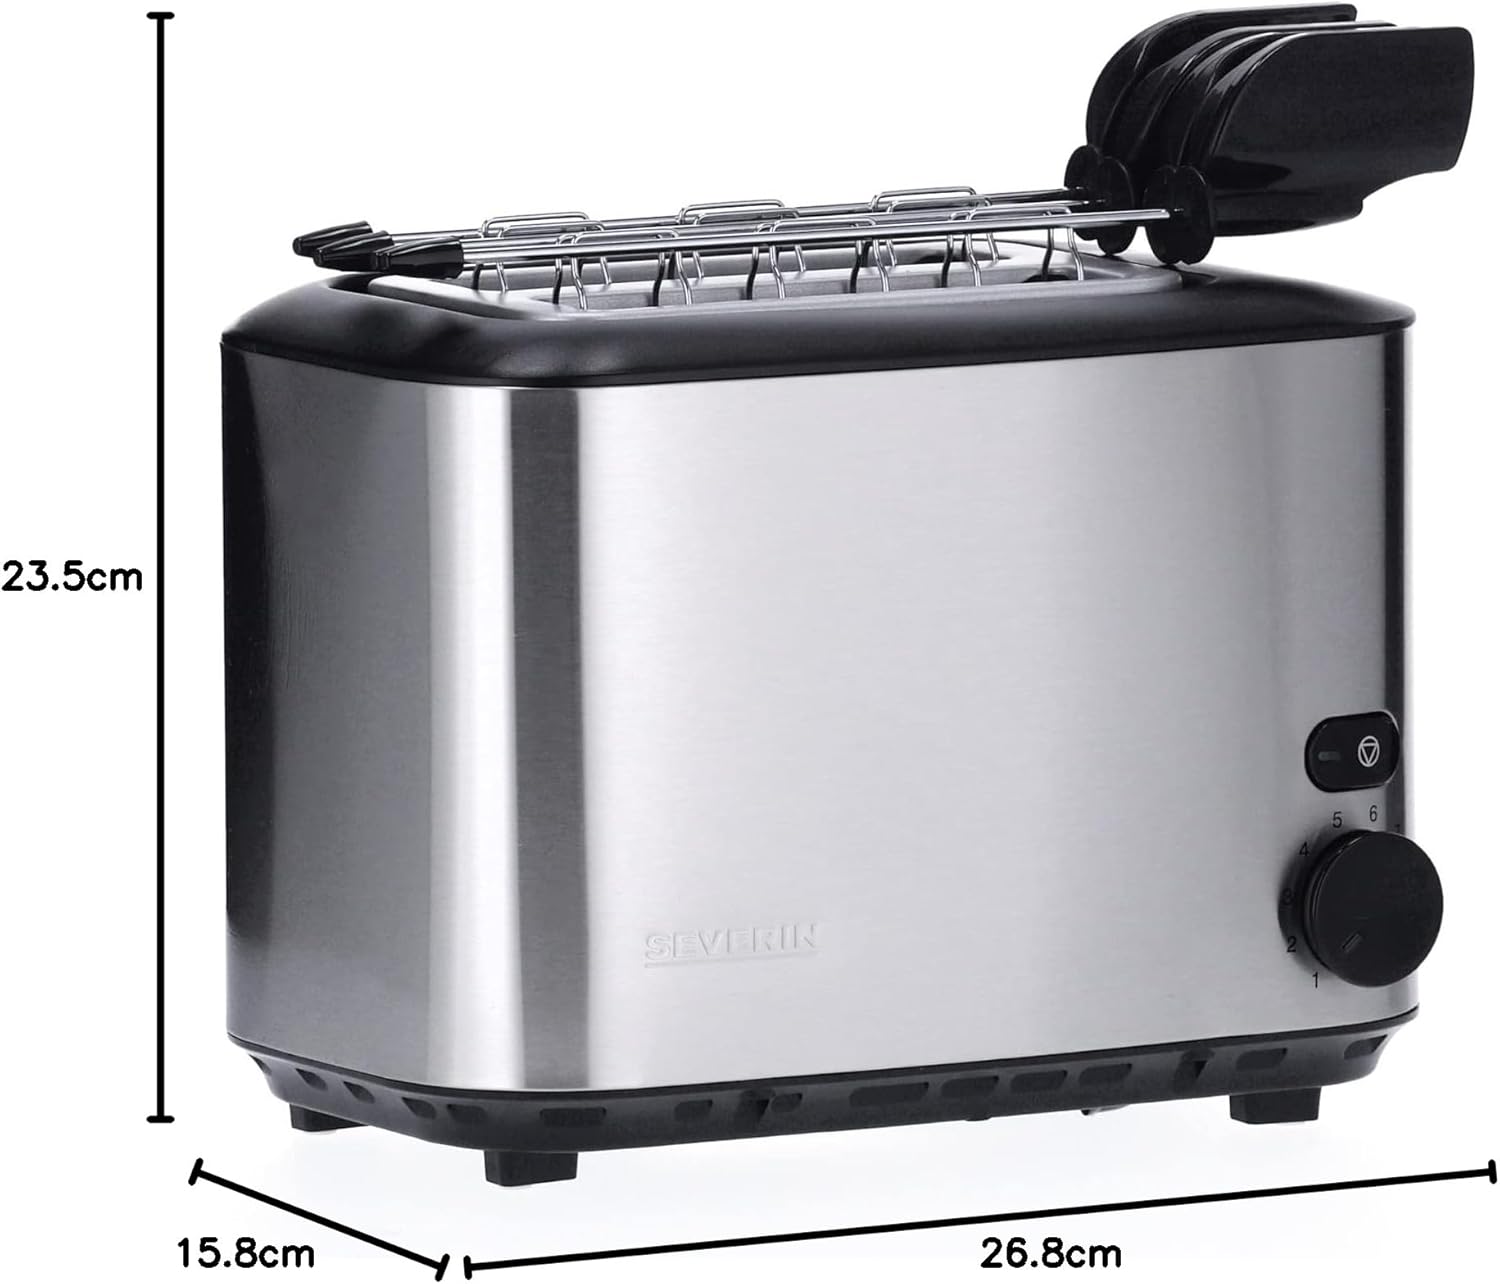
Image: A visual representation of the SEVERIN AT 2516 Toaster with its key dimensions (height, width, depth) indicated.
Warranty and Support
Information regarding the specific warranty period and detailed customer support contacts for the SEVERIN AT 2516 Toaster was not available in the provided product data. Please refer to the warranty card included with your product or visit the official Severin website for the most up-to-date warranty information and customer service options.
For general inquiries or technical assistance, you may also visit the Severin Store on Amazon.


