
Introduction
The White-Rodgers 1F89-211 heat pump thermostat features an easy-to-read 2 square-inch digital display. This non-programmable thermostat is designed for use with most heat pump systems and is compatible with both 24-volt and millivolt systems.
Key Features:
- Compatible with heat pump systems (2 stages of heating / 1 stage of cooling)
- Easy-to-read digital display
- Non-programmable operation
- Plus/minus 1 degree accuracy
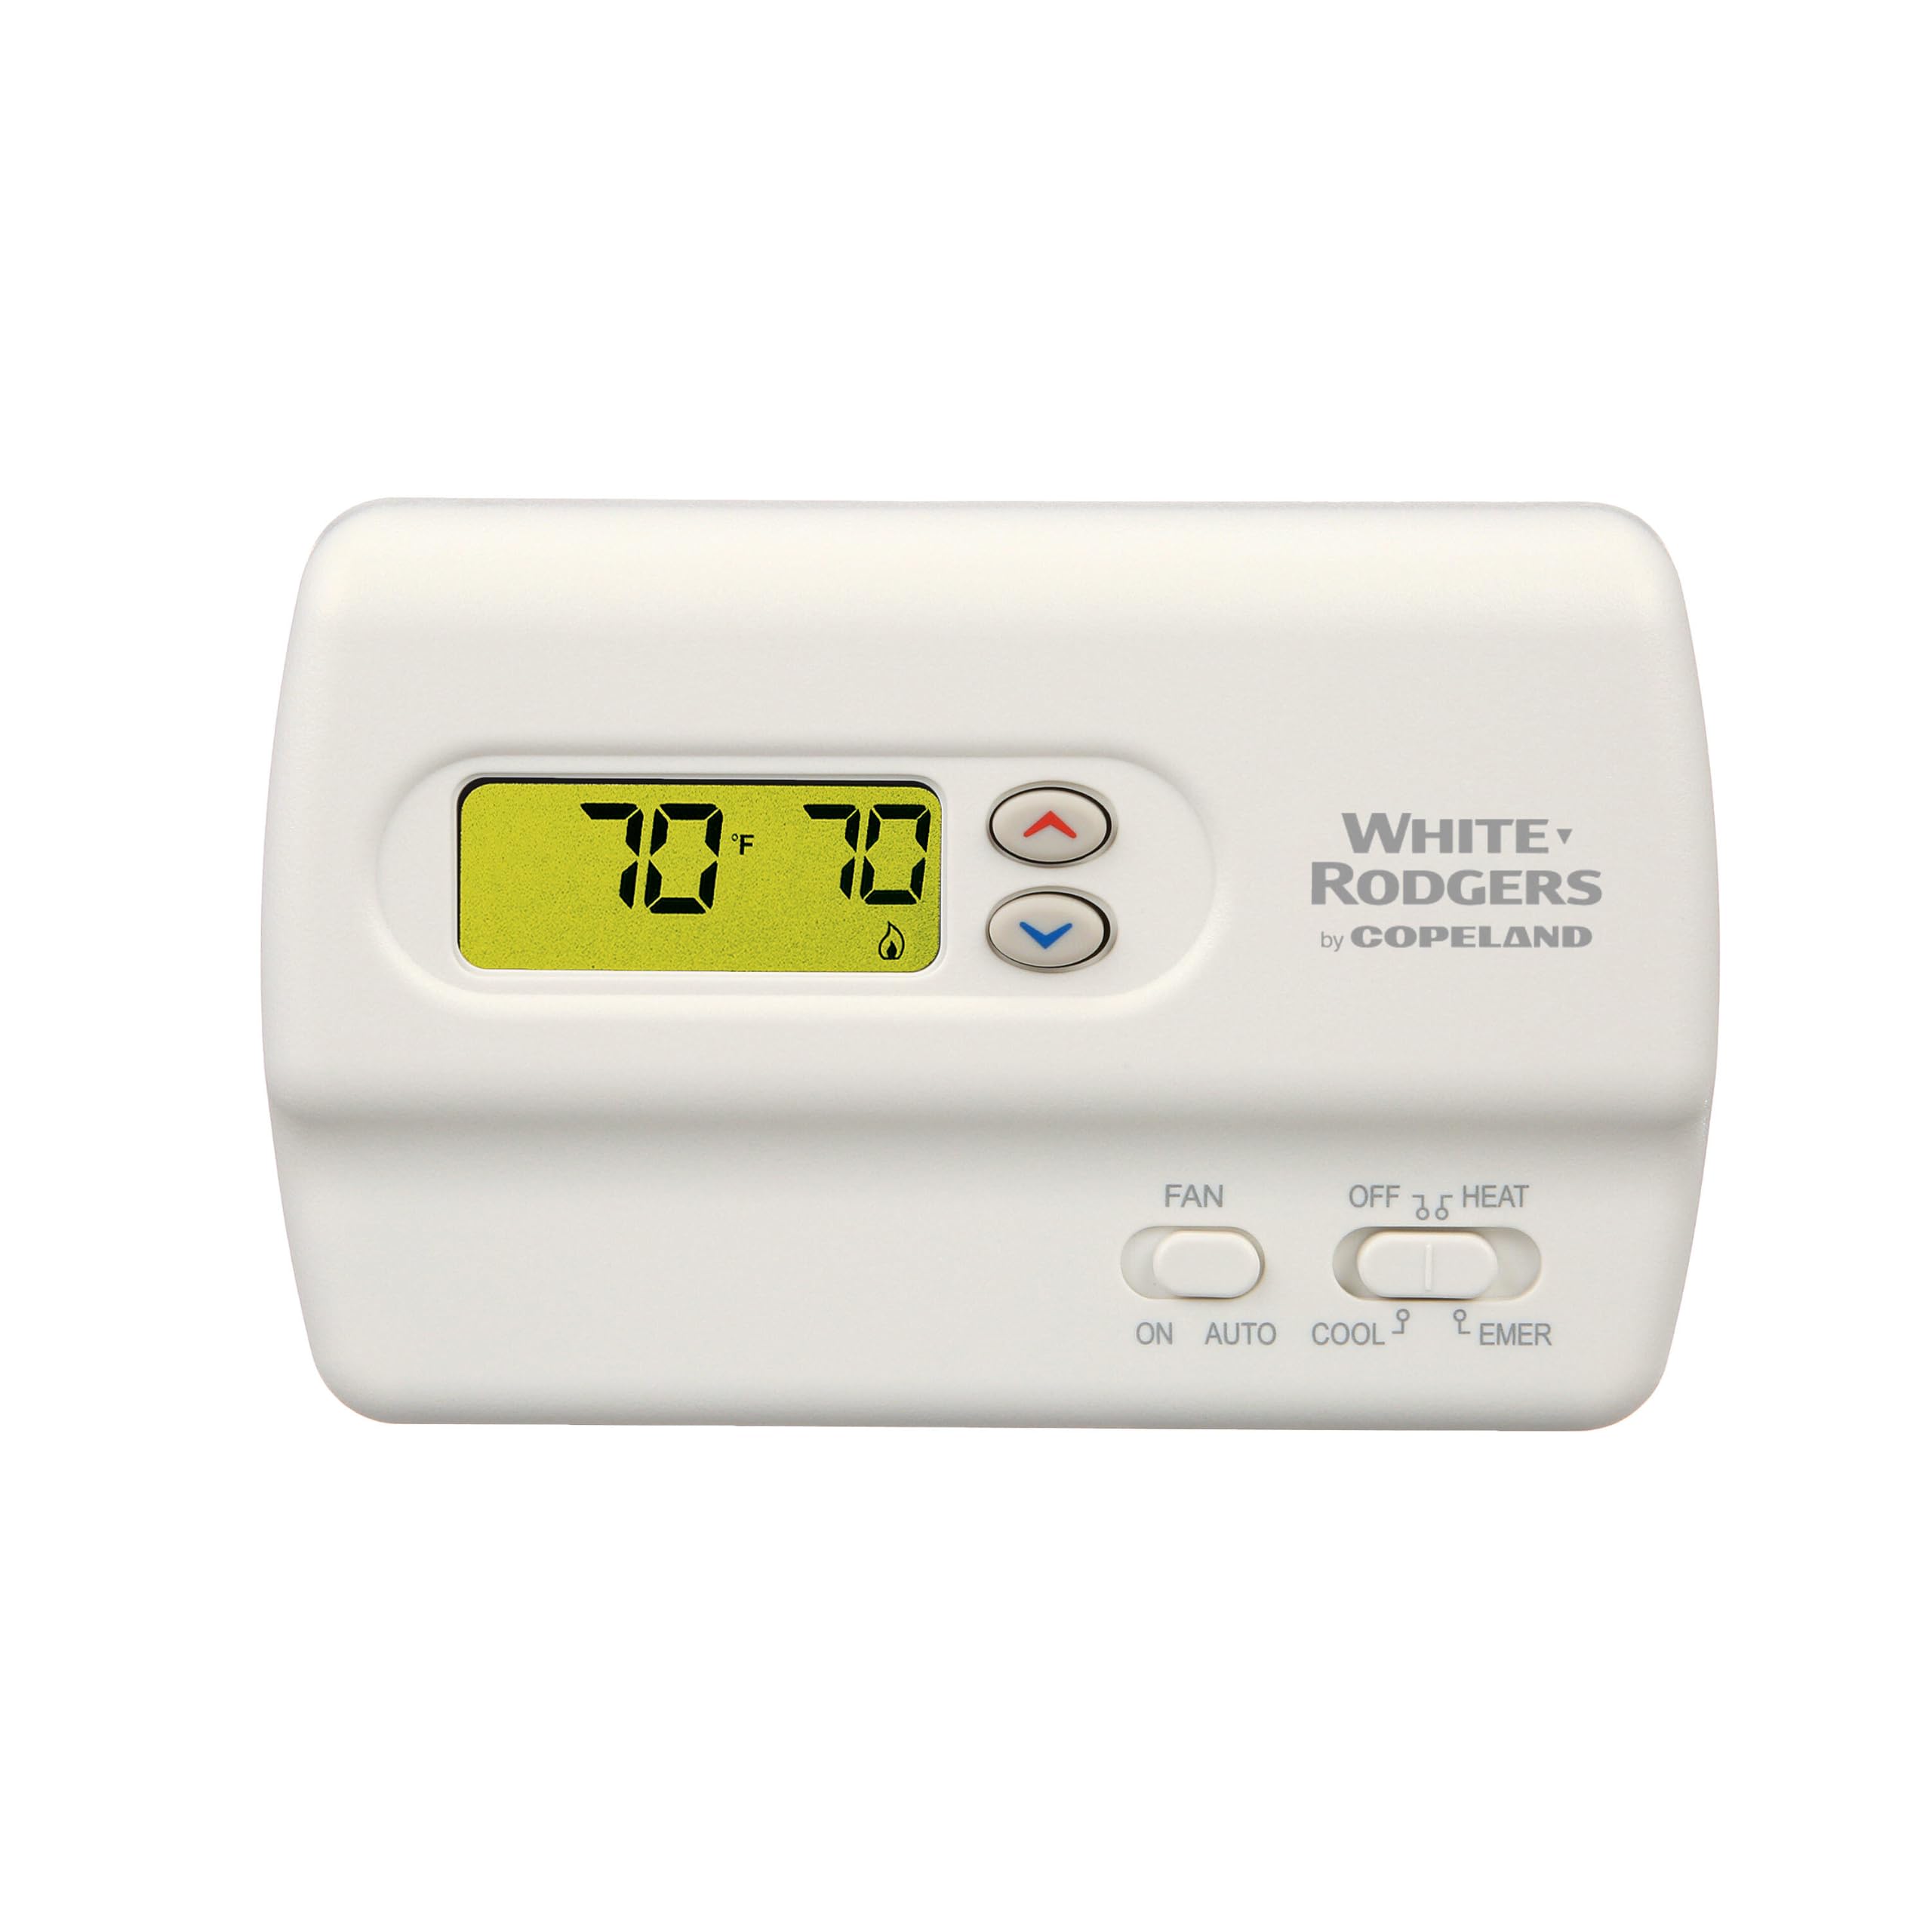
Figure 1: White-Rodgers 1F89-211 Thermostat showing its front view and approximate dimensions (4.0 inches / 10 cm in height).
Setup and Installation
Safety Information: Before beginning installation, ensure that power to the heating and cooling system is turned off at the main fuse or circuit breaker panel. Failure to do so may result in electrical shock or equipment damage. This thermostat is designed for 24-volt and millivolt systems only. Do not use on line voltage systems (120/240 VAC).
Removing the Old Thermostat
- Turn off the electricity to the furnace and air conditioner at the main power supply.
- Remove the cover of your old thermostat.
- Take a picture of the existing wiring connections for reference. Label each wire with the terminal designation (e.g., R, G, Y, W) before disconnecting them.
- Remove the old thermostat base from the wall.
Mounting the New Thermostat
- Separate the new thermostat from its base.
- Position the thermostat base against the wall where the old thermostat was located. Use the provided screws and wall anchors to secure the base.
- Connect the wires to the corresponding terminals on the new thermostat base, referring to your photograph and labels. Ensure connections are secure.
- Insert two fresh AA alkaline batteries into the battery compartment, observing polarity.
- Carefully snap the thermostat front onto its base.
Initial Power-Up
Restore power to the heating and cooling system at the main fuse or circuit breaker panel. The thermostat display should illuminate, showing the current room temperature.
Operating Instructions
Setting the System Mode
The system mode switch is located on the front of the thermostat. Slide the switch to select one of the following modes:
- OFF: Turns the heating and cooling system off.
- HEAT: Activates the heating system.
- COOL: Activates the cooling system.
- EMER (Emergency Heat): For heat pump systems, this mode activates the auxiliary heat source directly, bypassing the heat pump compressor. Use only when the heat pump is not functioning or during extreme cold.
Setting the Fan Mode
The fan mode switch is also located on the front of the thermostat. Slide the switch to select one of the following modes:
- AUTO: The fan runs only when the heating or cooling system is actively operating. This is the most common setting for energy efficiency.
- ON: The fan runs continuously, regardless of whether the heating or cooling system is active. This can help with air circulation.
Adjusting the Temperature
Use the Up (▲) and Down (▼) arrow buttons on the front of the thermostat to adjust the desired temperature setting. The display will show the set temperature briefly, then revert to showing the current room temperature.
Maintenance
Battery Replacement
The thermostat requires two AA alkaline batteries. When the battery indicator appears on the display, replace the batteries promptly to ensure continuous operation. To replace batteries:
- Gently pull the thermostat body away from its wall plate.
- Remove the old batteries and dispose of them properly.
- Insert two new AA alkaline batteries, ensuring correct polarity (+/-).
- Snap the thermostat body back onto the wall plate.
It is recommended to replace batteries annually, even if the low battery indicator has not appeared.
Cleaning the Thermostat
To clean the thermostat, gently wipe the exterior with a soft, damp cloth. Do not use abrasive cleaners or solvents, as these can damage the finish or internal components.
Troubleshooting
| Problem | Possible Cause | Solution |
|---|---|---|
| No display or blank screen | Dead batteries | Replace with fresh AA alkaline batteries. |
| No heating or cooling | System switch in OFF position | Slide system switch to HEAT or COOL. |
| Blown fuse or tripped circuit breaker | Check and reset the circuit breaker or replace the fuse for your HVAC system. | |
| Loose wiring connections | Ensure all wires are securely connected to the thermostat terminals. Turn off power before checking. | |
| Temperature inaccurate | Thermostat exposed to direct sunlight or drafts | Relocate thermostat if possible, or shield from direct influences. |
| Fan runs continuously in AUTO mode | Fan switch set to ON | Slide fan switch to AUTO. |
If problems persist after attempting these solutions, contact a qualified HVAC technician for assistance.
Product Specifications
| Feature | Detail |
|---|---|
| Brand | White-Rodgers |
| Model Name | 1F89 211 |
| Model Number | 1F89-211 |
| Product Dimensions (D x W x H) | 1.25"D x 6"W x 3.75"H |
| Item Weight | 3.65 Pounds |
| Controller Type | Hand Control |
| Special Feature | Digital Display |
| Specific Uses For Product | Heat Pump |
| Temperature Control Type | Manual |
| Connectivity Technology | Wired |
| Power Source | AC/DC |
| Voltage | 24 Volts |
| Display Type | Digital |
| Screen Size | 2 Inches |
| Control Type | Button Control |
| Mounting Type | Horizontal |
| Backlight | Yes |
| Number of Batteries | 2 AA batteries required (included) |
| Smart Home Compatibility | Not Smart Home Compatible |
| Color | White |
| Material Type | Plastic |
| UPC | 786710100673, 786710100819 |
Warranty Information
White-Rodgers products are manufactured to high-quality standards. For specific warranty details, including duration and coverage, please refer to the warranty card included with your product packaging or visit the official White-Rodgers website. Keep your proof of purchase for any warranty claims.
Customer Support
If you have questions regarding the installation, operation, or troubleshooting of your White-Rodgers 1F89-211 thermostat, please consult this manual first. For further assistance, contact White-Rodgers customer support through their official website or the contact information provided in your product documentation. Professional installation and service are recommended for complex issues.


