1. Introduction
Thank you for choosing the Kettler Kiddi-o Aero Racer Pedal Car. This manual provides essential information for the safe assembly, operation, and maintenance of your new pedal car. Please read these instructions carefully before use and retain them for future reference. This pedal car is designed for youth ages 5 to 9 years.
2. Safety Information
- Adult Supervision Required: Always ensure an adult supervises children operating the pedal car.
- Protective Gear: Always wear a helmet and appropriate safety gear (e.g., knee and elbow pads) when riding.
- Operating Environment: Use the pedal car only on flat, level surfaces away from traffic, steep inclines, stairs, swimming pools, or other bodies of water.
- Brake Check: Before each use, verify that the dual rear wheel hand brake is fully functional.
- Weight and Age Limits: This pedal car is recommended for children aged 5 to 9 years. Do not exceed the recommended age or weight capacity (not specified, but general caution applies).
- Secure Fasteners: Regularly check all nuts, bolts, and other fasteners to ensure they are tight and secure. Loose parts can lead to accidents.
- Footwear: Riders should wear closed-toe shoes.
- Moving Parts: Keep hands, feet, and clothing away from moving parts like wheels and the chain guard.
3. Parts List
The Kettler Kiddi-o Aero Racer Pedal Car includes the following main components:
- High Carbon Steel Frame
- Pneumatic Air Tires with Sealed Ball Bearings
- High-Back Racing Seat (3-position adjustable)
- Steering Wheel and Linkage
- Oversized Anti-Slip Pedals
- Coasting Shifter
- Fully Enclosed Chain Guard
- Dual Rear Wheel Hand Brake
- Assembly Hardware (nuts, bolts, washers)
4. Assembly Instructions
Assembly of the Kettler Kiddi-o Aero Racer Pedal Car requires adult supervision and basic tools (e.g., wrenches, screwdrivers). Follow the steps below carefully.
- Unpack Components: Carefully remove all parts from the packaging and lay them out. Verify all parts listed in Section 3 are present.
- Attach Wheels: Securely attach the pneumatic air tires to the axles using the provided hardware. Ensure all fasteners are tightened.
- Install Steering Column: Connect the steering column to the frame and attach the steering wheel. Ensure the steering mechanism operates smoothly.
- Mount Seat: Attach the high-back racing seat to the frame. Do not fully tighten yet, as it will be adjusted later.
- Connect Pedals and Chain: Ensure the oversized anti-slip pedals are correctly installed and the chain is properly seated within the fully enclosed chain guard.
- Final Checks: Before first use, double-check all nuts, bolts, and connections for tightness. Ensure the chain guard is secure and the brake system functions correctly.
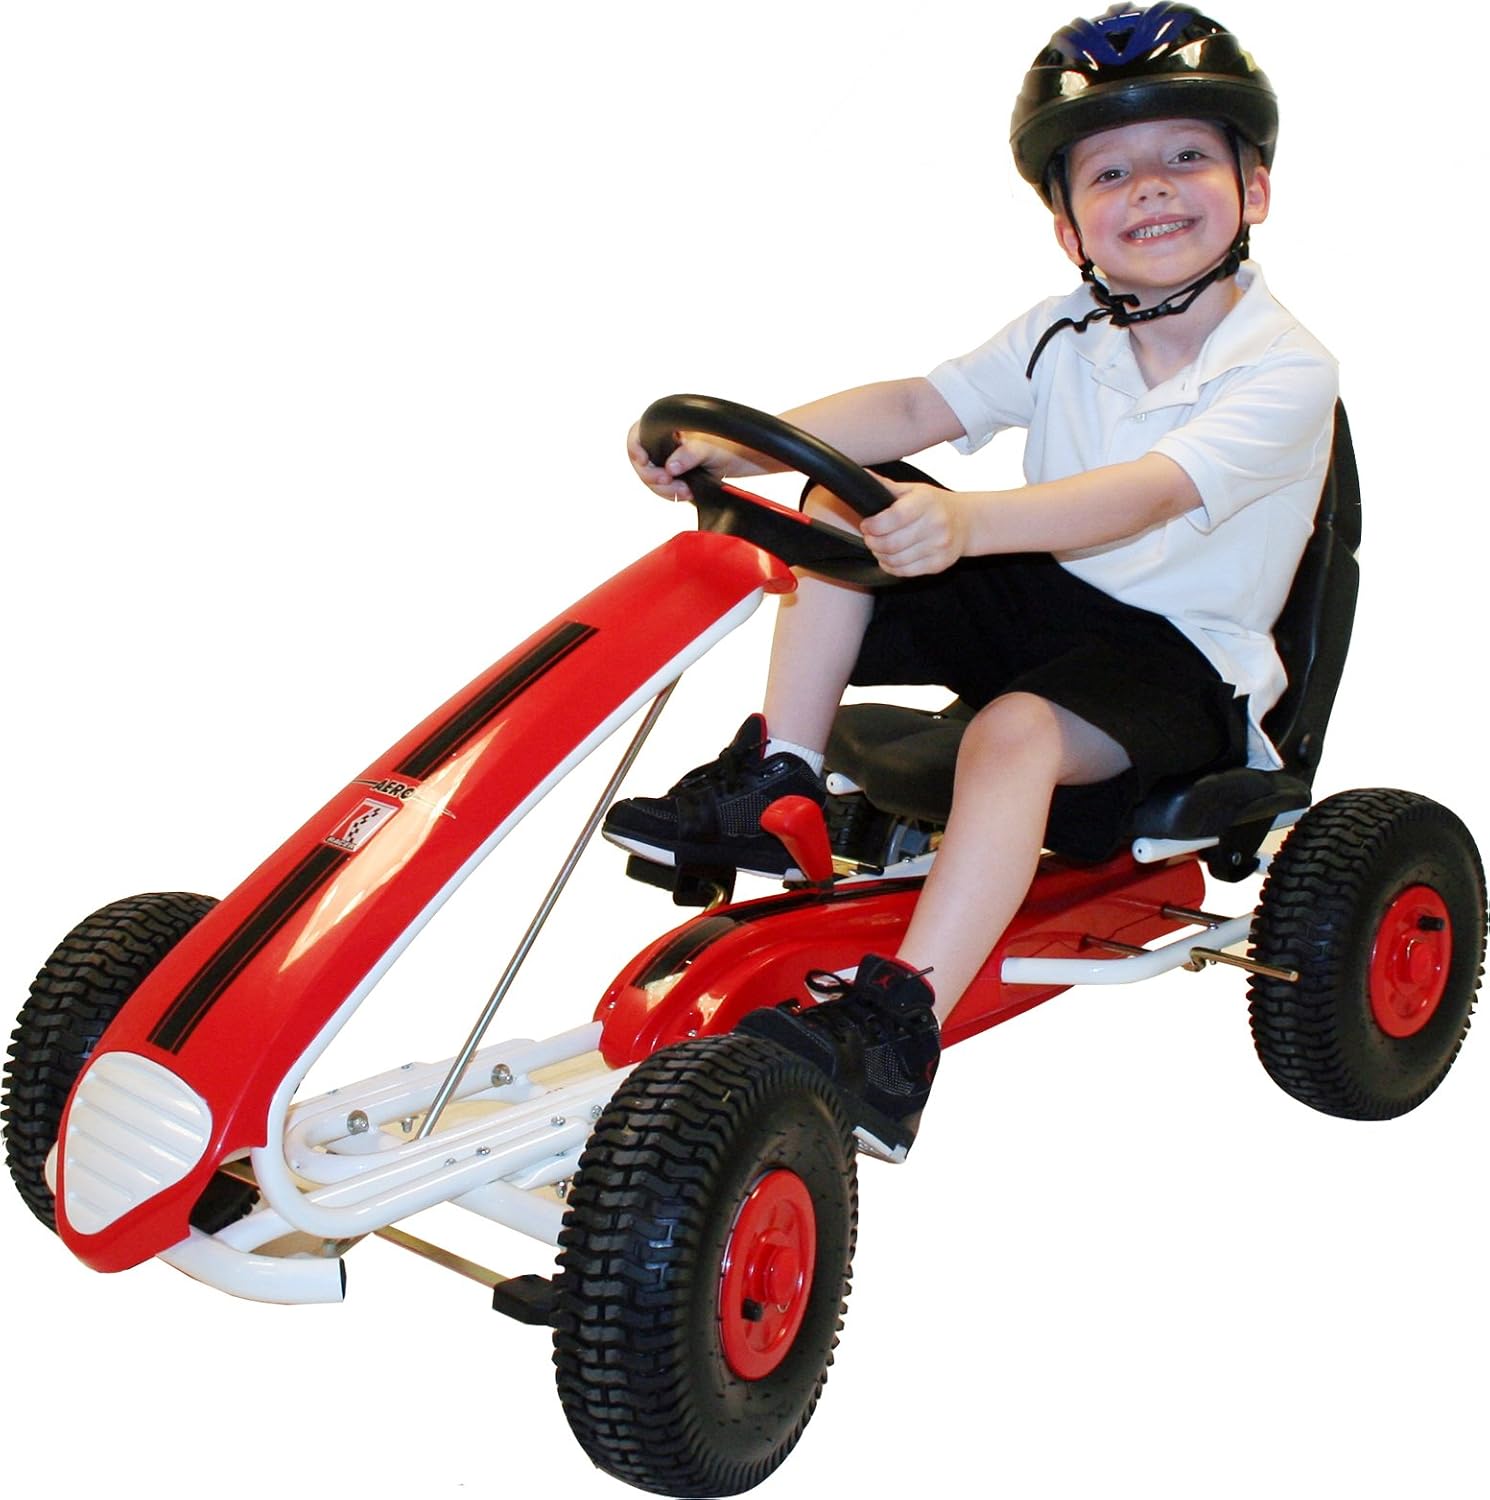
Image 1: Assembled Kettler Kiddi-o Aero Racer Pedal Car with a child rider. This image shows the overall design and scale of the pedal car.
5. Operating Instructions
5.1. Pedaling and Steering
To move the pedal car forward, the rider must pedal using the oversized anti-slip pedals. Steer the pedal car by turning the steering wheel left or right. Encourage smooth and controlled movements.
5.2. Braking
The pedal car is equipped with a dual rear wheel hand brake. To slow down or stop, squeeze the hand brake lever located near the steering wheel. Practice braking in a safe, open area until the rider is comfortable with its operation.
5.3. Coasting Shifter

Image 2: Detail of the coasting shifter. This lever allows the rider to switch between pedaling and freewheeling modes.
The coasting shifter allows the rider to switch between two modes:
- Drive Mode: In this mode, pedaling directly propels the pedal car forward.
- Freewheeling/Coasting Mode: When engaged, the pedals remain stationary while the pedal car continues to move, allowing for coasting without pedaling. This is useful for downhill sections or when being pushed.
To switch modes, move the shifter lever to the desired position. Ensure the pedal car is stationary or moving slowly when changing modes.
5.4. Seat Adjustment

Image 3: Adjusting the seat position. The lever mechanism allows for quick and easy seat adjustments.
The high-back racing seat features a 3-position easy adjust mechanism to accommodate different rider heights. To adjust the seat:
- Locate the seat adjustment lever, typically underneath the seat.
- Pull the lever to release the seat locking mechanism.
- Slide the seat forward or backward to the desired position.
- Release the lever, ensuring the seat locks securely into one of the three positions. The rider's knees should be slightly bent when the pedals are at their furthest point.
6. Maintenance
Regular maintenance will ensure the longevity and safe operation of your Kettler Kiddi-o Aero Racer Pedal Car.
- Cleaning: Clean the pedal car with a damp cloth and mild soap. Avoid harsh chemicals or abrasive cleaners. Rinse thoroughly and dry.
- Tire Pressure: The pneumatic air tires require regular pressure checks. Maintain the recommended tire pressure (usually indicated on the tire sidewall) for optimal performance and safety.
- Chain Guard: The chain is protected by a fully enclosed chain guard. Periodically inspect the guard for damage. While the chain is enclosed, occasional lubrication with a light bicycle chain oil may be beneficial if any squeaking or stiffness is observed.
- Fasteners: Routinely inspect all nuts, bolts, and screws. Tighten any loose fasteners to prevent parts from detaching during use.
- Storage: Store the pedal car in a dry, covered area to protect it from weather elements, which can cause rust or material degradation.
7. Troubleshooting
If you encounter issues with your pedal car, refer to the following troubleshooting guide:
| Problem | Possible Cause | Solution |
|---|---|---|
| Difficulty steering or car goes straight | Loose steering linkage or worn components. | Inspect the steering rod and connections. Tighten any loose bolts. If components are worn, contact Kettler support for replacement parts. |
| Pedals not engaging or chain slipping | Chain dislodged or damaged, or coasting shifter in wrong mode. | Check the coasting shifter position. Inspect the chain through the guard for proper seating. If the chain is damaged, contact Kettler support. |
| Brake not effective | Brake cable loose or worn brake pads. | Inspect the brake cable tension and adjust if necessary. Check brake pads for wear and replace if needed. |
| Tires losing air quickly | Puncture or loose valve stem. | Inspect tires for punctures. Ensure valve stems are tight. Repair or replace tire/tube as necessary. |
8. Specifications
| Feature | Detail |
|---|---|
| Product Dimensions | 47 x 24 x 25 inches (L x W x H) |
| Item Weight | 2.2 pounds |
| Model Number | 9981-700 |
| Recommended Age | 5 - 9 years |
| Frame Material | High Carbon Steel with Fade Resistant Powder Coat Finish |
| Tires | Durable Pneumatic Air Tires on Sealed Ball Bearings |
| Seat | 3-Position Easy Adjust High-Back Racing Seat |
| Brake System | Dual Rear Wheel Hand Brake |
| Chain Guard | Fully Enclosed |
| Release Date | February 18, 2009 |
9. Warranty and Support
KETTLER products are designed for durability and safety. For specific warranty information, please refer to the warranty card included with your product or visit the official KETTLER website. If you require assistance with assembly, parts, or troubleshooting that is not covered in this manual, please contact KETTLER customer support.
KETTLER Customer Support:
- For the most current contact information, please visit the official KETTLER website: www.kettlerusa.com


