1. Product Overview
The Wagner Lighting 4007 Multi-Purpose Light Bulb is engineered for durability and performance. It features a continuous coil design that enhances resistance to shock and vibration, contributing to an extended service life. This bulb is designed for various automotive lighting applications, ensuring reliable illumination.
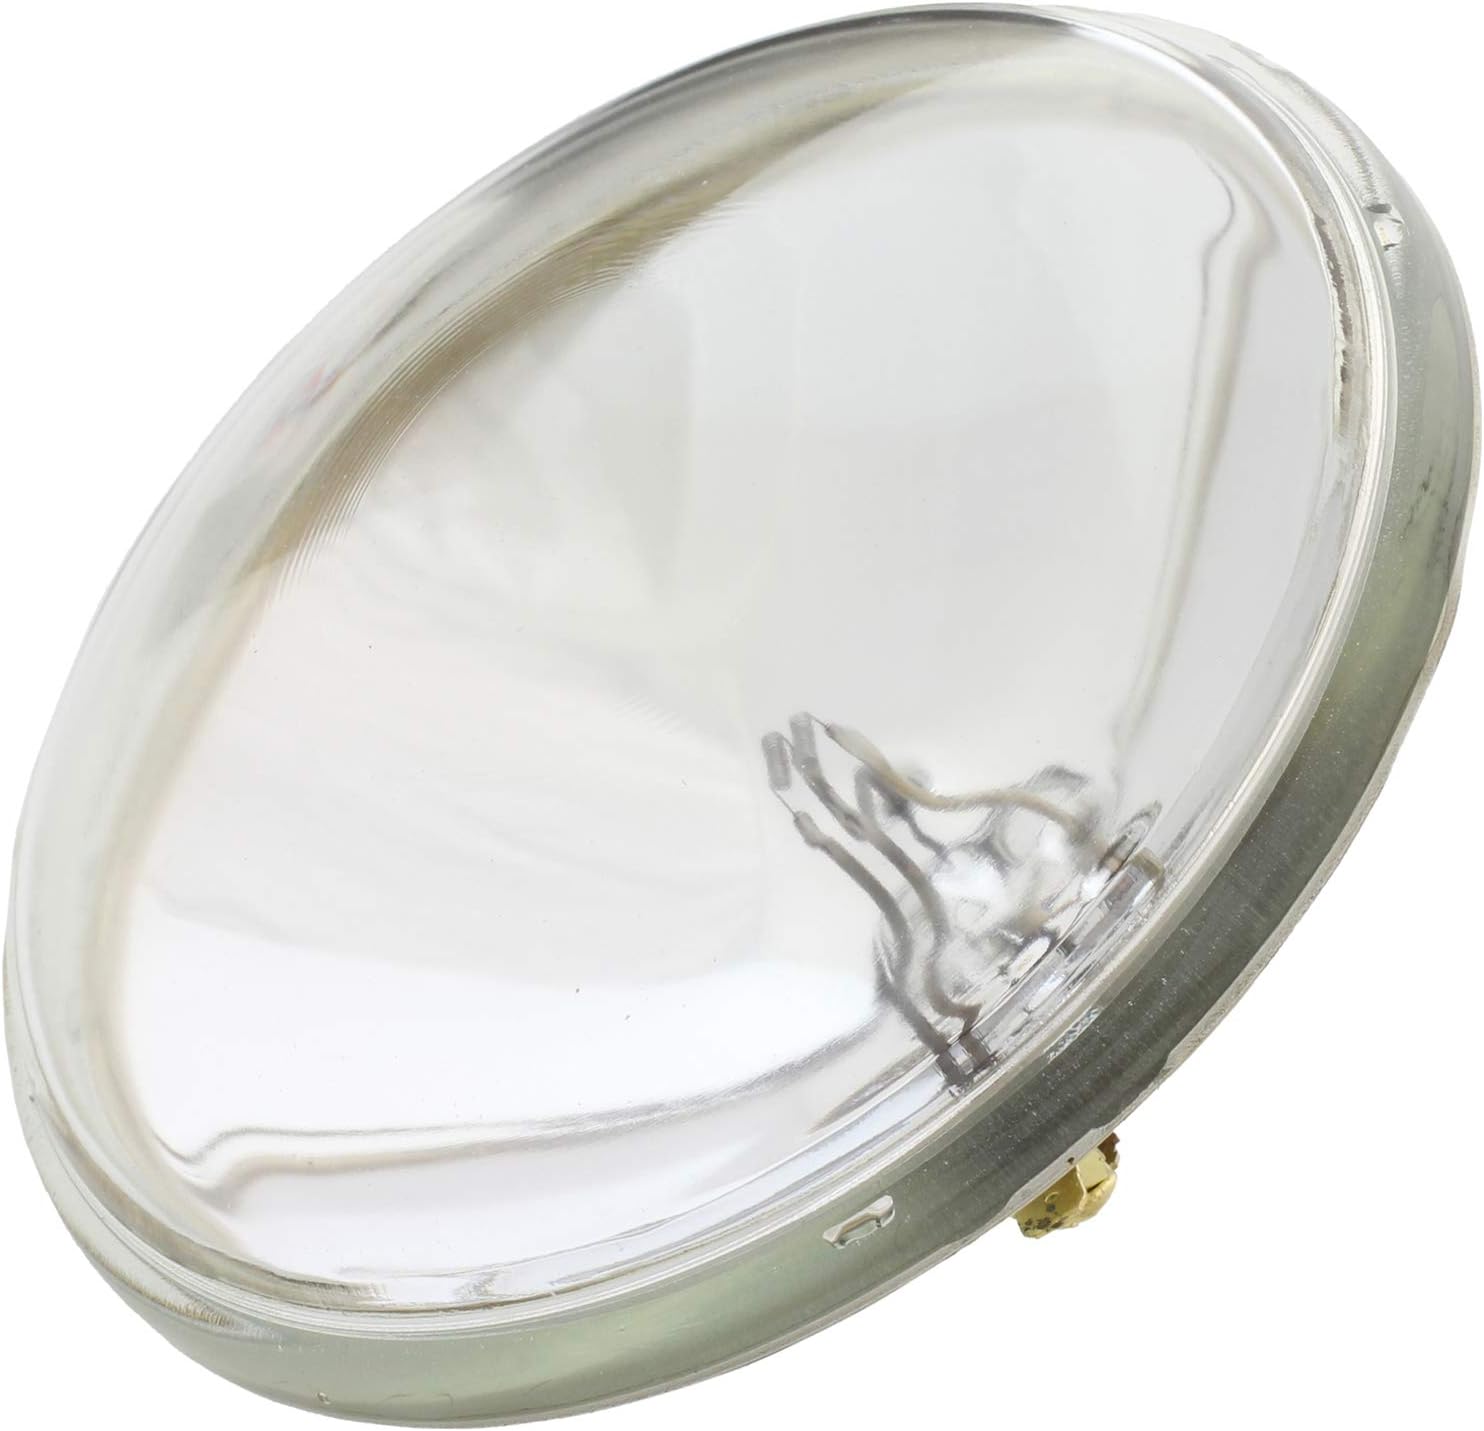
Figure 1: Front view of the Wagner Lighting 4007 Multi-Purpose Light Bulb.
Key Features:
- Continuous Coil Design: Resists shock and vibration for extended service life.
- DOT/SAE Compliant: Meets regulatory standards for automotive lighting.
- High-Grade Stainless Steel Terminals: Designed to prevent corrosion and ensure reliable electrical connection.
- Non-Reflective Bottom Shelf: Helps reduce glare in various weather conditions, including rain, snow, and fog.
- Waterproof: Designed to withstand moisture exposure.
2. Installation Instructions
Proper installation is crucial for the optimal performance and safety of your Wagner Lighting 4007 Multi-Purpose Light Bulb. Always ensure the vehicle's electrical system is off before beginning installation.
2.1. Vehicle Compatibility
Before purchasing and installing, verify that the Wagner 4007 bulb is compatible with your specific vehicle. Consult your vehicle's owner's manual or a reputable automotive parts guide. Ensure all vehicle information (year, make, model, engine, and trim) is accurately matched for proper fitment.
2.2. General Installation Steps
- Safety First: Turn off the vehicle's engine and disconnect the negative terminal of the battery to prevent electrical shock. Allow any existing bulbs to cool down before handling.
- Access the Bulb: Locate the light assembly where the bulb needs to be replaced. This may require opening the hood, removing a fender liner, or accessing from behind the dashboard, depending on the vehicle and bulb location.
- Remove Old Bulb: Carefully disconnect the electrical connector from the old bulb. Then, unclip or twist to remove the old bulb from its housing. Avoid touching the glass of the new bulb with bare hands, as oils can reduce its lifespan.
- Insert New Bulb: Align the new Wagner 4007 bulb with the housing and insert it securely. Ensure it is seated correctly and any clips or twists are engaged to hold it in place.
- Connect Electrical: Reconnect the electrical connector to the new bulb.
- Test Functionality: Reconnect the vehicle battery. Turn on the vehicle's lights to confirm the new bulb is functioning correctly before reassembling any removed components.
- Reassemble: Replace any covers, liners, or other components that were removed to access the bulb.

Figure 2: Rear view of the bulb showing electrical terminals for connection.
3. Operation
Once correctly installed, the Wagner Lighting 4007 Multi-Purpose Light Bulb operates as part of your vehicle's lighting system. Its function is activated by the vehicle's electrical controls, such as the headlight switch or other relevant light switches.
- Ensure all vehicle lights are functioning as intended after installation.
- Regularly check the alignment of headlights (if applicable) to ensure proper beam pattern and avoid blinding other drivers.
4. Maintenance
The Wagner Lighting 4007 bulb is designed for durability and minimal maintenance. However, periodic checks can help ensure its longevity and optimal performance.
- Regular Inspection: Periodically check all vehicle lights to ensure they are working. Replace any non-functioning bulbs promptly.
- Cleaning: If the outer lens of the light assembly becomes dirty, clean it with a soft cloth and appropriate automotive cleaning solution to maintain light output. Avoid harsh chemicals that could damage the lens material.
- Avoid Contamination: When handling new bulbs, avoid touching the glass with bare hands. Finger oils can create hot spots on the bulb surface, leading to premature failure. Use gloves or a clean cloth if contact is unavoidable.
5. Troubleshooting
If you encounter issues with your Wagner Lighting 4007 Multi-Purpose Light Bulb, refer to the following troubleshooting guide:
| Problem | Possible Cause | Solution |
|---|---|---|
| Bulb does not light up. |
|
|
| Light is dim or flickers. |
|
|
| Bulb burns out quickly. |
|
|
6. Specifications
Detailed specifications for the Wagner Lighting 4007 Multi-Purpose Light Bulb are provided below:
| Brand | Wagner |
| Model | 4007 |
| Wattage | 100 watts |
| Lens Color | Clear |
| Lens Material | Plastic |
| Special Feature | Waterproof |
| Item Weight | 14.1 ounces |
| UPC | 042723947132, 042723925857 |
| Vehicle Service Type | Car |
| Automotive Fit Type | Vehicle Specific Fit |
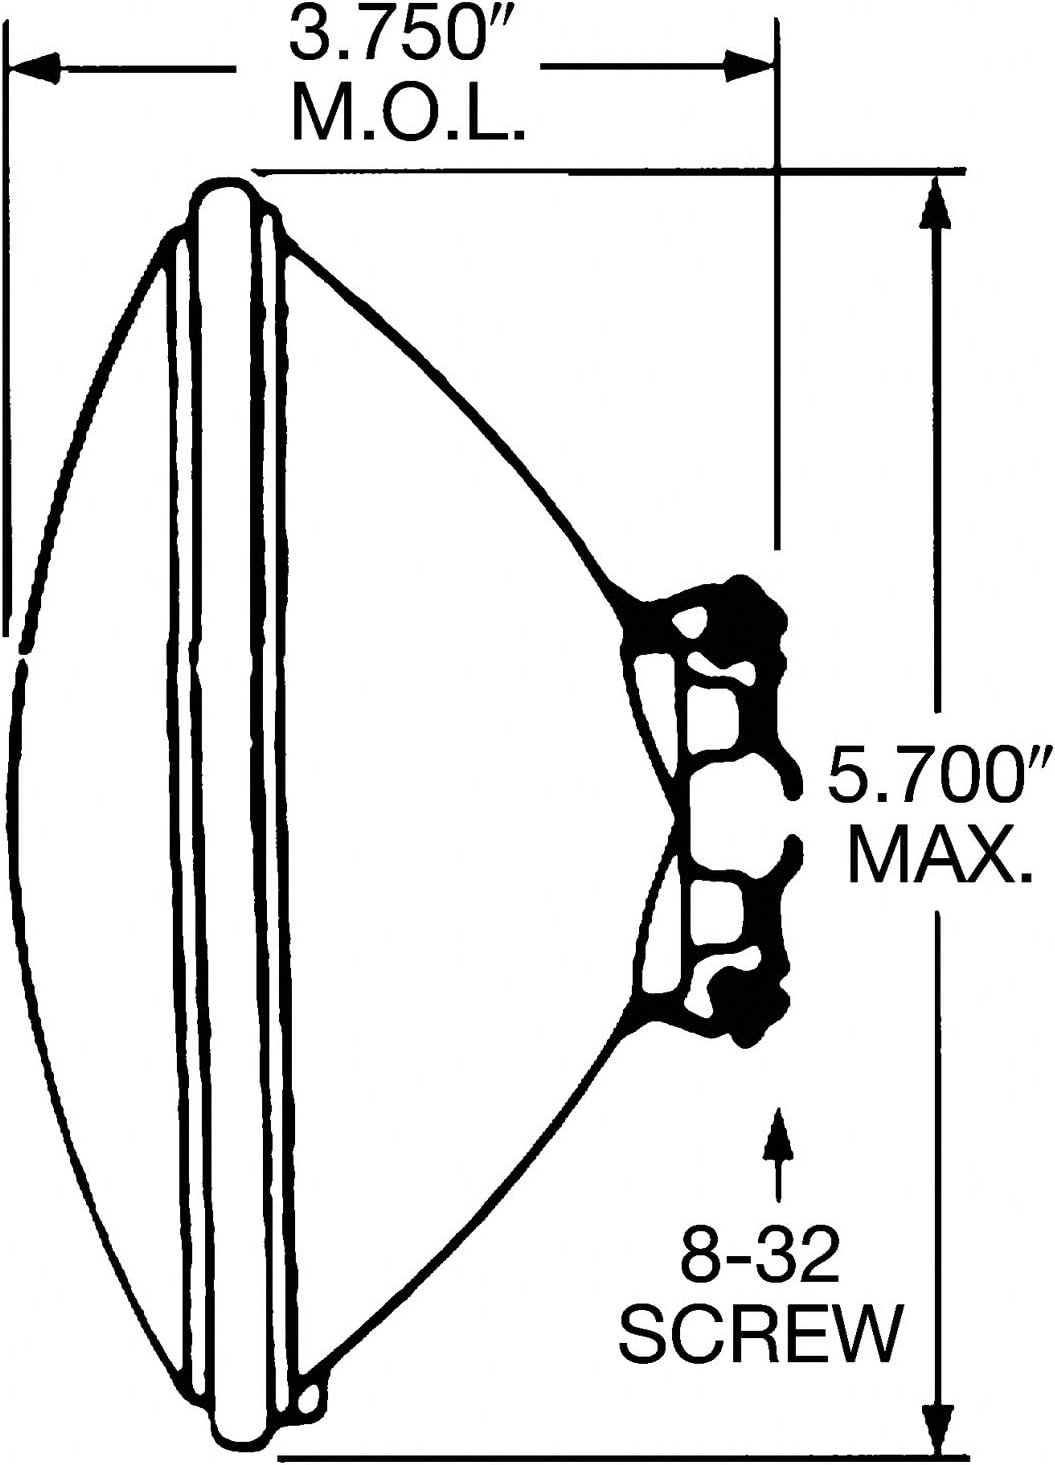
Figure 3: Dimensional diagram of the Wagner 4007 bulb.
7. Warranty and Support Information
For warranty details, technical support, or further assistance with your Wagner Lighting 4007 Multi-Purpose Light Bulb, please refer to the official Wagner product documentation or visit the Wagner website. Contact information for customer service is typically available on the product packaging or the manufacturer's official website.
Always ensure you have your product model number (4007) and any purchase information available when contacting support.


