
Introduction
This manual provides instructions for the assembly, operation, and maintenance of your Dritz Quilter's Floor Frame, Model 3129. Please read these instructions carefully before use to ensure proper setup and safe operation.
Setup and Assembly
The Dritz Quilter's Floor Frame is designed for easy assembly and portability. Follow these steps to set up your frame:
- Unpack Components: Carefully remove all PVC pipes and connectors from the packaging. Ensure all parts are present.
- Assemble the Base: Connect the shorter PVC pipes using the corner connectors to form the rectangular base of the frame.
- Attach Vertical Supports: Insert the four vertical support pipes into the corner connectors of the base.
- Assemble the Top Frame: Connect the remaining pipes and corner connectors to form the top rectangular frame.
- Attach Top Frame to Supports: Place the assembled top frame onto the vertical supports. Ensure all connections are secure.
- Adjust Height (Optional): The frame features adjustable legs. To adjust the height, locate the push-button mechanisms on the lower part of each leg. Press the button and slide the inner pipe to the desired height. Ensure the button locks into one of the pre-drilled holes for stability. The height can be adjusted from 29 inches to 35 inches (74 cm to 89 cm).

Figure 1: Fully assembled Dritz Quilter's Floor Frame with a quilt in place.

Figure 2: Detail of the adjustable leg, showing the push-button mechanism for height adjustment.
Video: Assembly and Fabric Placement
Video 1: This video demonstrates the step-by-step assembly of the Dritz Quilter's Floor Frame and how to properly place and secure your quilt for tension.
Operation
Once assembled, the Dritz Quilter's Floor Frame provides a stable surface for quilting. Follow these guidelines for optimal use:
- Placing the Quilt: Drape your quilt over the top frame. Ensure the layers (top, batting, backing) are aligned as desired.
- Securing Fabric Tension: Use the four included plastic clamps to secure the edges of your quilt to the frame. Position the clamps evenly around the frame to achieve consistent tension across the fabric. Adjust as needed to keep the quilt taut but not stretched excessively.
- Tilting the Frame: The frame can be tilted to four comfortable angles. To adjust the tilt, gently lift one side of the top frame and reposition it to the desired angle. Ensure both sides are set to the same angle for stability.
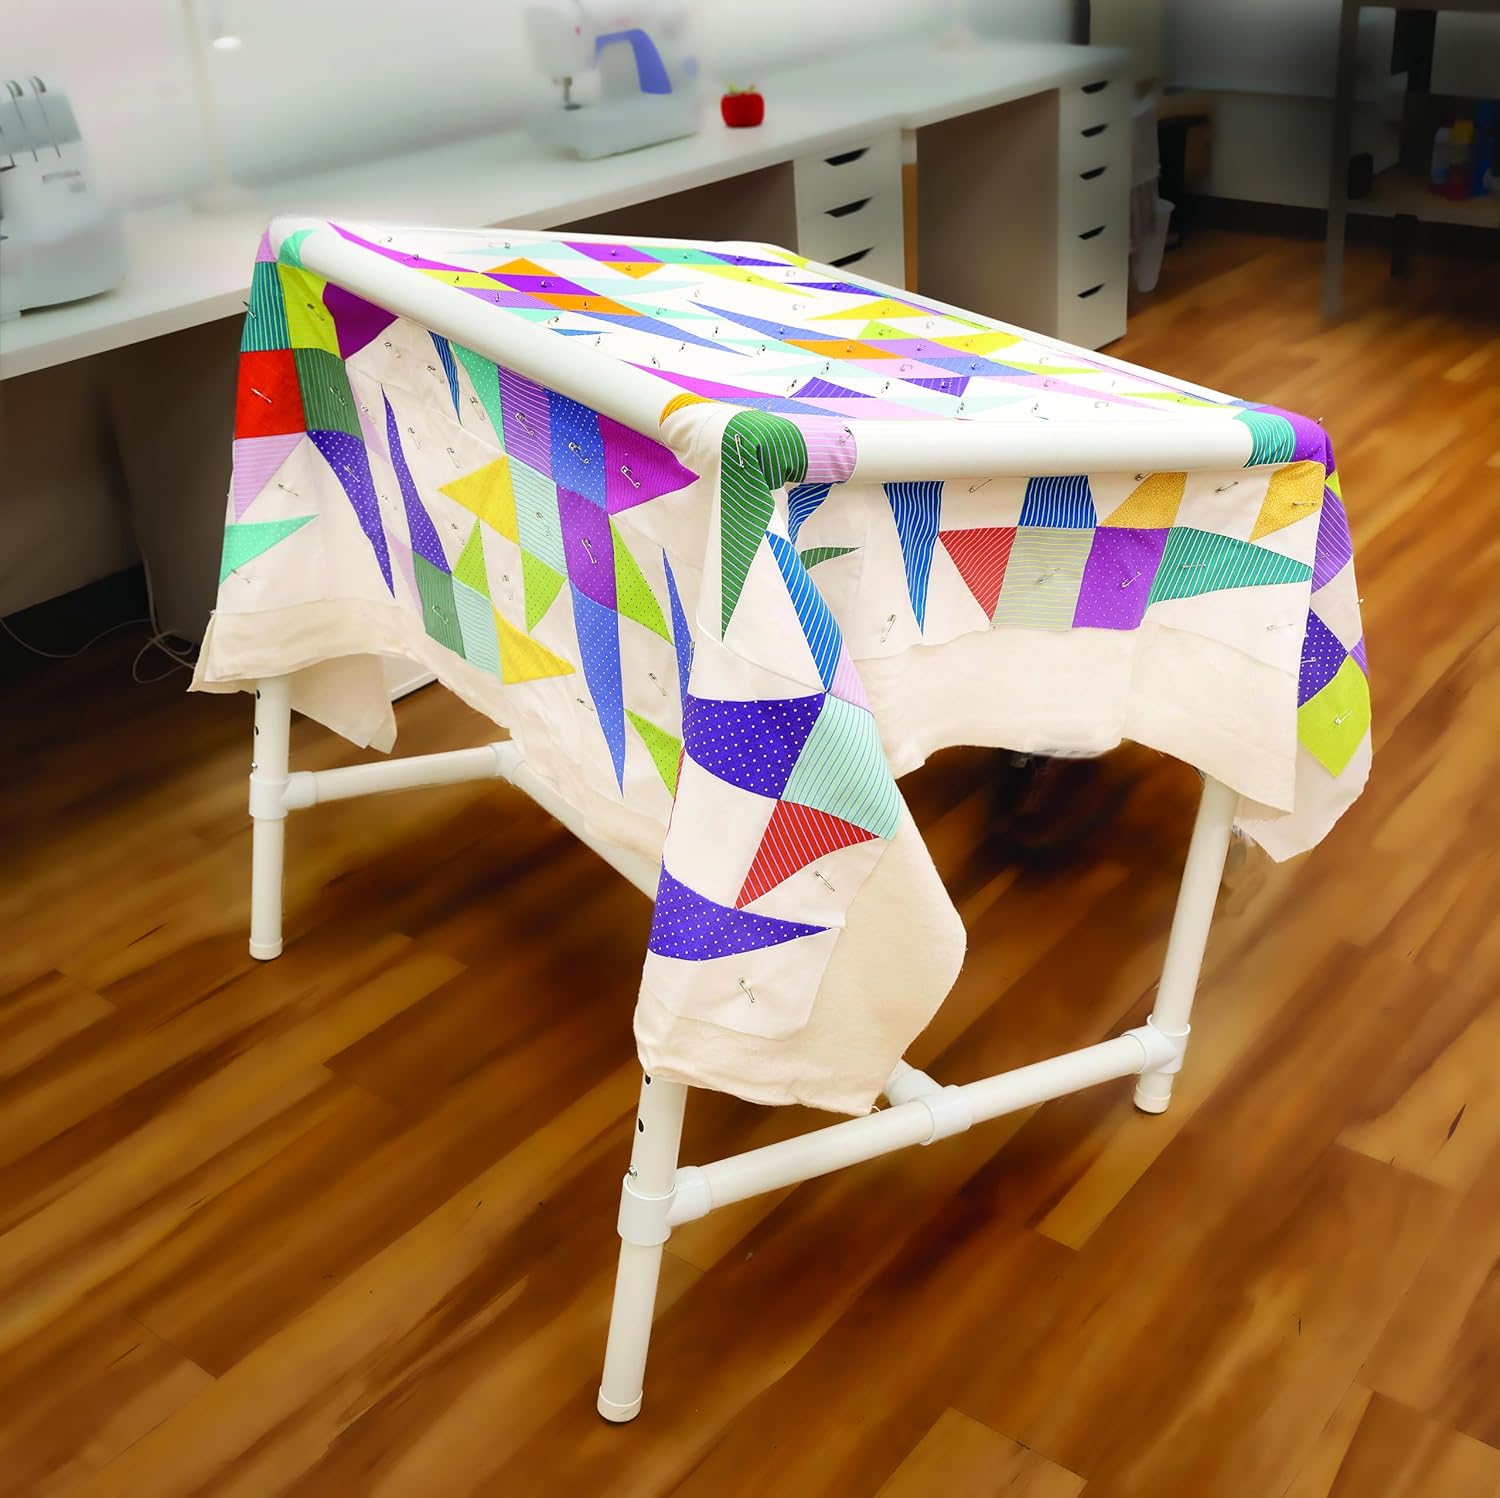
Figure 3: The quilter's frame in a flat, horizontal position, suitable for various quilting techniques.

Figure 4: The quilter's frame tilted for ergonomic access to the quilt surface.
Maintenance
To ensure the longevity and optimal performance of your Dritz Quilter's Floor Frame, follow these simple maintenance tips:
- Cleaning: Wipe down the PVC frame with a damp cloth and mild soap as needed. Avoid abrasive cleaners that could damage the plastic.
- Storage: The frame is designed to be easily disassembled for storage. When not in use, disassemble the frame and store it in its original packaging or a protective bag to prevent dust accumulation and damage.
- Inspect Connections: Periodically check all PVC pipe connections to ensure they are secure.
Troubleshooting
| Problem | Possible Cause | Solution |
|---|---|---|
| Frame feels unstable or wobbly. | Loose connections or uneven leg height. | Ensure all PVC pipes are fully inserted into their connectors. Verify that all four legs are adjusted to the same height and locked securely. |
| Quilt fabric is not taut. | Clamps are not properly positioned or applied. | Re-position the plastic clamps evenly around the quilt edges, ensuring they grip the fabric firmly. Adjust the fabric to remove slack before applying clamps. |
| Difficulty adjusting leg height. | Push-button not fully depressed or obstructed. | Ensure the push-button is fully depressed when attempting to slide the leg. Check for any debris obstructing the button or the adjustment holes. |
Specifications
- Model Number: 3129
- Material: PVC Plastic
- Product Dimensions (assembled): Approximately 12 x 4.5 x 36.5 inches (L x W x H)
- Adjustable Height: 29 inches to 35 inches (74 cm to 89 cm)
- Tilting Angles: 4 comfortable angles
- Item Weight: 9.97 pounds
- Included Accessories: 4 plastic clamps
Warranty & Support
For warranty information or product support, please refer to the contact details provided with your purchase or visit the official Dritz website. Keep your proof of purchase for any warranty claims.