
Important Safeguards
When using electrical appliances, basic safety precautions should always be followed to reduce the risk of fire, electric shock, and/or injury to persons, including the following:
- Read all instructions.
- Do not touch hot surfaces. Use handles or knobs.
- To protect against electrical shock, do not immerse cord, plug, or roaster oven base in water or other liquid.
- Close supervision is necessary when any appliance is used by or near children.
- Unplug from outlet when not in use and before cleaning. Allow to cool before putting on or taking off parts.
- Do not operate any appliance with a damaged cord or plug, or after the appliance malfunctions or has been dropped or damaged in any manner. Contact customer service for examination, repair, or adjustment.
- The use of accessory attachments not recommended by the appliance manufacturer may cause injuries.
- Do not use outdoors.
- Do not let cord hang over edge of table or counter, or touch hot surfaces.
- Do not place on or near a hot gas or electric burner, or in a heated oven.
- Extreme caution must be used when moving an appliance containing hot oil or other hot liquids.
- Always attach plug to appliance first, then plug cord into the wall outlet. To disconnect, turn any control to OFF, then remove plug from wall outlet.
- Do not use appliance for other than intended use.
- Oversized foods or metal utensils must not be inserted in a roaster oven as they may create a fire or risk of electric shock.
- A fire may occur if the roaster oven is covered or touching flammable material, including curtains, draperies, walls, and the like, when in operation.
- Do not clean with metal scouring pads. Pieces can break off the pad and touch electrical parts, creating a risk of electric shock.
- Do not store any materials, other than manufacturer’s recommended accessories, in this oven when not in use.
- Do not place any of the following materials in the oven: paper, cardboard, plastic, or similar materials.
- Do not cover the removable pan or any part of the roaster oven with metal foil. This will cause overheating of the roaster oven.
Parts and Features
- Lid: Covers the cooking pan to retain heat and moisture.
- Removable Roasting Pan: The inner pan where food is placed for cooking. Easy to clean.
- Wire Rack: Designed to lift food off the bottom of the roasting pan for even cooking and easy removal.
- Base Unit: Houses the heating element and temperature control.
- Temperature Control Knob: Allows adjustment of cooking temperature up to 450°F.
- Cool-Touch Side Handles: For safe handling and transport of the roaster oven.

Image: The Hamilton Beach 22-Quart Roaster Oven, Model 32229, shown with baked potatoes inside and served on a plate. This illustrates the appliance's capacity and serving function.

Image: A large roasted turkey being carefully lifted from the roaster oven using the included wire rack, demonstrating the ease of food removal.
Setup
- Unpack: Carefully remove all packaging materials and accessories.
- Initial Cleaning: Before first use, wash the removable roasting pan, lid, and wire rack in hot, soapy water. Rinse thoroughly and dry. Wipe the exterior of the base unit with a damp cloth. Do not immerse the base unit in water.
- First Use Odor: During the first use, the roaster oven may produce a slight odor and emit some smoke. This is normal and will dissipate quickly. To minimize this, operate the empty roaster oven at 450°F for 30 minutes in a well-ventilated area before cooking food.
- Placement: Place the roaster oven on a stable, heat-resistant surface, away from walls and flammable materials. Ensure adequate ventilation around the unit.
- Assemble: Place the clean removable roasting pan into the base unit. Insert the wire rack into the roasting pan.
Operating Instructions
- Prepare Food: Place your food on the wire rack inside the removable roasting pan.
- Cover: Place the lid securely on the roasting pan.
- Plug In: Plug the power cord into a standard electrical outlet.
- Set Temperature: Turn the temperature control knob to the desired cooking temperature. The indicator light will illuminate, signaling that the unit is heating.
- Preheating: For best results, preheat the roaster oven for 15-20 minutes before placing food inside, especially for roasting and baking.
- Cooking: Cook food according to your recipe. The indicator light will cycle on and off as the roaster maintains the set temperature.
- Monitoring: Avoid frequently lifting the lid, as this releases heat and moisture, extending cooking times.
- Finish Cooking: Once cooking is complete, turn the temperature control knob to OFF and unplug the unit from the outlet.
- Serve: Use oven mitts to carefully remove the lid. Use the wire rack handles to lift the food out of the roasting pan.
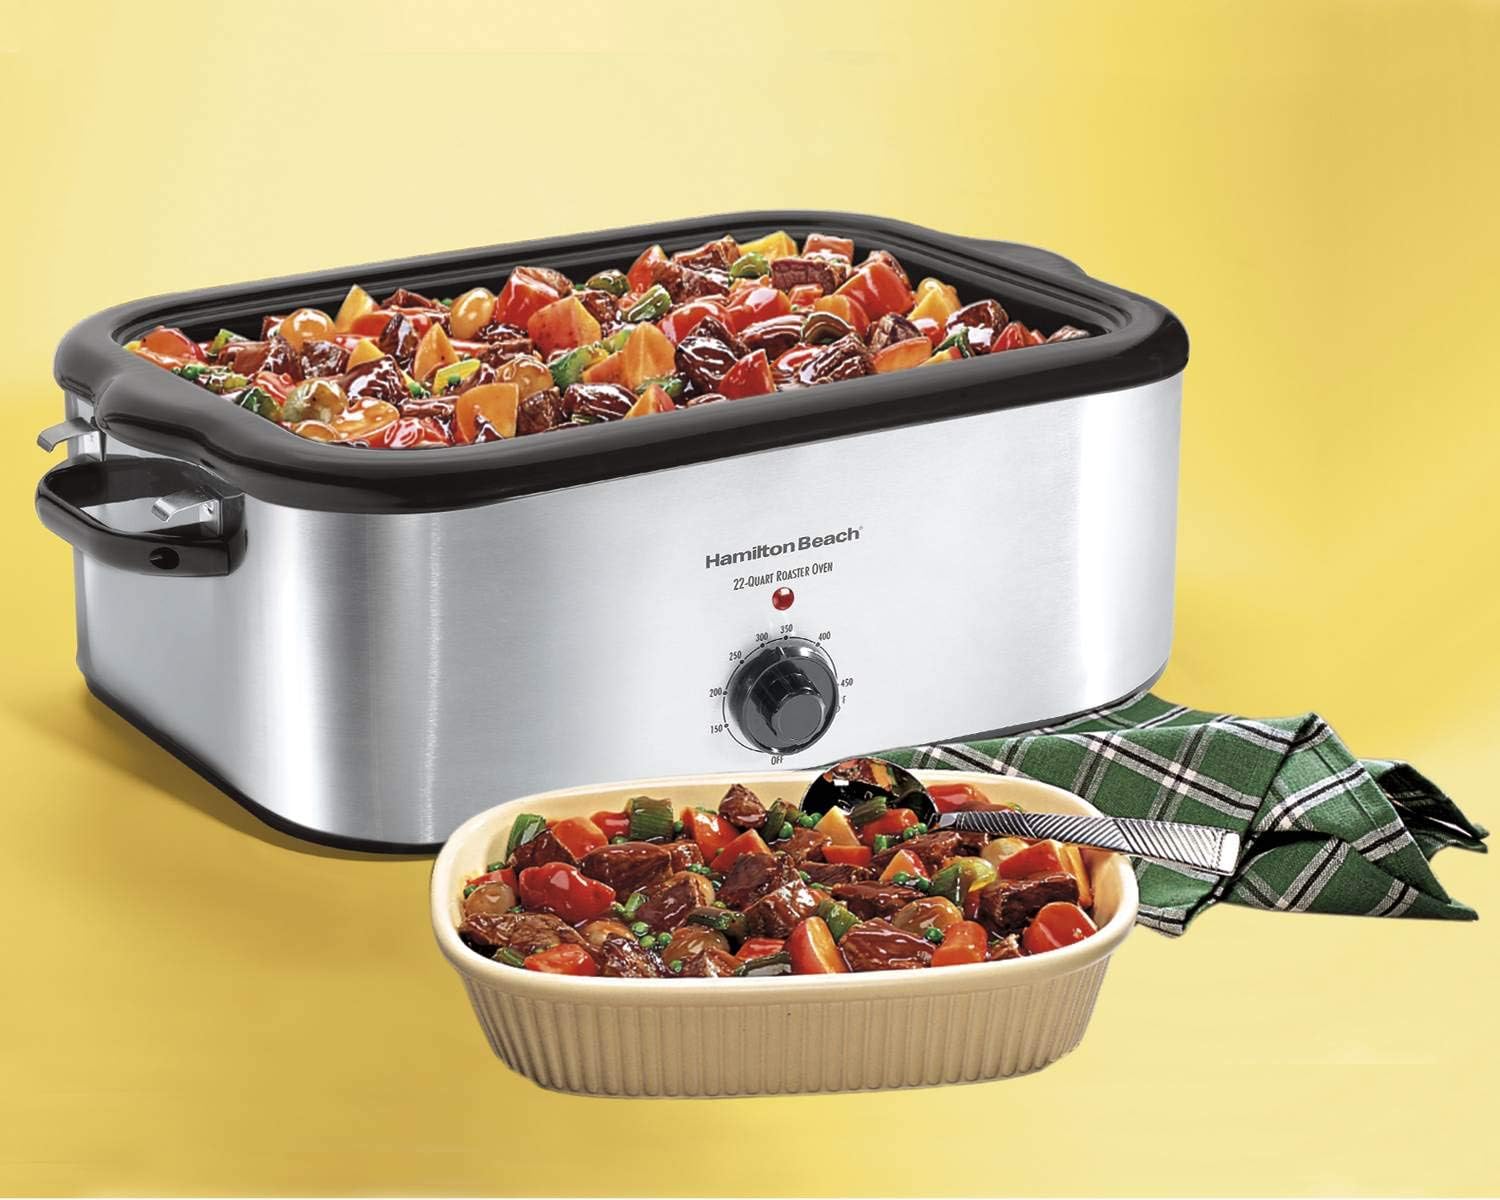
Image: The roaster oven containing a stew, demonstrating its versatility for various dishes beyond just roasting.
Cooking Guide
The Hamilton Beach 22-Quart Roaster Oven is designed for versatile cooking, including roasting, baking, and slow cooking. Its large capacity makes it ideal for preparing meals for gatherings.
Roasting Meats (e.g., Turkey, Chicken, Roasts)
- Moisture Retention: The roaster oven excels at keeping meats moist due to the enclosed cooking environment.
- Browning: For a browned skin, preheat the roaster to 400-450°F. Cook at this higher temperature for the first 30-45 minutes, then reduce to the recipe's recommended temperature (typically 325-350°F) for the remainder of the cooking time. Brushing the skin with melted butter or oil can also aid browning.
- Internal Temperature: Always use a meat thermometer to ensure meats reach safe internal temperatures. For poultry, this is typically 165°F (74°C) in the thickest part of the thigh.
- Capacity: This 22-quart model can comfortably accommodate large turkeys, often up to 26 pounds, depending on the bird's shape.
Baking
- The roaster oven can be used for baking casseroles, breads, and desserts.
- Adjust baking times as needed, as roaster ovens can sometimes cook faster or slower than conventional ovens.
- Use appropriate bakeware that fits inside the removable pan. Glass Pyrex dishes are often suitable.
Slow Cooking / Warming
- The lower temperature settings are ideal for slow cooking stews, chili, or keeping food warm for serving.
- For slow cooking, set the temperature to a lower range, such as 200-250°F, and allow ample time for cooking.
- When using as a buffet server, set the temperature to a low warming setting (e.g., 150-200°F) to maintain food temperature without overcooking.

Image: The roaster oven filled with a variety of fresh vegetables, showcasing its use for preparing side dishes or vegetarian meals.
Maintenance and Cleaning
Proper cleaning and maintenance will ensure the longevity and optimal performance of your roaster oven.
- Unplug and Cool: Always unplug the roaster oven from the electrical outlet and allow it to cool completely before cleaning.
- Remove Components: Carefully remove the lid, wire rack, and removable roasting pan.
- Cleaning Removable Parts: Wash the lid, wire rack, and removable roasting pan in hot, soapy water. These parts are generally dishwasher-safe, but hand washing is recommended for best results and to preserve their finish. Avoid using abrasive cleaners or metal scouring pads, as they can damage the surfaces.
- Cleaning Base Unit: Wipe the exterior of the base unit with a damp cloth. Do not immerse the base unit in water or any other liquid. Ensure no water enters the electrical components.
- Stubborn Stains: For stubborn food residue in the roasting pan, fill it with warm, soapy water and let it soak for a period before cleaning.
- Drying: Dry all parts thoroughly before reassembling or storing.

Image: Demonstrates the removal of the inner roasting pan from the main unit, highlighting the easy-to-clean design.
Troubleshooting
- Appliance does not turn on:
- Ensure the power cord is securely plugged into a working electrical outlet.
- Check if the temperature control knob is set to a temperature above OFF.
- Verify that the electrical outlet is functioning by plugging in another appliance.
- Food is not browning:
- Roaster ovens tend to create a moist environment, which can inhibit browning. For better browning, preheat the roaster to 400-450°F and cook at this temperature for the first 30-45 minutes before reducing the heat.
- Brush the food surface with oil or melted butter.
- Ensure the lid is properly sealed to prevent excessive steam escape.
- Odor or smoke during first use:
- This is normal for new appliances. Operate the empty roaster at 450°F for 30 minutes in a well-ventilated area before cooking. The odor will dissipate.
- Food is cooking too slowly or too quickly:
- Ensure the lid is properly seated to prevent heat loss.
- Verify the temperature setting on the control knob.
- Cooking times can vary based on food density and starting temperature. Adjust cooking time or temperature as needed.
- Stains on the inner pan:
- Some foods may cause staining. These are typically cosmetic and do not affect performance. Soak the pan in warm, soapy water to loosen residue. Avoid abrasive cleaners.
Specifications
| Brand | Hamilton Beach |
| Model Number | 32229 |
| Capacity | 22 Quarts |
| Material | Stainless Steel |
| Color | Silver |
| Product Dimensions (D x W x H) | 18" x 25.28" x 11" |
| Item Weight | 19.2 pounds |
| Temperature Range | Up to 450°F |
| Control Type | Knob Control |
| Included Components | Wire Rack |
Warranty and Support
This Hamilton Beach 22-Quart Roaster Oven Model 32229 comes with a 1-year limited warranty from the date of purchase.
This warranty covers defects in materials and workmanship. It does not cover damage from misuse, accident, abuse, alteration, or commercial use. For warranty service or technical support, please refer to the contact information provided in your original product packaging or visit the official Hamilton Beach website.
Please retain your proof of purchase for warranty claims.


