
Hazet 166C
HAZET 166C Workshop Trolley User Manual
Model: 166C | Brand: Hazet
1. Introduction
The HAZET 166C Workshop Trolley is a robust and versatile tool storage and transport solution designed for professional and demanding environments. Its innovative design allows for space-saving transport by rotating the columns to a minimum height. This manual provides essential information for the safe and efficient use, assembly, maintenance, and troubleshooting of your HAZET 166C Workshop Trolley.
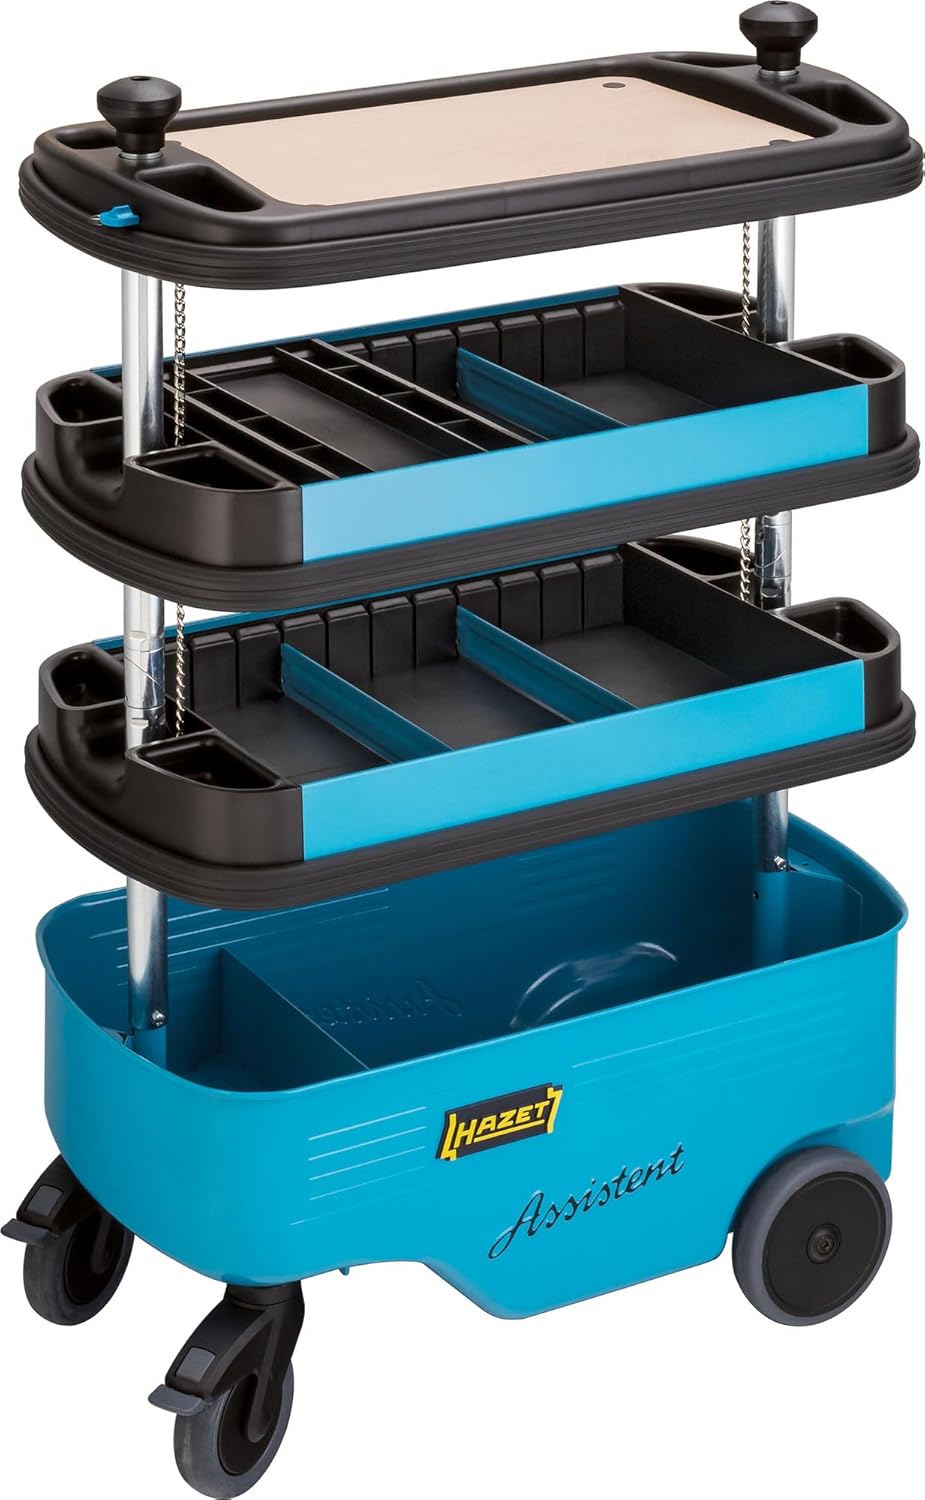
Figure 1: Fully assembled HAZET 166C Workshop Trolley.
2. Safety Information
Always observe the following safety precautions to prevent injury and damage to the trolley:
- Ensure the trolley is on a stable, level surface before loading or unloading tools.
- Do not exceed the maximum static load capacity of 300 kg. Distribute weight evenly.
- Engage the wheel brakes when the trolley is stationary to prevent unintended movement.
- Keep hands and fingers clear of moving parts, especially during assembly or when adjusting the columns.
- Do not use the trolley for purposes other than its intended use as a tool storage and transport unit.
- Regularly inspect the trolley for any signs of damage, wear, or loose components. Do not use if damaged.
- When transporting, ensure all drawers and compartments are securely closed and locked.
3. Setup and Assembly
The HAZET 166C Workshop Trolley is designed for straightforward assembly. Follow these steps for initial setup and to utilize its space-saving transport feature.
3.1 Unpacking and Initial Inspection
Carefully remove all components from the packaging. Verify that all parts listed in the packing list are present and undamaged. Report any discrepancies or damage to your supplier immediately.
3.2 Assembling the Trolley
- Attach the large castors (Ø 150 mm) and swivel castors (Ø 125 mm) to the base of the trolley. Ensure the swivel castors with brakes are positioned correctly for easy access.
- Insert the support pillars into the designated slots on the base.
- Place the intermediary containers onto the pillars, ensuring they are securely seated. These containers are suitable for HAZET plastic drawer inserts and include 2 separation sheets.
- Integrate the additional sliding tray into the intermediary containers as needed, for items like calliper gauges or small parts.
- Position the table board with the integrated beech wood board on the top. This board is replaceable.
- Ensure all connections are tight and secure before loading any tools.

Figure 2: Trolley in collapsed state for transport.

Figure 3: Components and assembly detail.
3.3 Collapsing for Space-Saving Transport
The unique design of the HAZET 166C allows its pillars to swing down, reducing the height to a minimum of 647 mm for convenient, space-saving transport. To collapse the trolley, ensure all items are removed from the upper tiers, then follow the instructions provided with the product for safely lowering the pillars.
4. Operating Instructions
The HAZET 166C Workshop Trolley is designed for ease of use in various workshop environments.
4.1 Loading and Organizing Tools
- Utilize the spacious bottom container for larger items.
- The intermediary containers are ideal for smaller tools and parts, especially when used with HAZET plastic drawer inserts and the provided separation sheets.
- The additional sliding tray is perfect for precision instruments like calliper gauges.
- Distribute the weight evenly across the trolley to maintain stability and prevent tipping.
4.2 Mobility and Braking
The trolley is equipped with large castors (2 fixed, 2 swivel) to navigate uneven surfaces. The swivel castors include brakes for secure positioning.
- To move the trolley, ensure the brakes on the swivel castors are disengaged.
- To secure the trolley in place, engage the brakes on both swivel castors.

Figure 4: Trolley in use in a workshop environment.

Figure 5: Detail of the swivel castors with brakes.
4.3 Security
The trolley is collapsible and lockable, and comes with a padlock and 2 keys for securing your tools.
- To lock the trolley, ensure the pillars are in the collapsed position and use the provided padlock to secure the unit.
5. Maintenance
Regular maintenance ensures the longevity and optimal performance of your HAZET 166C Workshop Trolley.
- Cleaning: Wipe down all surfaces with a damp cloth and mild detergent. Avoid abrasive cleaners or solvents that could damage the finish.
- Castors: Periodically check the castors for debris (e.g., string, hair) that might impede movement. Clean as necessary. Lubricate the swivel castor bearings if movement becomes stiff.
- Hardware: Regularly inspect all screws, bolts, and fasteners to ensure they are tight. Retighten any loose hardware.
- Protective Strips: Check the wraparound protecting rubber strips for wear or damage. These help protect the trolley and surrounding objects.
- Wood Board: The beech wood worktop is replaceable. If it becomes heavily worn or damaged, consider replacing it to maintain functionality.
6. Troubleshooting
This section addresses common issues you might encounter with your workshop trolley.
| Problem | Possible Cause | Solution |
|---|---|---|
| Trolley difficult to move or steer. | Brakes engaged; debris in castors; worn castor bearings. | Disengage brakes. Clean castors of debris. Lubricate or replace castor bearings if necessary. |
| Trolley feels unstable or wobbly. | Uneven weight distribution; loose assembly hardware. | Redistribute load evenly. Check and tighten all assembly screws and bolts. |
| Pillars difficult to collapse/extend. | Obstruction; mechanism needs lubrication. | Ensure no tools or items are obstructing the mechanism. Apply a suitable lubricant to the moving parts of the pillars. |
| Padlock/keys not working. | Damaged padlock; incorrect key. | Ensure you are using the correct key. If padlock is damaged, replace it. |
7. Technical Specifications
Detailed specifications for the HAZET 166C Workshop Trolley:
| Feature | Detail |
|---|---|
| Manufacturer | HAZET |
| Part Number | 166C |
| Product Dimensions (L x W x H) | 72.5 x 72.5 x 110.2 cm (assembled) |
| Collapsed Height | 647 mm |
| Item Model Number | 166C |
| Colour | Hazet-blue |
| Material | Alloy Steel |
| Worktop Material | Wood multiplex beech (replaceable) |
| Maximum Weight Capacity (Static) | 300 kg |
| Net Weight | 27.6 kg |
| Number of Fixed Castors | 2 (Ø 150 mm) |
| Number of Swivel Castors | 2 (Ø 125 mm) |
| Drawer Size for Order System | 3/3 |
| Included Components | 1 x tool trolley, padlock, 2 keys |
| Special Features | Collapsible, lockable, integrated beech wood board, additional sliding tray, wraparound protecting rubber strips. |
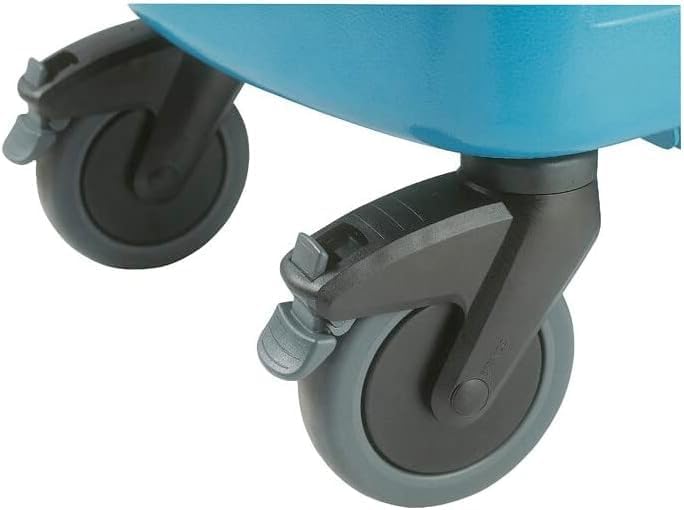
Figure 6: Load capacity distribution diagram.
8. Warranty Information
HAZET products are manufactured to high-quality standards. For specific warranty terms and conditions applicable to your HAZET 166C Workshop Trolley, please refer to the warranty card included with your purchase or visit the official HAZET website. Keep your proof of purchase for any warranty claims.
9. Customer Support
Should you require assistance with your HAZET 166C Workshop Trolley, have questions regarding its operation, or need to order replacement parts, please contact HAZET customer support. Contact information can typically be found on the official HAZET website or in the documentation provided with your product.
For more information, visit the official HAZET website.
Related documents166C


Ask a question about this manual
Ask about setup, troubleshooting, compatibility, parts, safety, or missing instructions. Manuals+ will review the question and use this page’s manual context to help answer it.