
Important Safeguards
When using electrical appliances, basic safety precautions should always be followed to reduce the risk of fire, electric shock, and/or injury, including the following:
- Read all instructions before using the appliance.
- To protect against electrical hazards, do not immerse the blender base, cord, or plug in water or other liquids.
- Close supervision is necessary when any appliance is used by or near children.
- Unplug from outlet when not in use, before assembling or disassembling parts, and before cleaning.
- Avoid contact with moving parts.
- Do not operate any appliance with a damaged cord or plug, or after the appliance malfunctions or has been dropped or damaged in any manner. Contact customer service for examination, repair, or electrical or mechanical adjustment.
- The use of attachments not recommended or sold by the manufacturer may cause fire, electric shock, or injury.
- Do not use outdoors.
- Do not let cord hang over edge of table or counter, or touch hot surfaces.
- Keep hands and utensils out of container while blending to prevent the possibility of severe injury to persons or damage to the blender. A scraper may be used but only when the blender is not running.
- Blades are sharp. Handle with care.
- Always operate blender with lid in place.
- Do not blend hot liquids.
- Do not use appliance for other than intended use.
Product Overview
Familiarize yourself with the components of your BLACK+DECKER Cyclone 12-Speed Blender.
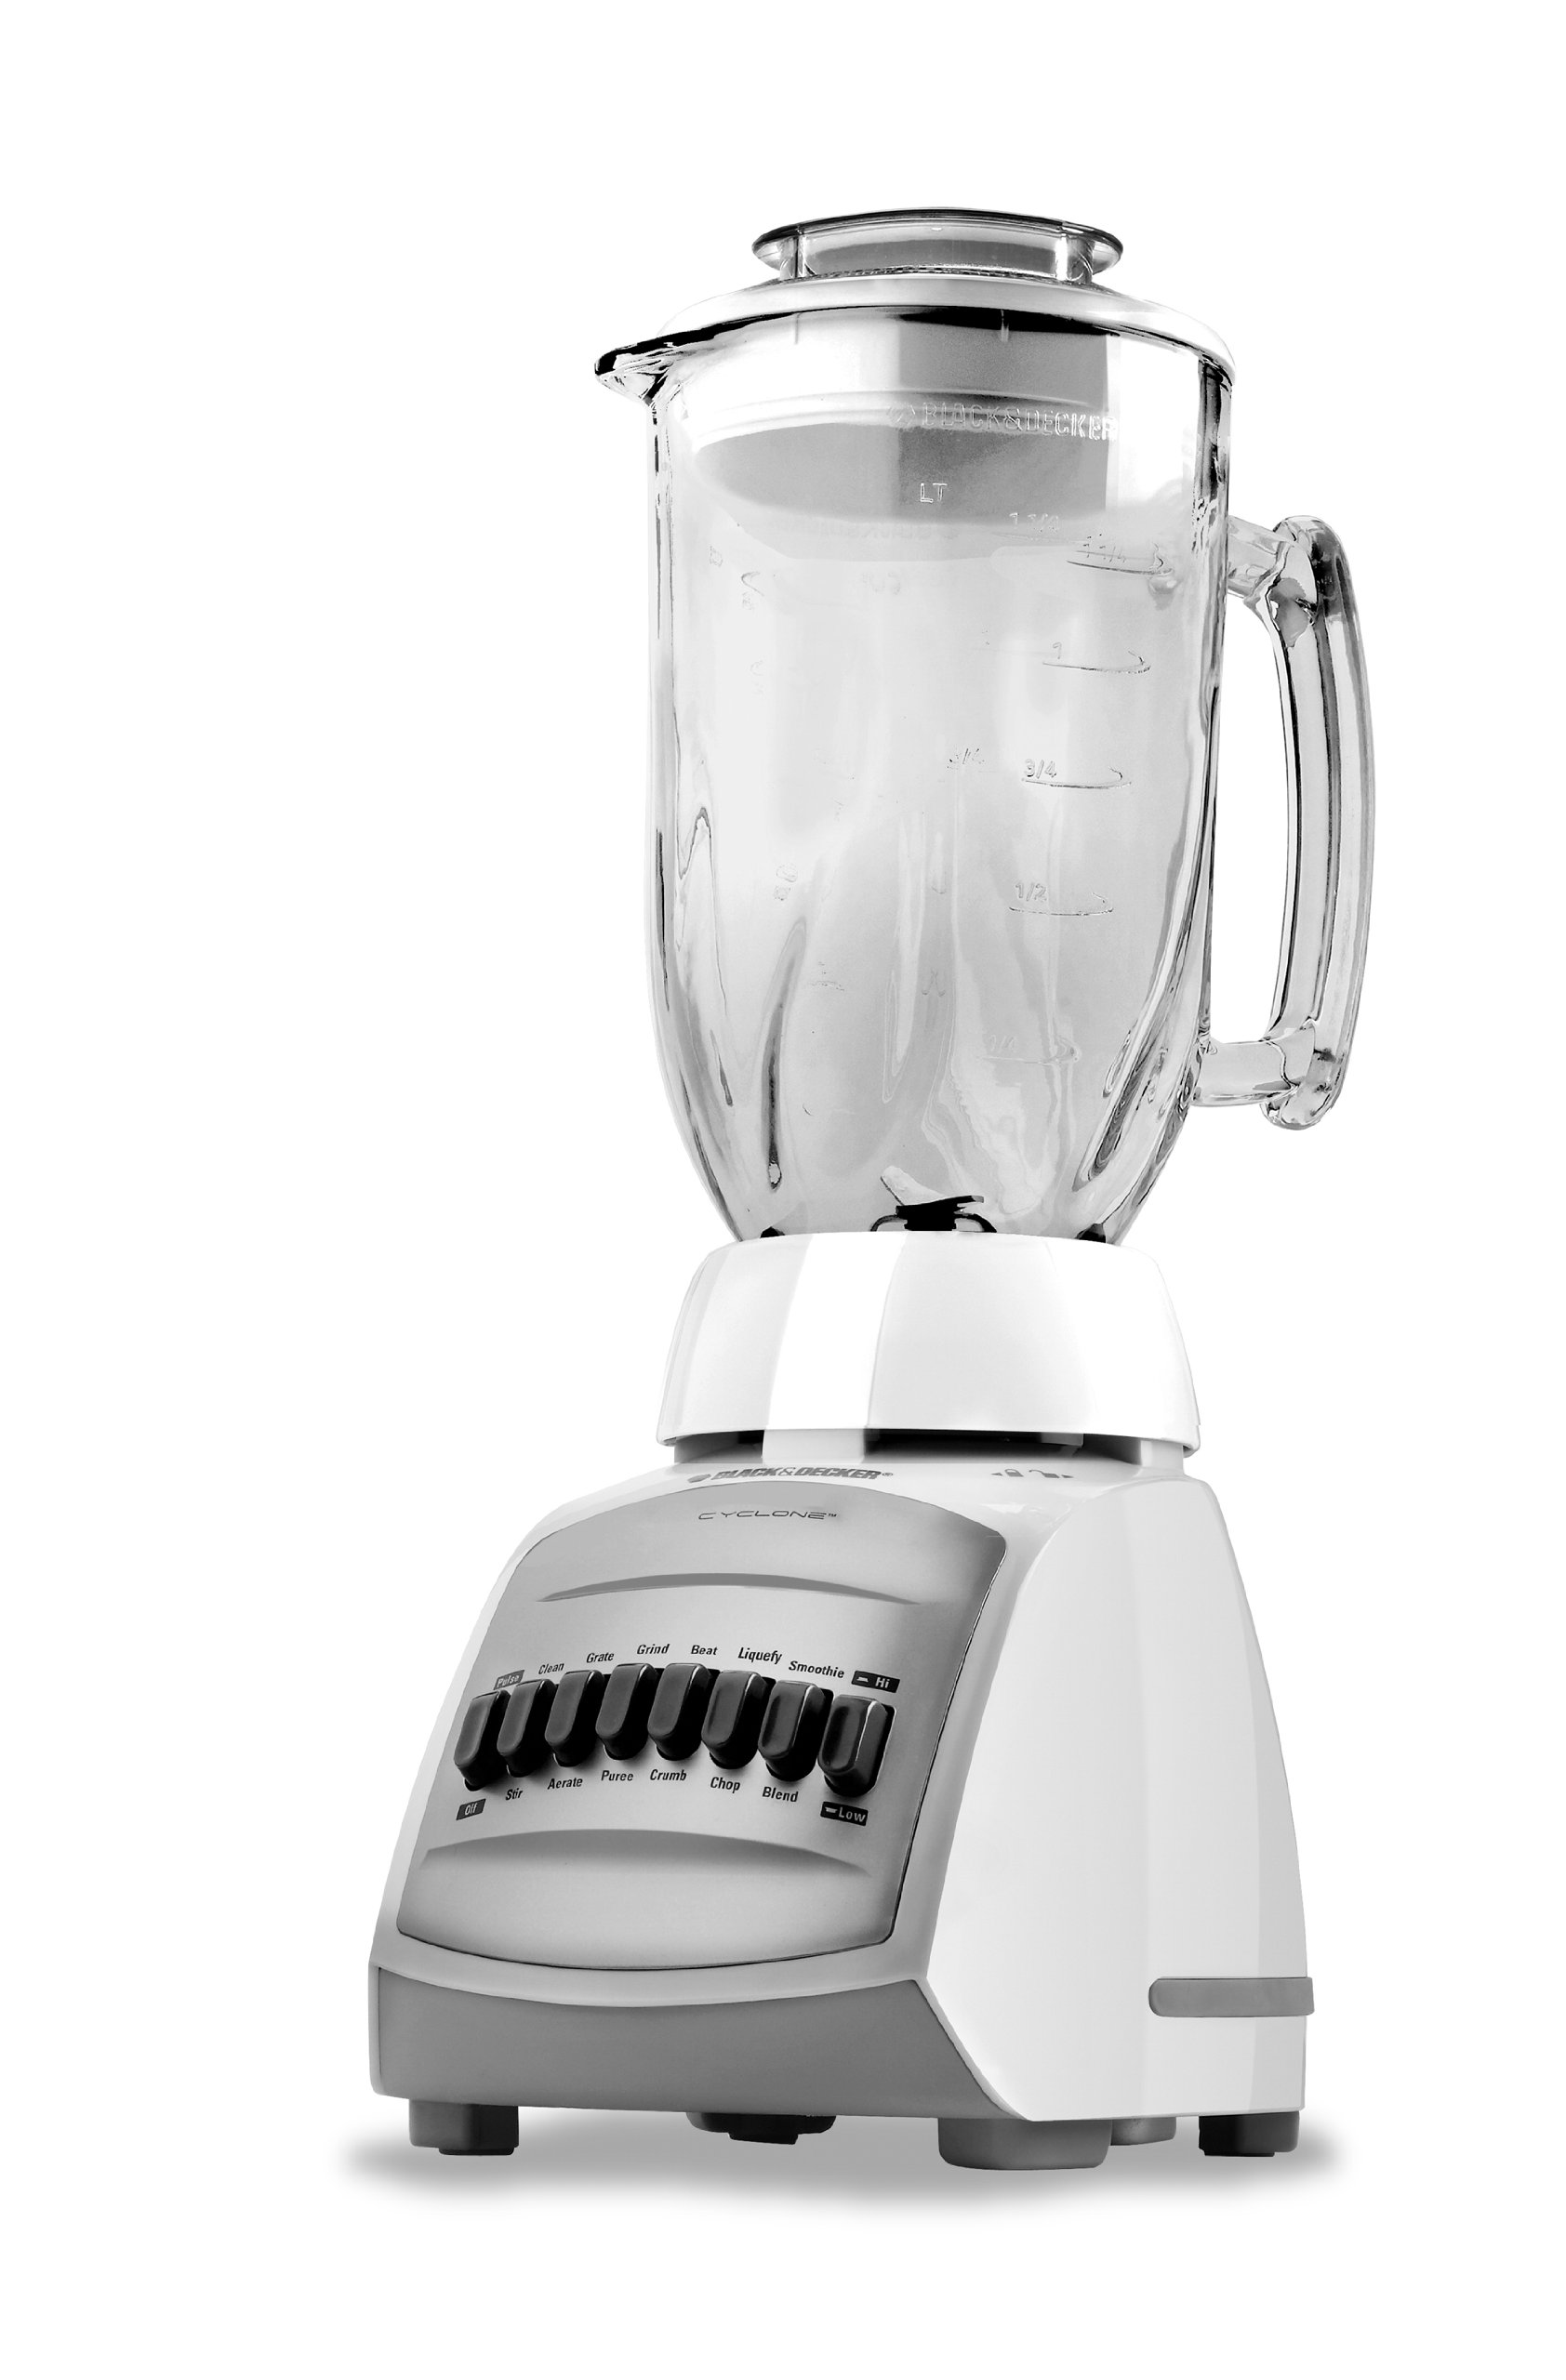
Image: The BLACK+DECKER BLC12650H Cyclone 12-Speed Blender, featuring its main components: the motor base, the 48-ounce glass blending jar, and the lid with a removable measuring cup insert. The blender is white with a clear glass jar.
- Measuring Cup Insert: Removable insert in the lid for adding ingredients during blending.
- Lid: Secures to the blending jar to prevent spills during operation.
- 48-oz Glass Blending Jar: The main container for ingredients, designed for durability.
- Blade Assembly: Multi-level stainless steel blades for efficient blending.
- Blender Base: Houses the motor and control panel.
- Control Panel: Features 12 speed settings and a pulse function.
Setup
Before first use, follow these steps to prepare your blender:
- Unpack: Carefully remove all components from the packaging.
- Wash Parts: Wash the blending jar, lid, and blade assembly in warm, soapy water. Rinse thoroughly and dry. The lid is dishwasher safe. The blender base should be wiped with a damp cloth.
- Assemble Blade: Ensure the blade assembly is securely attached to the bottom of the glass blending jar.
- Place Jar on Base: Place the assembled blending jar onto the blender base, ensuring it is seated correctly and locked into position if applicable.
- Position: Place the blender on a stable, flat, and dry surface.
Operating Instructions
Follow these steps for safe and effective blending:
- Add Ingredients: Place ingredients into the glass blending jar. For best results, add liquids first, then soft solids, and finally ice or frozen ingredients. Do not fill above the 48-ounce maximum fill line.
- Secure Lid: Place the lid firmly onto the blending jar. Ensure the measuring cup insert is in place.
- Place Jar: Position the blending jar onto the motor base.
- Plug In: Plug the blender into a standard electrical outlet.
- Select Speed: Choose your desired speed setting from the 12 available options. For short bursts of power, use the Pulse function.
- Blend: Press the selected speed button or hold the Pulse button to begin blending. Blend until desired consistency is achieved.
- Stop: Release the Pulse button or press the OFF button to stop blending.
- Unplug: Always unplug the blender from the outlet after use and before removing the jar or cleaning.
Tips for Blending:
- If ingredients stick to the sides, turn off the blender, remove the lid, and use a spatula to push ingredients towards the blades. Replace the lid before continuing.
- For thicker mixtures, use the Pulse function to break down ingredients gradually.
- Do not operate the blender continuously for more than 60 seconds at a time. Allow a short rest period between cycles.
Cleaning and Maintenance
Proper cleaning ensures the longevity and performance of your blender.
- Unplug: Always unplug the blender before cleaning.
- Disassemble: Remove the blending jar from the base. Carefully detach the blade assembly from the bottom of the jar. Remove the lid and measuring cup insert.
- Wash Jar and Lid: The glass blending jar, lid, and measuring cup insert are dishwasher safe (top rack recommended) or can be washed by hand in warm, soapy water. Rinse thoroughly.
- Wash Blade Assembly: Carefully wash the blade assembly by hand in warm, soapy water. Use a brush to clean around the blades. Caution: Blades are sharp.
- Clean Base: Wipe the blender base with a damp cloth. Do not immerse the base in water or any other liquid.
- Dry: Ensure all parts are completely dry before reassembling or storing.
- Storage: Store the blender assembled or disassembled in a dry place. The cord can be stored neatly around the base.
Troubleshooting
If you encounter issues with your blender, refer to the following common problems and solutions:
| Problem | Possible Cause | Solution |
|---|---|---|
| Blender does not turn on. | Not plugged in; power outlet not working; jar not properly seated. | Ensure blender is securely plugged into a working outlet. Check if the blending jar is correctly placed on the base. |
| Ingredients are not blending smoothly. | Too many ingredients; not enough liquid; ingredients are too large. | Reduce the amount of ingredients. Add more liquid. Cut ingredients into smaller pieces. Use the Pulse function to break down larger items. |
| Blender leaks from the bottom of the jar. | Blade assembly not tightened; gasket missing or damaged. | Ensure the blade assembly is securely tightened onto the jar. Check if the gasket is properly in place and not damaged. |
| Motor smells or overheats. | Overloading; continuous operation for too long. | Reduce the load. Do not operate continuously for more than 60 seconds. Allow the motor to cool down for at least 10-15 minutes before resuming use. |
Specifications
Key technical details for the BLACK+DECKER BLC12650H Cyclone 12-Speed Blender:
- Brand: BLACK+DECKER
- Model: BLC12650H
- Power: 650 Watts (Peak)
- Capacity: 48 Fluid Ounces (Glass Jar)
- Number of Speeds: 12 + Pulse Function
- Blade Material: Stainless Steel
- Dimensions (L x W x H): 11.25 x 7.88 x 13 inches
- Item Weight: 1 pounds
- Power Source: Corded Electric
- UPC: 050875535640
Warranty and Support
For warranty information and customer support, please refer to the warranty card included with your product or visit the official BLACK+DECKER website. Do not attempt to repair the appliance yourself. Any servicing other than cleaning should be performed by an authorized service representative.


