1. Introduction
This manual provides essential information for the safe and effective operation, setup, and maintenance of your DEWALT DW717 10-Inch Double Bevel Sliding Compound Miter Saw. This tool is designed for precise crosscutting and miter cutting applications, featuring a powerful 15-amp motor and a versatile double-bevel sliding mechanism. Please read all instructions carefully before use to ensure proper function and safety.

Figure 1: Overview of the DEWALT DW717 Miter Saw. This image shows the complete saw assembly, highlighting its robust construction and key components such as the blade guard, motor housing, and miter table.
2. Setup and Assembly
Before operating the saw, ensure it is properly assembled and secured.
2.1 Initial Placement
Place the miter saw on a stable, level surface. Ensure adequate workspace around the saw for material handling and safe operation. The saw weighs approximately 51 pounds and features a built-in carry handle for portability.
2.2 Blade Installation/Replacement
The saw comes with a 10-inch blade. If replacement is necessary, follow these steps:
- Disconnect Power: Always unplug the saw from the power source before performing any maintenance or adjustments.
- Access Blade: Refer to the saw's specific instructions for opening the blade guard and accessing the blade retaining bolt.
- Remove Old Blade: Use the provided tool to loosen and remove the blade retaining bolt. Carefully remove the old blade.
- Install New Blade: Position the new 10-inch blade, ensuring the teeth are oriented correctly for cutting. Secure it with the retaining bolt, tightening firmly.
- Close Guard: Ensure all guards are properly closed and secured before reconnecting power.
Note: Some users have reported difficulty with blade removal due to the dust chute design on certain models (Type 2). If encountering resistance, ensure the dust chute is not obstructing the blade's path. Consult the troubleshooting section or a service center if issues persist.
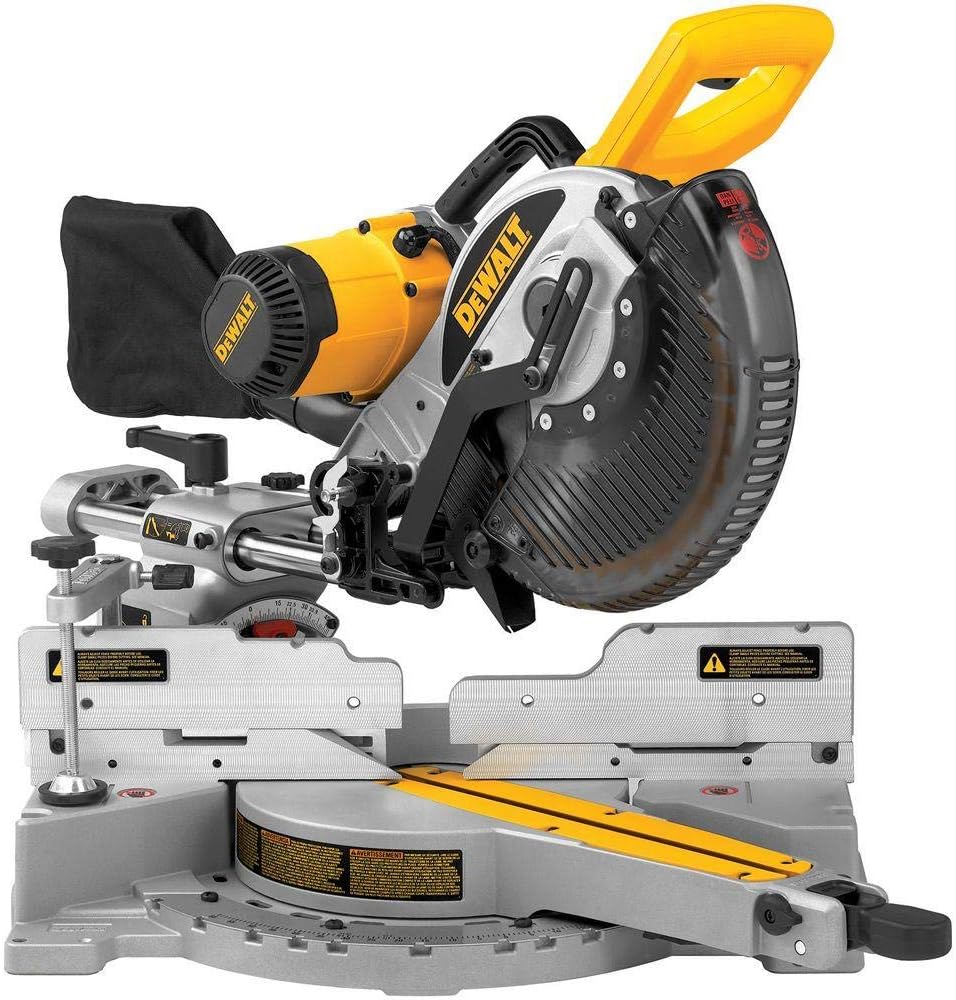
Figure 2: Side view of the miter saw, showing the blade and guard assembly. This view helps in understanding the blade replacement process.
3. Operating Instructions
The DEWALT DW717 is designed for precise cutting operations. Always wear appropriate safety gear, including eye protection, hearing protection, and gloves.
3.1 Powering On and Off
- Connect the saw to a standard AC power outlet.
- To start the saw, depress the trigger switch.
- To stop the saw, release the trigger switch. Allow the blade to come to a complete stop before moving material or making adjustments.
3.2 Miter Angle Adjustments
The saw features an adjustable stainless steel miter detent plate with 11 positive stops for common angles.
- Loosen the cam-lock miter handle.
- Rotate the miter table to the desired angle. Positive stops will engage at common angles.
- For angles between detents, use the detent override feature.
- Tighten the cam-lock miter handle to secure the setting.
The miter capacity ranges from 0 to 60 degrees to the left and 0 to 52 degrees to the right.
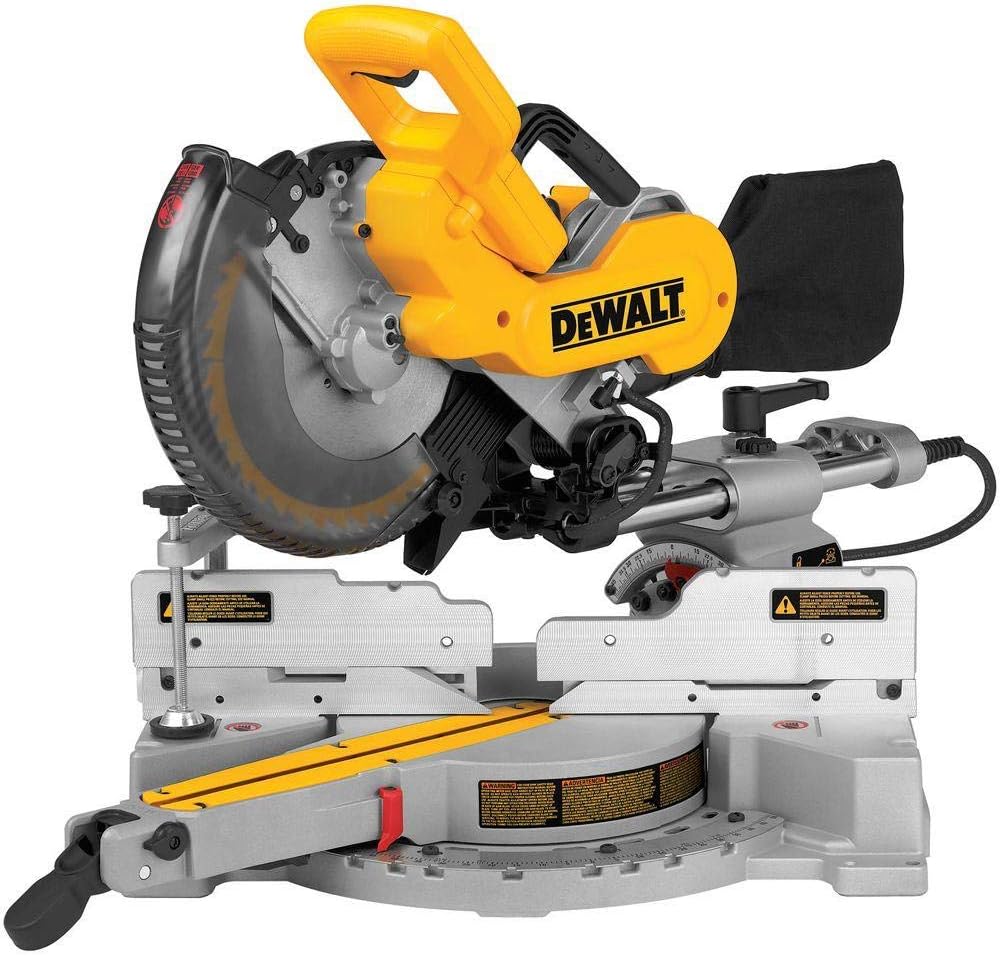
Figure 3: Front view of the miter saw, illustrating the miter scale and cam-lock handle for angle adjustments.
3.3 Bevel Angle Adjustments
The saw allows for double-bevel cuts, ranging from 0 to 48 degrees to both the left and right.
- Locate the bevel lock lever.
- Loosen the lever and tilt the saw head to the desired bevel angle.
- Secure the bevel lock lever firmly.
This double-bevel capability increases versatility, allowing you to make opposing bevel cuts without flipping the workpiece.
3.4 Sliding Function
The dual horizontal steel rails enable the saw head to slide, increasing crosscut capacity.
- For wider materials, pull the saw head forward, engage the motor, and push the saw head smoothly through the material.
- Ensure the material is firmly against the fence and clamped if necessary.

Figure 4: Side view of the miter saw, demonstrating the extended sliding rails for increased crosscut capacity.
3.5 Cutting Capacity
- Crosscut Capacity: Up to 12 inches at a 45-degree angle using the back-fence design.
- Vertical Cut Capacity (Nested Crown): Up to 6-1/4 inches.
- Base Molding Support: Tall sliding fence supports up to 6-inch base molding to the left of the blade and up to 3-1/2 inches to the right.
- 45-degree Bevel Cuts: Through dimensional lumber up to 2 by 14 inches, thanks to the unique back fence design.

Figure 5: The miter saw in operation, demonstrating its capability to cut through a piece of wood. This image highlights the blade's action and the material support.
4. Maintenance
Regular maintenance ensures the longevity and optimal performance of your miter saw. Always disconnect the saw from the power source before performing any maintenance.
4.1 Cleaning
- Regularly clean sawdust and debris from the saw, especially around the blade, guards, and sliding mechanisms.
- Use a brush or compressed air. Avoid using solvents that could damage plastic components.
4.2 Dust Collection
The saw includes a dust collection bag. For improved dust extraction, connect a shop vacuum to the dust port.

Figure 6: Close-up view of the dust collection port on the DEWALT DW717 miter saw. This port allows for connection to a shop vacuum for enhanced dust management.
4.3 Lubrication
Periodically apply a light coat of machine oil to the sliding rails to ensure smooth operation.
5. Troubleshooting
This section addresses common issues you might encounter with your DEWALT DW717 miter saw.
5.1 Difficulty Removing Blade
Some users of the DW717 Type 2 model have reported that the dust chute's design can obstruct blade removal.
- Check for Obstruction: Ensure the dust chute is not physically blocking the blade from being removed from the spindle.
- Gentle Pressure: If the dust chute has a lip that interferes, gentle pressure or slight manipulation of the chute (if possible without damage) may be required to create clearance.
- Professional Assistance: If the blade cannot be removed safely, contact a DEWALT service center for assistance. Do not force the blade, as this may cause damage to the saw or injury.
5.2 Inaccurate Cuts
- Check Blade: Ensure the blade is sharp, clean, and correctly installed. A dull or damaged blade can lead to inaccurate cuts.
- Verify Settings: Double-check miter and bevel angle settings. Ensure all locking levers and handles are securely tightened.
- Fence Perpendicularity: The machined-base fence support is designed to maintain fence perpendicularity. If cuts are consistently off, inspect the fence for damage or misalignment.
- Material Support: Ensure the workpiece is firmly supported against the fence and table, and clamped if necessary, to prevent movement during cutting.
6. Specifications
| Brand | DEWALT |
| Model Number | DW717 |
| Power Source | AC adapter |
| Voltage | 120 Volts |
| Motor Speed | 4000 RPM (No-load) |
| Blade Length | 10 Inches |
| Miter Capacity | 0-60 degrees Left, 0-52 degrees Right |
| Bevel Capacity | 0-48 degrees Left, 0-48 degrees Right |
| Item Weight | 51 pounds (approx. 23.1 kg) |
| Product Dimensions | 28.26"L x 23.5"W x 17.4"H |
| Blade Material | Stainless Steel, Steel |
| Handle Material | Plastic or Nylon |
7. Warranty and Support
7.1 Warranty Information
The DEWALT DW717 10-Inch Double Bevel Sliding Compound Miter Saw comes with a comprehensive warranty package:
- Three-Year Limited Warranty: Covers defects in materials or workmanship for three years from the date of purchase.
- One-Year Free Service Contract: DEWALT will maintain the tool and replace worn parts caused by normal use, for free, any time during the first year after purchase.
- 90-Day Money Back Guarantee: If you are not completely satisfied with the performance of your DEWALT Power Tool, Laser, or Nailer for any reason, you can return it within 90 days from the date of purchase for a full refund.
For full terms and conditions, please refer to the official DEWALT warranty documentation included with your product or visit the DEWALT website.
7.2 Customer Support
For technical assistance, service, or warranty claims, please contact DEWALT Customer Support.


