
1. Introduction
This instruction manual provides essential information for the safe and effective operation, maintenance, and troubleshooting of your FLEX MS 1706FR Wall Chaser. Please read this manual thoroughly before using the tool to ensure proper handling and to prevent injury or damage.
2. Safety Instructions
WARNING: Read all safety warnings, instructions, illustrations and specifications provided with this power tool. Failure to follow all instructions listed below may result in electric shock, fire and/or serious injury.
General Power Tool Safety
- Keep work area clean and well lit. Cluttered or dark areas invite accidents.
- Do not operate power tools in explosive atmospheres, such as in the presence of flammable liquids, gases or dust. Power tools create sparks which may ignite the dust or fumes.
- Keep children and bystanders away while operating a power tool. Distractions can cause you to lose control.
Electrical Safety
- Power tool plugs must match the outlet. Never modify the plug in any way.
- Avoid body contact with earthed or grounded surfaces, such as pipes, radiators, ranges and refrigerators. There is an increased risk of electric shock if your body is earthed or grounded.
- Do not expose power tools to rain or wet conditions. Water entering a power tool will increase the risk of electric shock.
Personal Safety
- Always wear appropriate personal protective equipment, including safety glasses, hearing protection, and a dust mask.
- Ensure proper footing and balance at all times.
- Do not overreach. Maintain proper balance and footing at all times.
Wall Chaser Specific Safety
- Always use the wall chaser with a suitable dust extraction system to minimize dust exposure.
- Before cutting, check walls for hidden electrical wires, gas pipes, or water pipes using a suitable detector.
- Ensure the workpiece is stable and secured before beginning work.
3. Package Contents
Upon opening the package, verify that all components are present and undamaged. The FLEX MS 1706FR Wall Chaser Set typically includes:
- FLEX MS 1706FR Wall Chaser Unit
- Set of Wall Chaser Discs (140 mm diameter)
- Carrying Case
- Auxiliary Handle
- Dust Extraction Adapter
- Necessary tools for disc changes

Figure 3.1: FLEX MS 1706FR Wall Chaser and its included accessories neatly stored in the carrying case.
4. Setup
4.1. Initial Inspection
Before first use, inspect the tool for any visible damage. Ensure all guards and safety features are in place and functional.

Figure 4.1: The FLEX MS 1706FR Wall Chaser, showing its main components and design.
4.2. Disc Installation
- Ensure the tool is unplugged from the power source.
- Press the spindle lock button.
- Use the provided wrench to loosen and remove the outer flange nut.
- Place the cutting discs onto the spindle, ensuring correct orientation.
- Re-attach and tighten the outer flange nut securely.
4.3. Depth Adjustment
The cutting depth can be adjusted to suit your specific application. Locate the depth adjustment mechanism, typically a lever or knob, and set it to the desired depth. The maximum blade length is 140 mm.
4.4. Dust Extraction Connection
For optimal dust control and safety, connect a suitable industrial vacuum cleaner to the dust extraction port of the wall chaser. This is crucial for maintaining a clean work environment and protecting your respiratory health.

Figure 4.2: Proper connection of the dust extraction system to the wall chaser.
5. Operating Instructions
5.1. Preparing the Work Area
Ensure the work area is clear of obstructions. Mark the desired cutting lines on the wall. Verify that there are no hidden utilities behind the cutting path.
5.2. Starting the Tool
Plug the tool into a 240V power outlet. Hold the tool firmly with both hands. Engage the power switch to start the motor. Allow the discs to reach full speed before engaging with the workpiece.
5.3. Making Cuts
Gently guide the wall chaser along the marked line. Apply steady, even pressure. Do not force the tool. The tool is designed for cutting into stone and similar masonry materials.

Figure 5.1: Demonstrating the proper two-hand grip while operating the wall chaser on a concrete block wall.

Figure 5.2: Detailed view of the wall chaser in action on a brick surface, showing the precise cutting capability.
5.4. Dust Management During Operation
Ensure the dust extraction system is continuously running during operation. This significantly reduces airborne dust and improves visibility.

Figure 5.3: Effective dust management during wall chasing operations with a connected vacuum cleaner.
5.5. Completing the Cut
Once the two parallel cuts are made, the material between the cuts can be removed using a hammer and chisel or a demolition hammer, depending on the material and depth.

Figure 5.4: The wall chaser being used to create a channel, highlighting the adjustable depth feature.
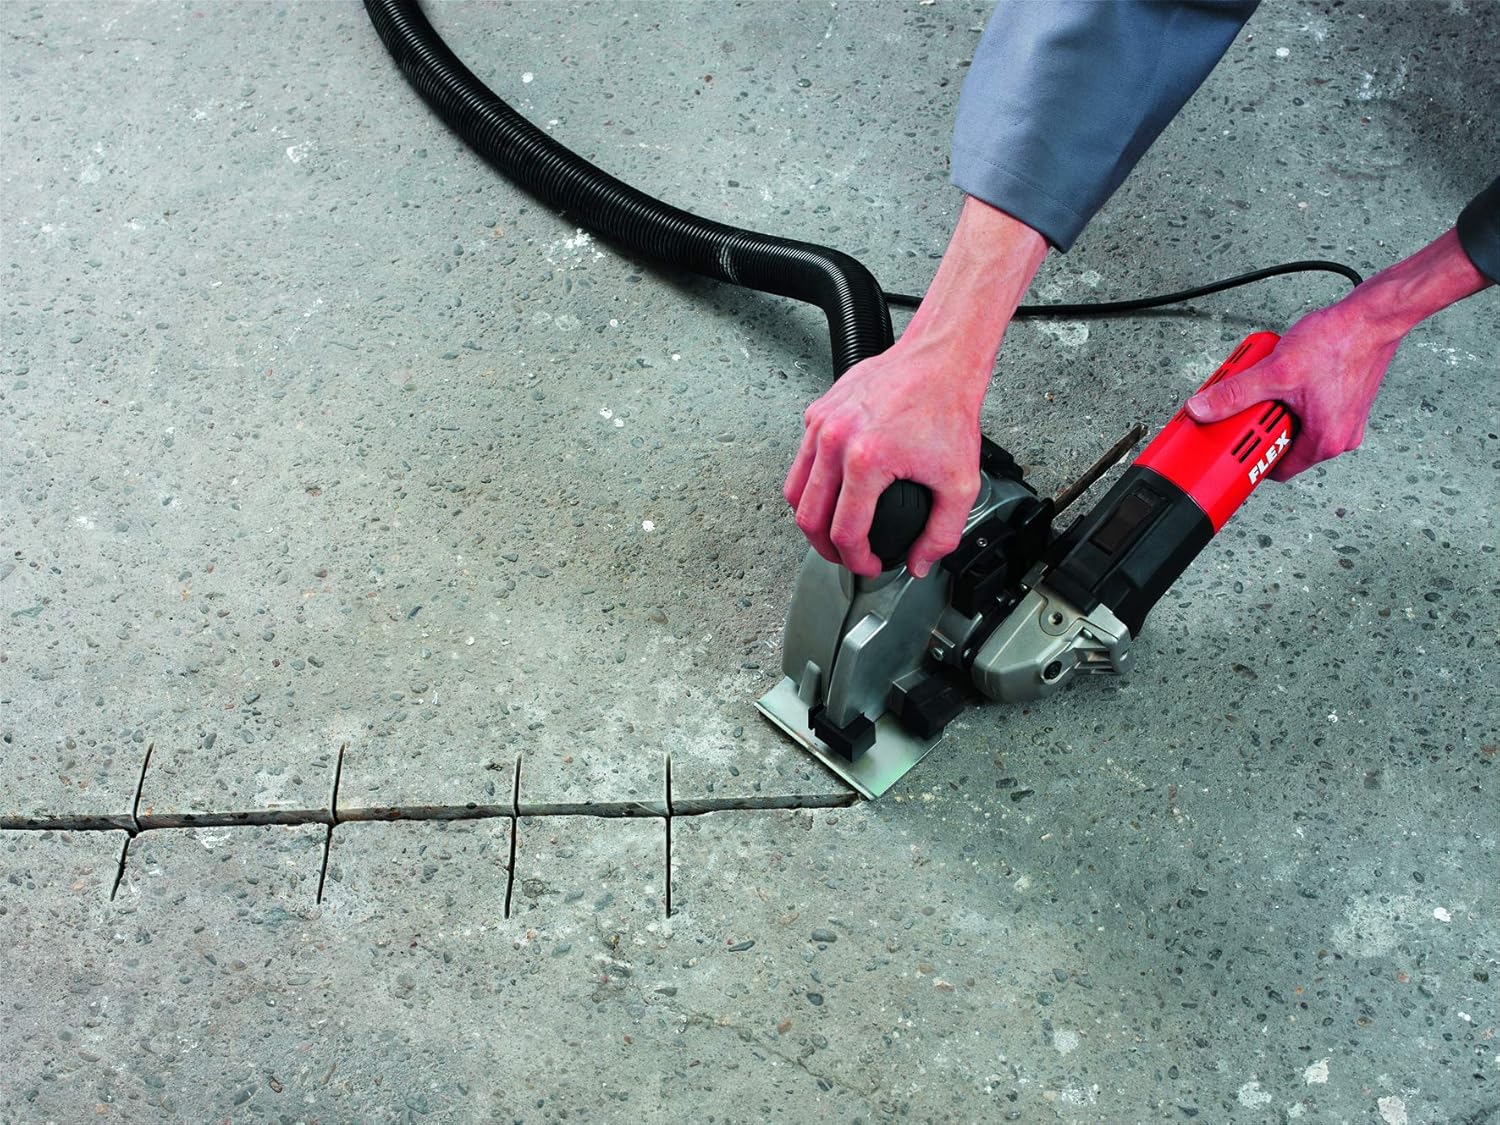
Figure 5.5: The wall chaser can also be used for making precise parallel cuts on horizontal surfaces like concrete floors.
6. Maintenance
6.1. Cleaning
After each use, disconnect the tool from the power supply. Clean the tool thoroughly, especially the ventilation slots and the area around the cutting discs, to prevent dust buildup. Use a dry cloth or compressed air. Do not use water or chemical cleaners.
6.2. Disc Inspection and Replacement
Regularly inspect the cutting discs for wear, cracks, or damage. Worn or damaged discs should be replaced immediately to ensure cutting performance and safety. Always use genuine FLEX replacement discs.
6.3. Storage
Store the wall chaser in its original carrying case in a dry, secure location, out of reach of children and unauthorized users.
7. Troubleshooting
| Problem | Possible Cause | Solution |
|---|---|---|
| Tool does not start | No power supply; Damaged power cord; Faulty switch | Check power outlet and cord; Contact qualified service personnel for repair. |
| Poor cutting performance | Worn or incorrect discs; Excessive pressure; Incorrect depth setting | Replace discs; Reduce pressure; Adjust depth setting. |
| Excessive dust during operation | Dust extraction system not connected or clogged; Vacuum cleaner not powerful enough | Ensure proper connection and clear hoses; Use a more powerful industrial vacuum cleaner. |
| Tool overheats | Blocked ventilation slots; Continuous heavy load | Clean ventilation slots; Allow tool to cool down; Reduce load. |
8. Specifications
| Feature | Specification |
|---|---|
| Model Number | MS1706 (Reference: 329.673) |
| Manufacturer | Flex |
| Power Input | 1400 Watts |
| Voltage | 240 Volts |
| Power Source | Electric Cable |
| Disc Diameter | 140 mm |
| Product Dimensions (L x W x H) | 55 x 42 x 20 cm |
| Item Weight | 8 Kilograms |
| Blade Material | Alloy Steel |
| Surface Recommendation | Stone |
| Special Feature | Depth Adjustment |
| Country of Origin | Germany |
9. Warranty and Support
FLEX products are manufactured to high-quality standards. For information regarding warranty terms and conditions, please refer to the warranty card included with your product or visit the official FLEX website. For technical support, spare parts, or service, please contact your authorized FLEX dealer or the manufacturer's customer service department.