Introduction
This manual provides essential instructions for the safe and efficient operation, maintenance, and care of your KitchenAid KSM500PSWH Pro 500 Series Stand Mixer. Please read all instructions carefully before using the appliance.
Important Safety Instructions
- Always unplug the mixer from the outlet before cleaning, assembling, or disassembling parts.
- Avoid contact with moving parts. Keep hands, hair, and clothing, as well as spatulas and other utensils, away from beaters during operation to reduce the risk of injury to persons and/or damage to the mixer.
- Do not operate any appliance with a damaged cord or plug, or after the appliance malfunctions or has been dropped or damaged in any manner.
- Do not use outdoors.
- Do not let cord hang over edge of table or counter.
- Do not let cord contact hot surfaces, including the stove.
- The use of attachments not recommended or sold by KitchenAid may cause fire, electric shock, or injury.
- Close supervision is necessary when any appliance is used by or near children.
Product Components
Your KitchenAid KSM500PSWH Pro 500 Series Stand Mixer comes with several key components designed for various mixing tasks.

Figure 1: Overview of the KitchenAid KSM500PSWH Pro 500 Series Stand Mixer, showing the main unit, mixing bowl, and various attachments.
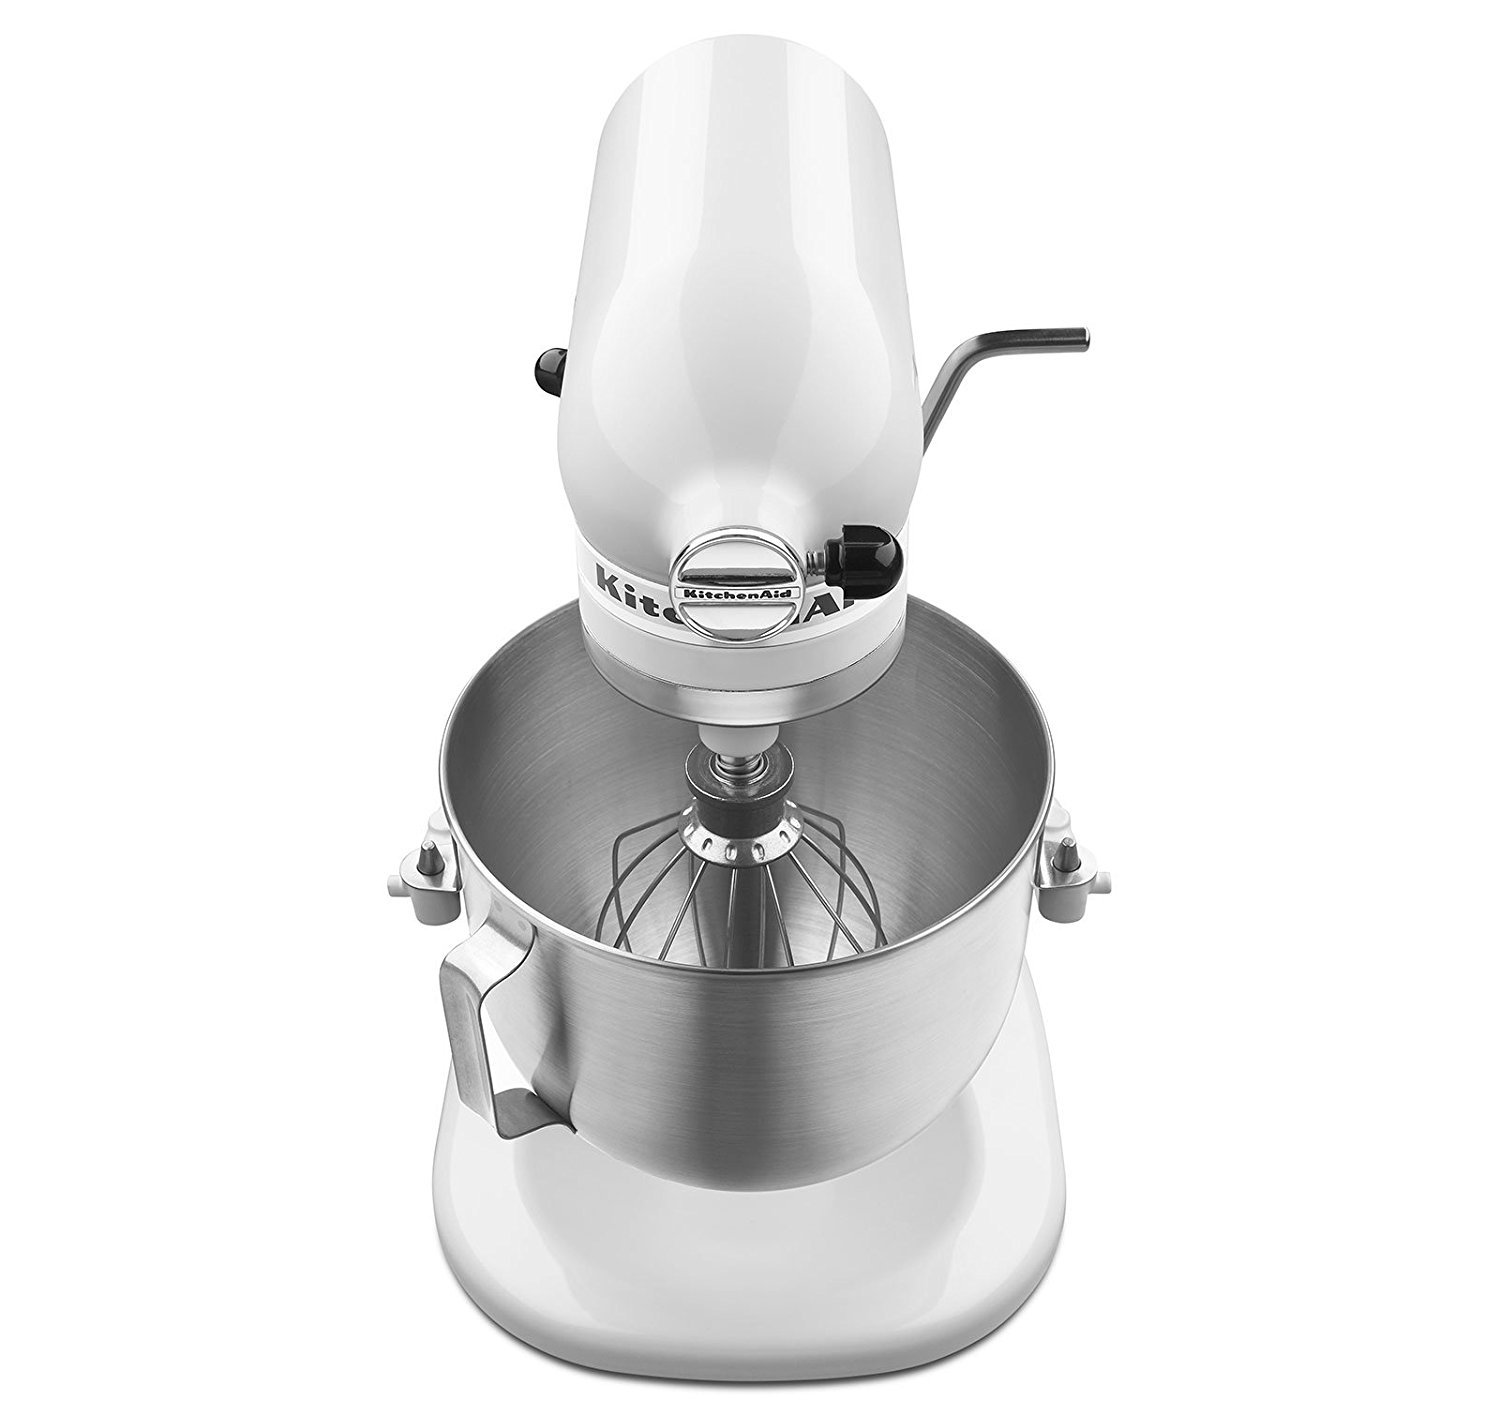
Figure 2: Close-up view of the KitchenAid KSM500PSWH Stand Mixer, highlighting the power hub located at the front of the mixer head, used for optional attachments.
- Mixer Head: Contains the motor and speed control.
- Motor Head Locking Lever: Secures the motor head in place.
- Speed Control Lever: Adjusts the mixing speed from 1 to 10.
- Power Hub: Located at the front, used for optional attachments.
- 5-Quart Stainless Steel Mixing Bowl: The primary container for ingredients.
- Flat Beater: For normal to heavy mixtures such as cakes, cookies, frostings, and mashed potatoes.
- Dough Hook: For mixing and kneading yeast doughs such as bread, pizza dough, and pasta dough.
- Wire Whip: For incorporating air into ingredients, such as eggs, egg whites, and heavy cream.
- Pouring Shield: Helps prevent splattering and allows for easy addition of ingredients during mixing.
Setup Instructions
- Unpack the Mixer: Carefully remove all components from the packaging. Retain packaging for future storage or transport.
- Clean Components: Before first use, wash the mixing bowl, flat beater, dough hook, wire whip, and pouring shield in warm, soapy water. Rinse thoroughly and dry. The mixer body can be wiped with a damp cloth.
- Position the Mixer: Place the stand mixer on a dry, flat, and stable surface. Ensure there is adequate space around the mixer for operation.
- Attach the Mixing Bowl:

Figure 3: Side view of the mixer demonstrating the bowl lift mechanism. The bowl attaches to the arms and is secured by the lever.
- Ensure the mixer is unplugged.
- Raise the bowl lift lever to the up position.
- Place the mixing bowl supports over the locating pins on the bowl support arms.
- Press down on the back of the bowl until the bowl pin snaps into the spring latch.
- Lower the bowl lift lever to the down position to secure the bowl.
- Attach an Accessory:

Figure 4: Front view of the mixer with the flat beater correctly installed into the beater shaft.
- Ensure the mixer is unplugged and the speed control is set to "0" (OFF).
- Slide the chosen attachment (flat beater, dough hook, or wire whip) onto the beater shaft.
- Rotate the attachment until the pin on the shaft locks into the notch on the attachment.
- Attach the Pouring Shield (Optional):
- After attaching the bowl and accessory, slide the pouring shield over the mixing bowl.
- The pouring shield is designed to fit snugly around the rim of the bowl.
Operating Instructions
- Add Ingredients: Place your ingredients into the mixing bowl.
- Plug In: Plug the mixer into a grounded electrical outlet.
- Select Speed:

Figure 5: Top-down view of the mixer head, highlighting the speed control lever with settings from 1 to 10.
- Move the speed control lever to the desired setting (1-10).
- The mixer features a Soft Start function, which gently accelerates to the selected speed to prevent splattering.
- Refer to the table below for recommended speed settings for different tasks.
Recommended Speed Settings Speed Task Attachment Stir (1-2) Slow stirring, combining, mashing Flat Beater, Dough Hook Mix (3-4) Mixing batters, creaming butter and sugar Flat Beater Beat (5-6) Medium beating, mixing heavy batters Flat Beater Whip (7-10) Fast whipping, aerating egg whites, cream Wire Whip Knead (2) Kneading yeast doughs Dough Hook - Monitor Mixing: The unique planetary mixing action ensures thorough blending by spinning the beater clockwise while the shaft spins counter-clockwise.
- Stop Mixer: When mixing is complete, move the speed control lever to "0" (OFF) and unplug the mixer.
- Remove Accessory and Bowl:
- Unplug the mixer.
- Remove the pouring shield (if used).
- Push the attachment upward and rotate it to detach from the beater shaft.
- Raise the bowl lift lever, then lift the mixing bowl off the support arms.

Figure 6: The KitchenAid KSM500PSWH Stand Mixer in operation, demonstrating its use in a typical kitchen environment.
Care and Maintenance
Cleaning
- Always unplug the mixer before cleaning.
- Mixer Body: Wipe with a soft, damp cloth. Do not immerse the mixer in water or other liquids.
- Mixing Bowl: The 5-quart stainless steel mixing bowl is dishwasher-safe. Alternatively, wash in warm, soapy water, rinse, and dry thoroughly.
- Attachments (Flat Beater, Dough Hook, Wire Whip): These attachments are made of burnished metal and are not dishwasher-safe. Hand wash in warm, soapy water, rinse, and dry immediately to prevent oxidation.
- Pouring Shield: The pouring shield is top-rack dishwasher-safe or can be hand washed.
Storage
Store the mixer and its attachments in a clean, dry place. Ensure all parts are completely dry before storing to prevent rust or damage.
Troubleshooting
If your mixer experiences issues, consult the following common problems and solutions before contacting customer service.
| Problem | Possible Cause | Solution |
|---|---|---|
| Mixer does not start. | Not plugged in; power outage; speed control not at "0" before starting. | Ensure mixer is securely plugged in. Check power supply. Set speed control to "0" before turning on. |
| Attachment hits the bottom of the bowl. | Beater-to-bowl clearance needs adjustment. | Refer to the "Beater-to-Bowl Clearance" section in the full manual (not included here) or contact customer support for adjustment instructions. |
| Mixer stops during operation. | Overload protection activated. | The mixer has an automatic safety shut-off. Turn off the mixer, unplug it, and remove some of the mixture if it's too heavy. Wait 10-15 minutes, then plug in and restart. |
| Excessive vibration or noise. | Mixer not on a stable surface; bowl or attachment not properly secured. | Ensure the mixer is on a flat, stable surface. Verify the bowl and attachment are correctly locked in place. |
For issues not listed here, or if solutions do not resolve the problem, please contact KitchenAid Customer Service.
Product Specifications
- Model: KSM500PSWH
- Motor: 325 Watts
- Speeds: 10-Speed Control with Soft Start
- Bowl Capacity: 5 Quarts (approx. 4.7 Liters)
- Bowl Material: Brushed Stainless Steel with Contoured Handle
- Mixing Action: Planetary Mixing Action
- Flour Capacity: 9 Cups
- Dimensions (LxWxH): Approximately 13.3 x 10.4 x 16.4 inches (33.8 x 26.4 x 41.7 cm)
- Weight: Approximately 25.3 lbs (11.5 kg)
- Included Accessories: Burnished Flat Beater, Burnished Dough Hook, Wire Whip, One-Piece Pouring Shield
- Safety Features: Direct-Drive Transmission with All-Metal Gears, Automatic Safety Shut-Off
Warranty and Support
Warranty Information
Your KitchenAid KSM500PSWH Pro 500 Series Stand Mixer is covered by a one-year hassle-free replacement warranty from the date of purchase. This warranty covers defects in materials and workmanship under normal household use.
Please retain your proof of purchase for warranty claims. For full warranty terms and conditions, refer to the warranty card included with your product or visit the official KitchenAid website.
Customer Support
For technical assistance, parts, or service, please contact KitchenAid Customer Service. Contact details can typically be found on the official KitchenAid website or in the product packaging.
Online Resources: For additional information, recipes, and product registration, visit www.kitchenaid.com.


