
Introduction
This manual provides comprehensive instructions for the safe and proper installation, operation, and maintenance of the Peerless PA730 Universal Articulating Wall Mount. This mount is designed to securely hold flat panel displays ranging from 10 to 29 inches. Please read all instructions carefully before beginning installation.
Safety Information
- Ensure the mounting surface can support the combined weight of the mount and the display.
- Always locate wall studs or use appropriate anchors for secure installation.
- Do not exceed the maximum weight capacity of 25 pounds (11.3 kg).
- Use caution when handling tools and heavy equipment.
- Keep small parts away from children.
- If unsure about any part of the installation, consult a qualified professional.
Package Contents
Verify that all components are present before proceeding with installation.
- Peerless-AV PA730 Articulating Wall Mount
- VESA Adapter
- Mounting Hardware (screws, washers, spacers)
- Screen Attachment Hardware
- Instruction Guide (this document)
- Allen wrenches for adjustment
- Cable management clips/ties
Setup and Installation
This section details the steps for mounting the PA730 to a wall and attaching your display.
1. Prepare the Mounting Location
Identify a suitable location on the wall. Use a stud finder to locate a wooden stud for optimal security. Mark the drilling points for the wall plate. If mounting to concrete or brick, use appropriate wall anchors (not always included, but often provided for drywall).
2. Attach Wall Plate
Drill pilot holes at the marked locations. Secure the wall plate of the mount to the wall using the provided lag bolts or appropriate anchors. Ensure the mount is level before fully tightening.
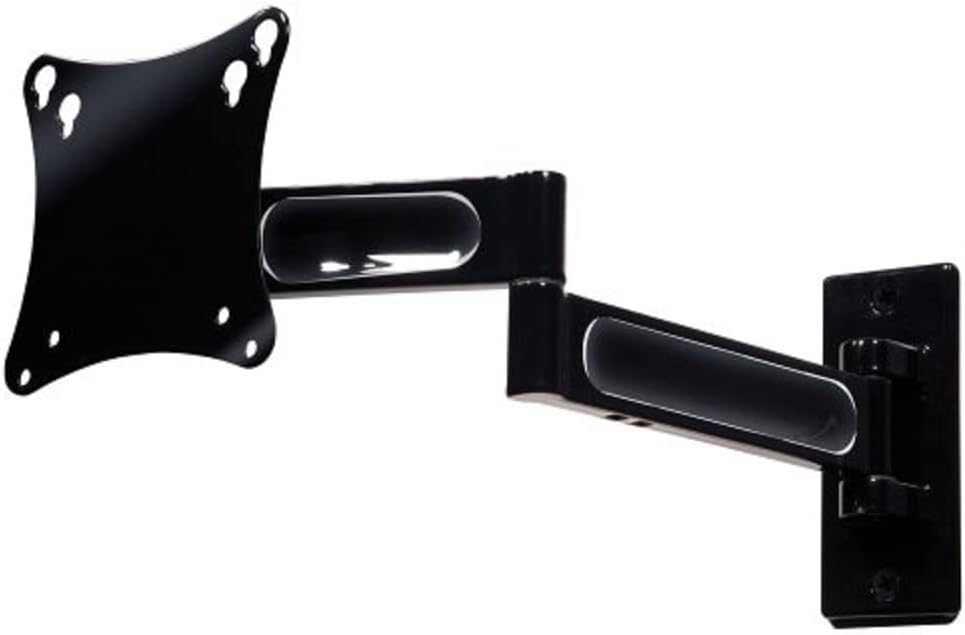
Image 1: The Peerless PA730 Articulating Wall Mount, showing the wall plate, articulating arm, and VESA plate.
3. Attach VESA Plate to Display
Locate the VESA mounting holes on the back of your display (typically 75x75mm or 100x100mm). Select the correct screws and spacers from the provided hardware. Attach the VESA adapter plate securely to the back of your display.
4. Mount Display to Arm
Carefully lift the display and align the VESA plate attached to the display with the mounting mechanism on the articulating arm. Slide the display into place, ensuring it is securely seated. Tighten any locking screws to prevent accidental dislodgement.
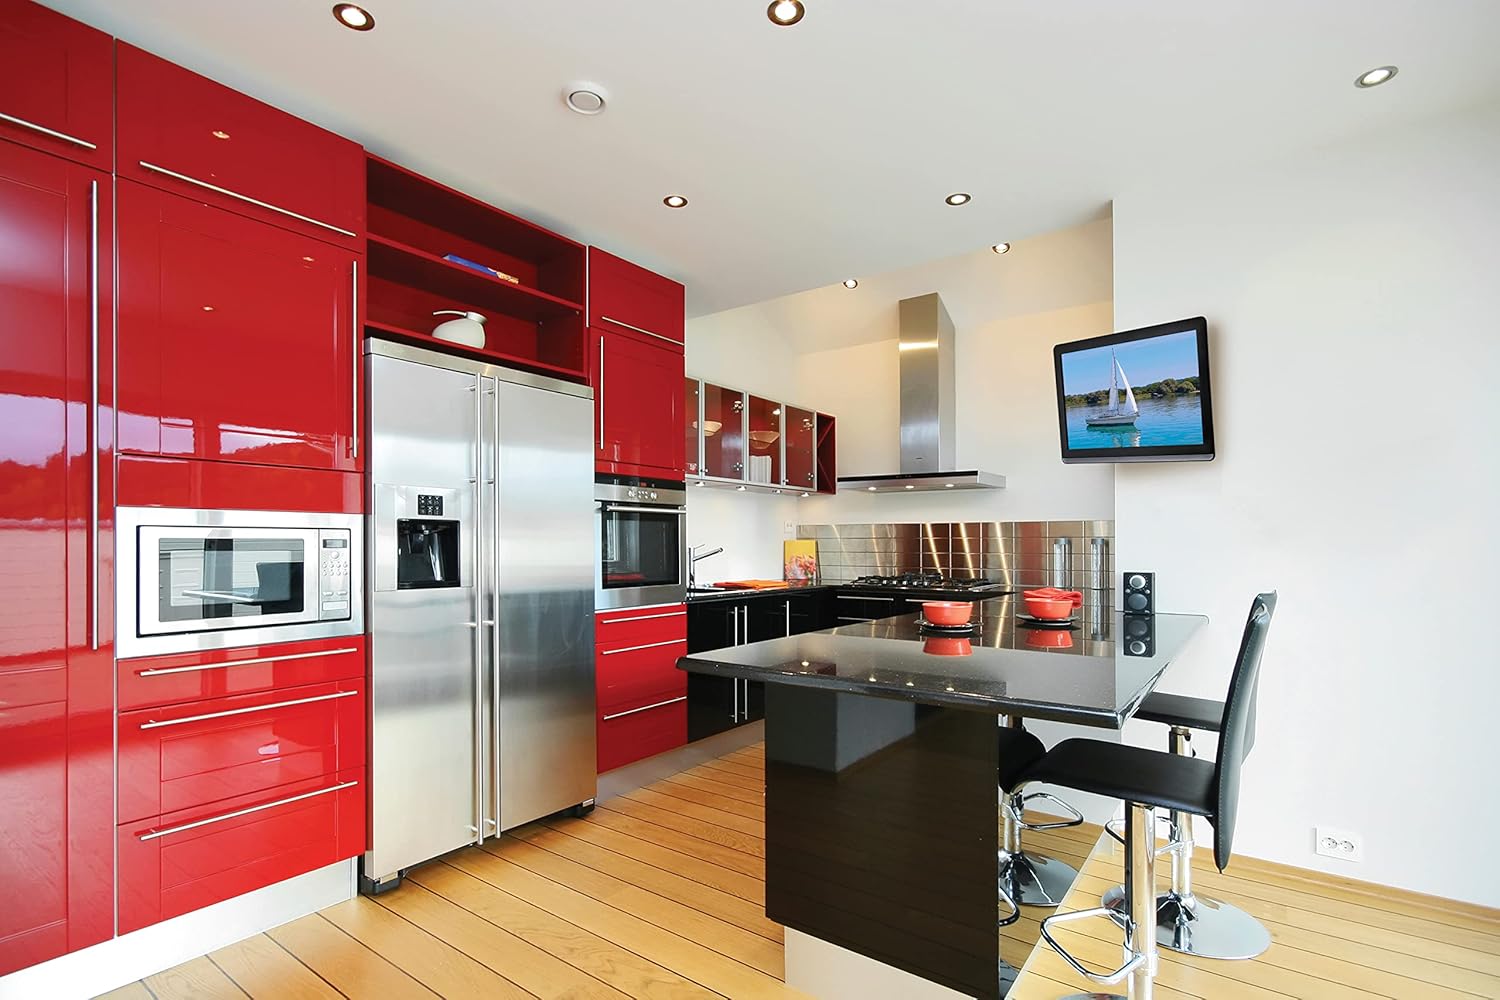
Image 2: An example of a television mounted using the Peerless PA730 Articulating Wall Mount in a kitchen setting.
5. Cable Management
Use the integrated cable management system or provided clips/ties to route your display's cables along the articulating arm. This helps maintain a clean appearance and prevents cables from snagging during adjustments.
Operating the Mount
The PA730 mount offers versatile positioning options:
- Extension/Retraction: Gently pull or push the display to extend it up to 14.46 inches (367mm) from the wall or retract it to 2.42 inches (61mm).
- Swivel: The articulating arm allows for up to ±90° of swivel, enabling you to adjust the viewing angle horizontally.
- Tilt: The one-touch tilt mechanism provides ±35° of tilt adjustment to optimize vertical viewing angles and reduce glare.
- Roll/Leveling: After installation, you can adjust the screen's roll by ±5° to ensure it is perfectly level. Use the provided Allen wrenches to loosen and tighten the adjustment bolts as needed.
Maintenance
- Periodically check all mounting screws and bolts to ensure they remain tight.
- Clean the mount with a soft, dry cloth. Avoid abrasive cleaners.
- If the articulating arm becomes too stiff or too loose, use the provided Allen wrenches to adjust the tension at the pivot points.
Troubleshooting
- Mount feels too stiff/loose: Use the included Allen wrenches to adjust the tension bolts at the articulating joints. Loosen for easier movement, tighten for more resistance.
- Display is not level: Utilize the ±5° roll adjustment feature. Loosen the appropriate bolt, adjust the screen, and re-tighten.
- Mount is not secure: Re-check all wall mounting hardware. Ensure the mount is anchored into a wall stud or appropriate heavy-duty anchors are used. Do not exceed weight capacity.
Specifications
| Feature | Detail |
|---|---|
| Model | PA730 |
| Brand | Peerless-AV |
| Compatible Display Sizes | 10-inch to 29-inch |
| Maximum Weight Capacity | 25 pounds (11.3 kg) |
| Extension from Wall | 2.42 inches (61mm) to 14.46 inches (367mm) |
| Swivel | ±90° |
| Tilt | ±35° |
| Roll/Leveling | ±5° |
| VESA Compatibility | 75x75mm, 100x100mm |
| Material | Metal |
| Product Dimensions | 2.9 x 11.7 x 10 inches (mount only) |
| Item Weight | 2.8 pounds |
Warranty and Support
The Peerless-AV PA730 Articulating Wall Mount is backed by a limited five-year warranty. For technical support, replacement parts, or warranty claims, please contact Peerless-AV customer service. Refer to the official Peerless-AV website for current contact information.


