1. Introduction
This manual provides detailed instructions for the setup, operation, and maintenance of your NEC NP200 DLP Projector. Please read this manual thoroughly before using the projector to ensure proper and safe operation. Keep this manual for future reference.
The NEC NP200 is a versatile DLP projector designed for various applications, including home cinema. It offers 2100 lumens of brightness and supports a wide range of resolutions, including HDTV (1080i, 720p) and standard definition formats.
2. Setup
2.1 Unpacking and Contents
Carefully remove the projector and all accessories from the packaging. Verify that all items listed below are present:
- NEC NP200 DLP Projector
- Power Cord
- Remote Control
- User Manual (this document)
Retain the original packaging for future transportation or storage.
2.2 Projector Placement
Place the projector on a stable, flat surface. Ensure adequate ventilation around the unit. Avoid placing it near heat sources or in direct sunlight. The projector dimensions are approximately 7.3 x 15.2 x 14.6 inches (H x W x D).
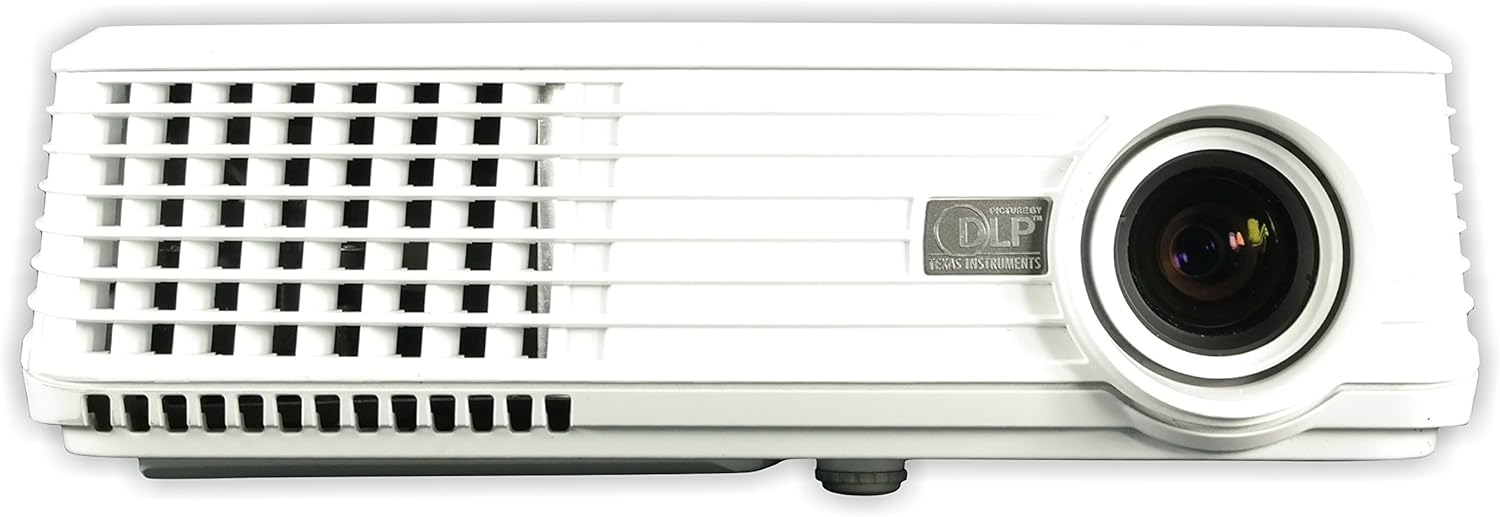
Figure 2.2.1: Front view of the NEC NP200 DLP Projector, showing the lens and front ventilation grilles.
2.3 Connecting Devices
The NEC NP200 projector offers various input ports for connecting different devices. Ensure the projector is powered off before making any connections.

Figure 2.3.1: Rear panel of the NEC NP200 projector, displaying various input and output ports including Computer In (VGA), S-Video In, Video In (RCA), Service, Monitor Out (VGA), and Audio In.
- Computer In (VGA): Connect your computer using a VGA cable.
- S-Video In: Connect devices with S-Video output.
- Video In (RCA): Connect devices with composite video output.
- Audio In: Connect audio sources to the 3.5mm audio jack.
- Monitor Out (VGA): Connect an external monitor to mirror the projected display.
- AC In: Connect the supplied power cord to this port and a power outlet.
2.4 Powering On/Off
After connecting all necessary cables, plug the power cord into a wall outlet. Press the power button on the projector's control panel or the remote control to turn the unit on. Allow a few moments for the projector to warm up and display the image. To turn off, press the power button again and confirm shutdown if prompted.
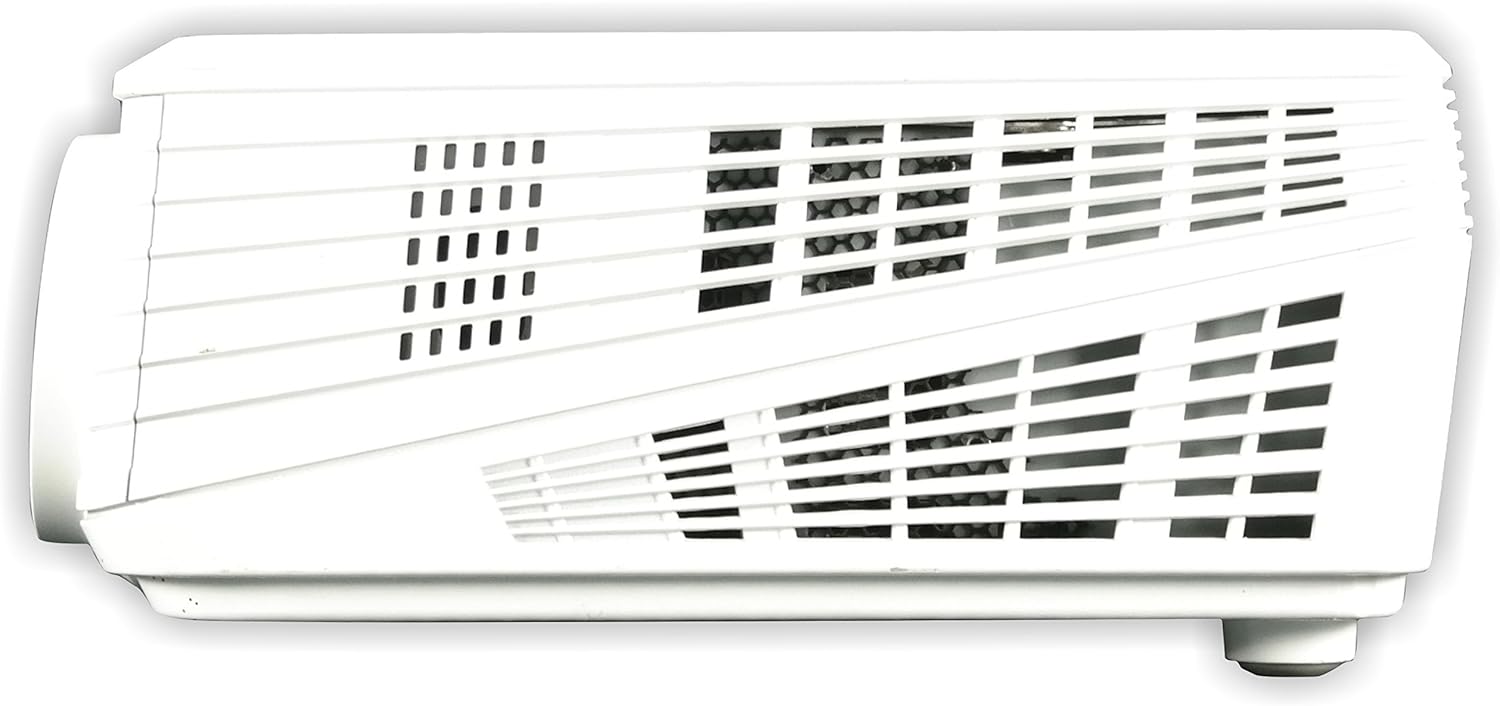
Figure 2.4.1: Top view of the NEC NP200 projector, showing the focus and zoom rings, and the control panel with the power button and navigation controls.
2.5 Image Adjustment
Use the focus ring around the lens to sharpen the image. The zoom ring allows you to adjust the size of the projected image without moving the projector. These controls are located on the top of the projector near the lens.
3. Operating Instructions
3.1 Source Selection
Once powered on, use the "Input" or "Source" button on the control panel or remote control to cycle through available input sources (e.g., Computer, S-Video, Video). Select the input corresponding to your connected device.
3.2 Menu Navigation
Press the "Menu" button to access the projector's on-screen display (OSD) menu. Use the arrow keys to navigate through options and the "Enter" or "OK" button to select. Adjust settings such as brightness, contrast, color, aspect ratio, and keystone correction as needed.
3.3 Supported Resolutions and Features
The NEC NP200 supports a variety of display resolutions and features:
- Native Resolution: 1024 x 768 (XGA)
- HDTV Compatibility: 1080i, 720p
- EDTV Compatibility: 576p, 480p
- SDTV Compatibility: 576i, 480i
- Special Feature: 3D-ready (requires compatible 3D content and glasses)
- Recommended Use: Home Cinema
The projector also includes a built-in speaker for audio output.
4. Maintenance
Regular maintenance ensures optimal performance and extends the lifespan of your projector.
4.1 Lamp Replacement
CAUTION: HOT SURFACE! Allow the projector to cool down for at least 60 minutes before attempting to replace the lamp. Failure to do so may result in severe burns.
The lamp type for this model is NP10LP. Refer to the label on the bottom of the projector for specific lamp information and warnings.

Figure 4.1.1: Bottom view of the NEC NP200 projector, showing the product label with model number, manufacturing details, and various caution and warning labels, including lamp replacement information.
- Ensure the projector is unplugged from the power outlet.
- Locate the lamp cover (refer to the diagram in the full service manual if available).
- Carefully remove the screws securing the lamp cover.
- Gently pull out the old lamp module.
- Insert the new NP10LP lamp module, ensuring it is seated correctly.
- Replace the lamp cover and secure it with screws.
- Plug in the projector and reset the lamp timer in the OSD menu.
4.2 Cleaning
Keep the projector clean to prevent overheating and maintain image quality.
- Exterior: Wipe the exterior casing with a soft, lint-free cloth. For stubborn dirt, slightly dampen the cloth with water. Do not use abrasive cleaners or solvents.
- Lens: Use a professional lens cleaning cloth and solution specifically designed for optical lenses. Avoid touching the lens with your fingers.
- Ventilation Grilles: Regularly check and clean the ventilation grilles to ensure proper airflow. Dust accumulation can lead to overheating. Use a soft brush or compressed air to remove dust.

Figure 4.2.1: Left side view of the NEC NP200 projector, highlighting the ventilation grilles for airflow.

Figure 4.2.2: Right side view of the NEC NP200 projector, showing additional ventilation grilles.
5. Troubleshooting
This section provides solutions to common issues you might encounter with your NEC NP200 projector.
| Problem | Possible Cause | Solution |
|---|---|---|
| No image displayed |
|
|
| Image is blurry or out of focus |
|
|
| No sound from projector speaker |
|
|
| Projector overheats or shuts down |
|
|
If the problem persists after trying these solutions, please contact customer support.
6. Specifications
| Feature | Detail |
|---|---|
| Model Number | NP200 |
| Brand | NEC |
| Display Technology | DLP |
| Brightness | 2100 Lumens |
| Native Resolution | 1024 x 768 (XGA) |
| Supported Resolutions | HDTV (1080i, 720p), EDTV (576p, 480p), SDTV (576i, 480i) |
| Connectivity Technology | VGA (Computer In, Monitor Out), S-Video, Composite Video (RCA), Audio In (3.5mm) |
| Special Features | 3D-ready, 3D-built-in |
| Recommended Use | Home Cinema |
| Product Dimensions | 7.3 x 15.2 x 14.6 inches |
| Item Weight | 7.8 pounds |
| Manufacturer | NEC Display Solutions |
| First Available Date | February 29, 2008 |
7. Warranty and Support
7.1 Warranty Information
For detailed warranty terms and conditions, please refer to the warranty card included with your product or visit the official NEC Display Solutions website. Keep your proof of purchase for warranty claims.
7.2 Customer Support
If you require technical assistance, have questions about your product, or need to arrange for service, please contact NEC Display Solutions customer support. Contact information can typically be found on the manufacturer's official website or in the product packaging.
Manufacturer: NEC Display Solutions
For the most up-to-date support resources, including FAQs and driver downloads, please visit the official NEC website.


