1. Introduction
This manual provides essential information for the safe and effective installation, operation, and maintenance of your Kasco 2400D025 1/2 HP Lake & Pond De-icer. Please read all instructions carefully before use.
Product Overview
The Kasco 2400D025 De-icer is designed to prevent ice formation in water bodies, protecting docks, boats, and aquatic life. It operates by circulating warmer bottom water to the surface, creating an ice-free area. This unit features a 1/2 HP motor, 120V operation, and includes a 25 ft electric power cord.
What's Included
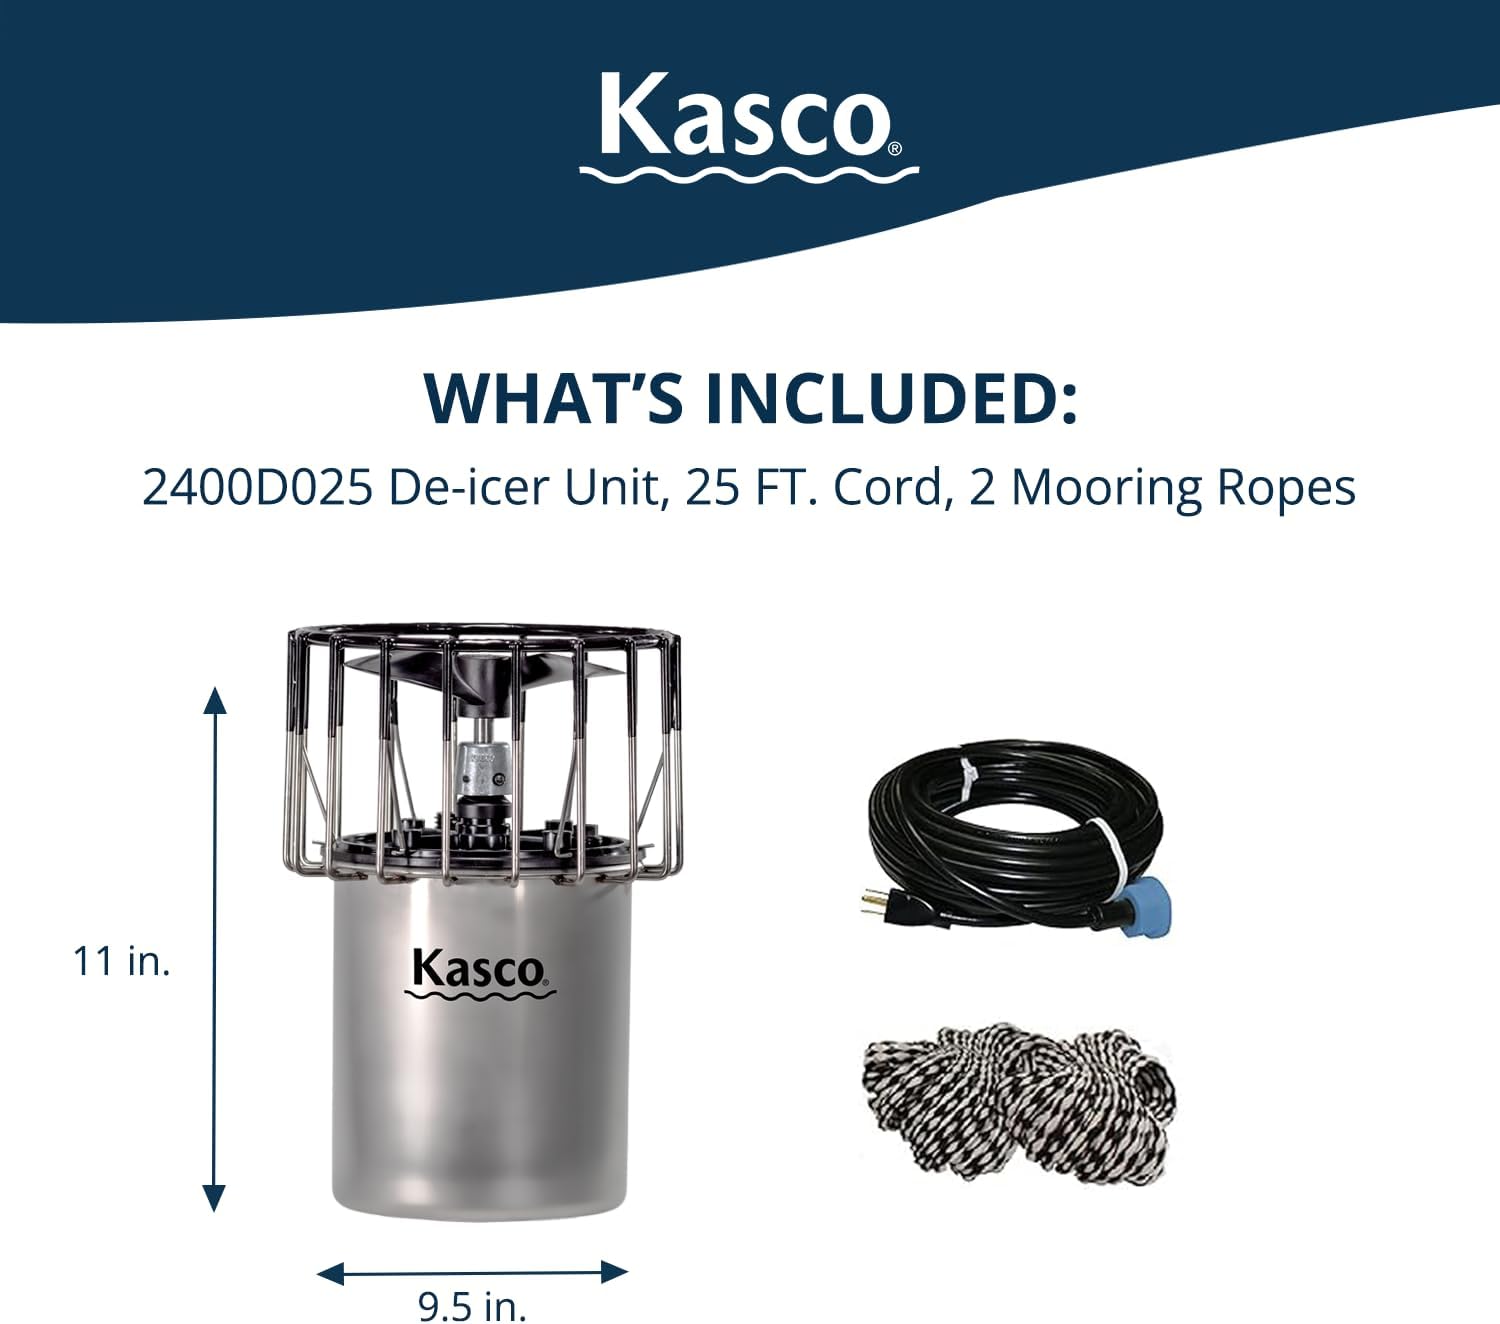
The Kasco 2400D025 package typically includes:
- Kasco 2400D025 De-icer Unit
- 25 Ft. Electric Power Cord
- 2 Mooring Ropes (20 ft each)
2. Safety Information
Adherence to these safety guidelines is crucial for preventing injury and ensuring proper operation of the de-icer.
- Electrical Safety: Always disconnect power before handling, installing, or performing maintenance on the unit. Ensure the power outlet is a grounded 120V GFCI (Ground Fault Circuit Interrupter) protected receptacle.
- Water Safety: Never enter the water when the de-icer is operating. Maintain a safe distance from the open water area created by the de-icer.
- Installation: Follow all installation instructions carefully. Ensure the unit is securely mounted or suspended to prevent accidental dislodgement.
- Cord Integrity: Regularly inspect the power cord for any damage. Do not use the unit if the cord is frayed, cut, or otherwise compromised.
- Children and Pets: Keep children and pets away from the de-icer and the open water area it creates.
- Professional Assistance: If you are unsure about any installation or maintenance procedures, consult a qualified electrician or marine professional.
3. Specifications
Detailed technical specifications for the Kasco 2400D025 De-icer.
| Feature | Specification |
|---|---|
| Model Number | 2400D025 |
| Horsepower (HP) | 1/2 HP |
| Voltage | 120V |
| Phase | Single Phase |
| Power Cord Length | 25 Ft. |
| RPM | 1750 rpm |
| Product Dimensions | 10 x 10 x 21 inches |
| Item Weight | 20 pounds |
| Manufacturer | Kasco Marine |
| Certifications | ETL approved to CSA and UL standards |
De-icer Sizing Guide
The effective open water diameter created by the de-icer varies based on air temperature and mounting orientation. Refer to the tables below for guidance.


4. Setup and Installation
Proper installation ensures optimal performance and safety of your de-icer.
Mounting Options
The Kasco De-icer can be installed using two primary methods: vertical rope suspension (included) or an optional universal mount.
Vertical Rope Suspension (Included)
- Warmer water is pulled up, creating an ice-free opening.
- Place 4-6 ft. below the surface and 1 ft. off the bottom for best results.
- Creates the largest ice-free area of protection.

Universal Mount (Optional, PN: 243485)
- Best in areas with waves, tides, or currents.
- Place 4-6 ft. below the surface and 1 ft. off the bottom.
- Simple Swivel allows easy rotation to direct water flow.

General Installation Steps
- Positioning: Determine the optimal location for the de-icer to protect your desired area. Consider water depth and proximity to the dock or boat.
- Suspension: Attach the provided mooring ropes to the de-icer unit. Securely fasten the other ends of the ropes to a stable structure, such as a dock or pier. Adjust rope lengths to position the de-icer 4-6 feet below the surface and at least 1 foot off the bottom.
- Power Connection: Route the power cord safely, avoiding pinch points or areas where it could be damaged. Plug the 25 ft electric power cord into a 120V GFCI-protected outlet.
- Initial Check: Once plugged in, the de-icer should begin operating, creating a noticeable water flow.

5. Operating Instructions
The Kasco De-icer is designed for continuous duty and simple operation.
- Activation: Once properly installed and connected to a 120V GFCI outlet, the de-icer will activate automatically.
- Continuous Operation: The unit is built for continuous operation throughout the winter season to maintain an ice-free area.
- Water Flow: The de-icer's high-efficiency motor and propeller create a directional flow of water, pushing warmer bottom water to the surface. This action prevents ice formation and helps oxygenate the water, benefiting aquatic life.
- Monitoring: Periodically observe the de-icer's performance to ensure it is creating the desired open water area. Adjust positioning if necessary to optimize coverage.
6. Maintenance
Regular maintenance helps ensure the longevity and efficient operation of your Kasco De-icer.
- Seasonal Inspection: Before and after each winter season, thoroughly inspect the de-icer unit, power cord, and mooring ropes for any signs of wear, damage, or corrosion.
- Cleaning: Disconnect power and remove the unit from the water. Clean any debris, algae, or mineral buildup from the propeller and housing. A soft brush and mild detergent can be used. Rinse thoroughly with fresh water.
- Propeller Check: Ensure the propeller spins freely and is not obstructed.
- Storage: When not in use, clean the de-icer and store it in a dry, protected area away from direct sunlight and extreme temperatures.
7. Troubleshooting
This section addresses common issues you might encounter with your Kasco De-icer.
- De-icer Not Running:
- Check if the power cord is securely plugged into a functional 120V GFCI outlet.
- Verify that the GFCI outlet has not tripped. Reset if necessary.
- Inspect the power cord for any visible damage. If damaged, discontinue use and contact customer support.
- Reduced Open Water Area:
- Ensure the de-icer is positioned at the correct depth (4-6 ft below surface, 1 ft off bottom).
- Check for debris around the propeller that might be impeding water flow. Disconnect power before inspecting.
- Consider extreme cold temperatures. Refer to the sizing guide in Section 3 for expected performance at various temperatures.
- Unusual Noise or Vibration:
- Disconnect power and inspect the propeller for any foreign objects or damage.
- Ensure the unit is securely mounted or suspended and not vibrating against any structures.
If troubleshooting steps do not resolve the issue, please contact Kasco Marine customer support.
8. Warranty and Support
Kasco Marine products are built for reliable, long-lasting performance. For specific warranty details, please refer to the documentation included with your product or visit the official Kasco Marine website.
Customer Support
For technical assistance, parts, or warranty claims, please contact Kasco Marine directly. Contact information can typically be found on their official website or in the product packaging.
Manufacturer: Kasco Marine


