
Product Overview
The Household Essentials 3000 Rotary Outdoor Parallel Drying Rack is designed for efficient outdoor clothes drying. This unit provides ample drying space and is constructed from durable aluminum and galvanized steel for longevity. Its design allows for compact storage when not in use.
Key Features:
- 30 vinyl-coated lines offering 210 linear feet of drying space.
- Upper drying arms made from aluminum, designed to fold for compact storage.
- Pre-strung lines for immediate use.
- 2-piece corrosion-resistant galvanized steel dryer post.
- Includes a plastic ground sleeve for secure anchoring.
- Overall dimensions when set up: 72 inches wide x 84 inches deep x 72 inches high.

Figure 1: The Household Essentials 3000 Rotary Outdoor Parallel Drying Rack in its fully extended position, showcasing its 210 feet of drying lines.
Package Contents
Verify that all components are present before beginning assembly:
- Rotary Drying Rack (pre-strung)
- 2-Piece Dryer Post (galvanized steel)
- Plastic Ground Sleeve
- Instruction Manual

Figure 2: The plastic ground sleeve, essential for anchoring the drying rack securely into the ground.
Setup Instructions
- Prepare the Ground: Select a suitable outdoor location with adequate space for the fully extended drying rack (72" W x 84" D x 72" H). Ensure the ground is level and free from obstructions.
- Install Ground Sleeve: Dig a hole appropriate for the plastic ground sleeve. Insert the ground sleeve into the hole and ensure it is level. Backfill with soil, compacting it firmly around the sleeve to secure it. The top of the sleeve should be flush with the ground.
- Assemble Dryer Post: Connect the two pieces of the galvanized steel dryer post. Ensure they are securely joined.
- Insert Dryer Post: Insert the assembled dryer post into the installed plastic ground sleeve.
- Unfold the Drying Rack:
- While the rack is folded, gently straighten any tangled clotheslines on all four sides before attempting to unfold.
- Push the upper arms upwards until the locking mechanism engages, extending the drying lines. Ensure the spring button is securely engaged to hold the arms in place.
- Adjust Line Tension (if needed): If the clotheslines appear loose after unfolding, they can be tightened at the end points.

Figure 3: Detail of the locking mechanism on the dryer post, which secures the arms in the open position.
Video 1: This video demonstrates the assembly and unfolding process of a similar rotary clothes drying rack, including ground sleeve installation and arm extension.
Operating Instructions
- Opening the Rack: With the dryer post securely in the ground sleeve, push the upper arms upwards until they fully extend and lock into place. Ensure the locking mechanism is engaged.
- Hanging Laundry: Distribute laundry evenly across the 30 vinyl-coated lines to ensure balanced drying and prevent overloading.
- Closing and Storage: To fold the rack for storage, disengage the locking mechanism and gently lower the arms. The aluminum arms will fold compactly around the central pole.

Figure 4: A person demonstrating the folding action of the drying rack for compact storage.
Video 2: This video illustrates the process of opening and closing a rotary clothesline, highlighting the ease of use and compact storage.
Maintenance
- Cleaning: Wipe down the aluminum arms and steel post with a damp cloth periodically to remove dirt and debris. The vinyl lines can be cleaned with mild soap and water.
- Storage: For prolonged periods of non-use or during strong winds, fold the drying rack and remove it from the ground sleeve. Store it in a dry, protected area to extend its lifespan. Cover the ground sleeve with its cap to prevent debris from entering.
- Line Inspection: Periodically check the vinyl lines for any signs of wear or damage. Replace any damaged lines to maintain optimal drying performance.
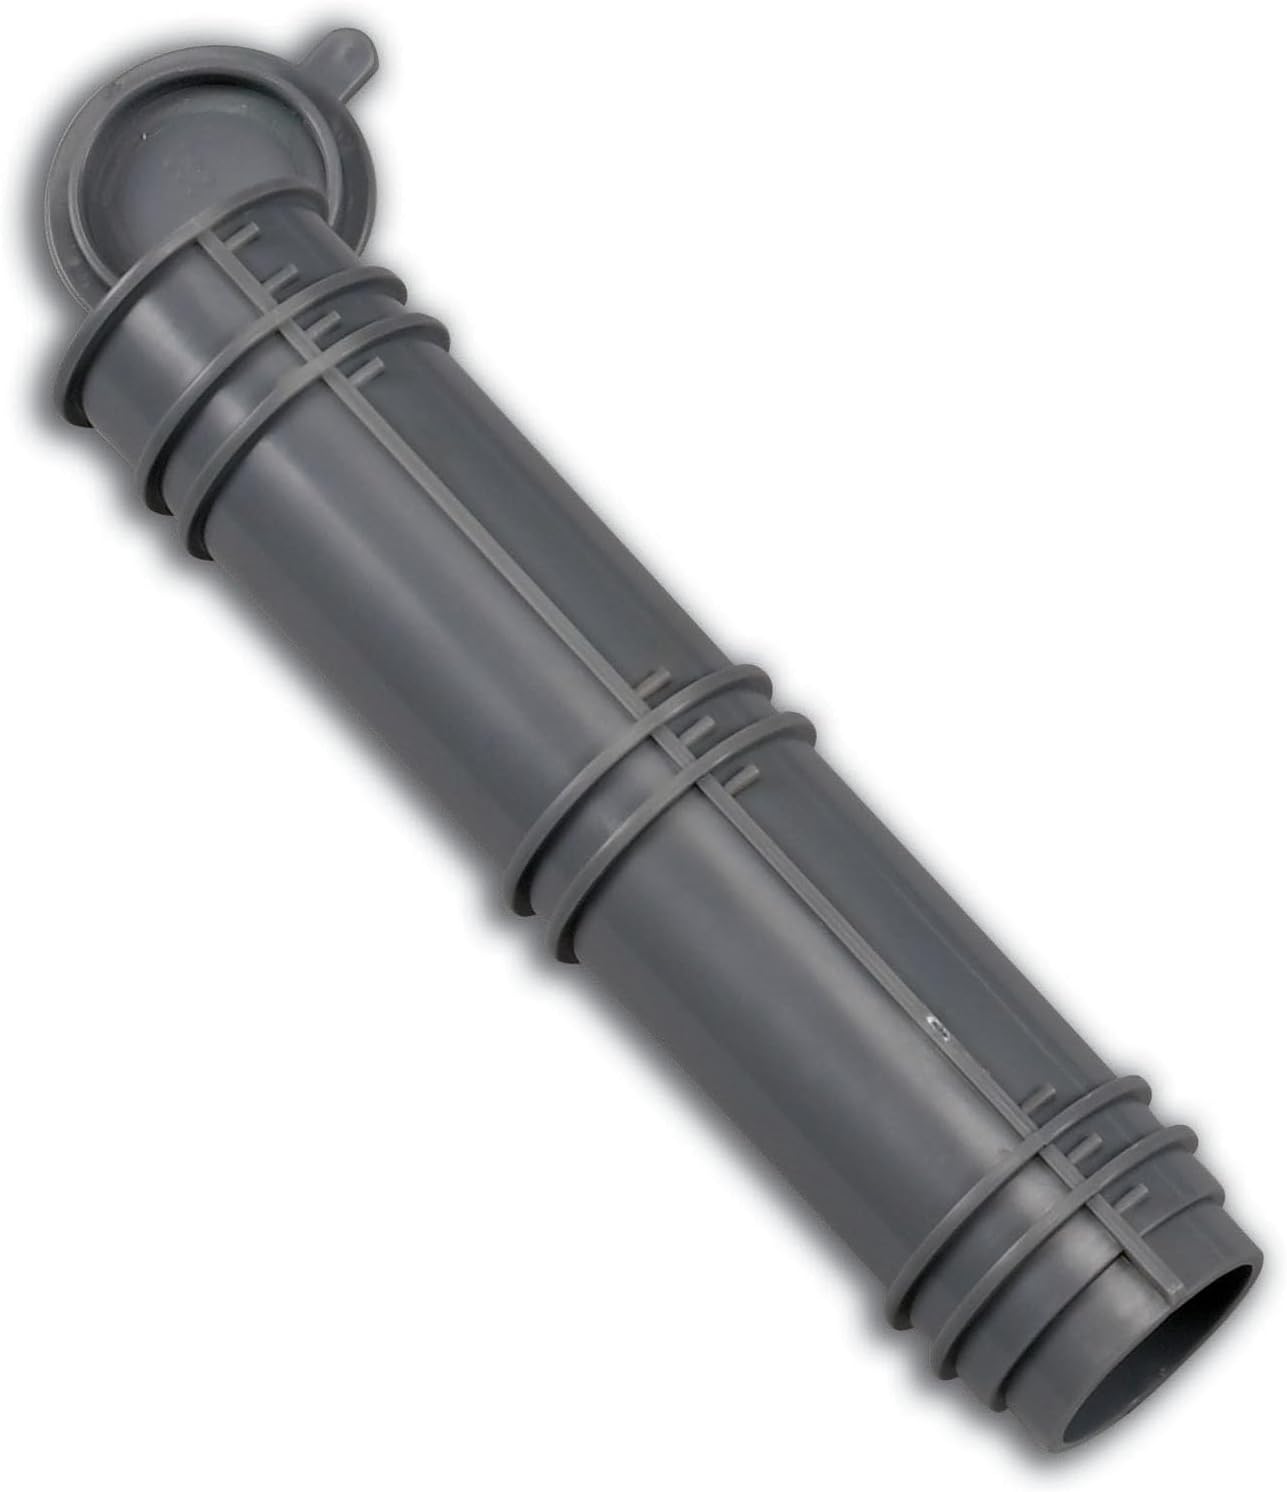
Figure 5: The drying rack shown in its folded, compact state, ready for storage.
Troubleshooting
- Lines Tangling During Unfolding: Ensure all lines are straightened and untangled before fully extending the arms. Gently guide the lines as the rack opens.
- Rack Not Standing Firmly: Verify that the ground sleeve is installed correctly and firmly compacted in the ground. Ensure the dryer post is fully inserted into the sleeve and the locking mechanism (if any) is engaged.
- Lines Sagging: Check the tension of the lines. If they are loose, re-tie or adjust them at their attachment points to restore tautness.
Specifications
| Feature | Detail |
|---|---|
| Model Number | 17130-1 |
| Material | Aluminum arms, Galvanized Steel post, Vinyl lines |
| Drying Space | 210 linear feet (30 lines) |
| Product Dimensions (Extended) | 72 inches (182.88 cm) Wide x 84 inches (213.36 cm) Deep x 72 inches (182.88 cm) High |
| Item Weight | 3.63 kg (approximately 8 lbs) |
| Mounting Type | Ground Mount (with included plastic sleeve) |
| Weight Capacity Maximum | 30 Pounds |
| Special Features | Adjustable, Foldable for compact storage |

Figure 6: Visual representation of the drying rack's dimensions when fully assembled.
Warranty and Support
For warranty information or technical support, please refer to the contact details provided with your purchase or visit the official Household Essentials website. Keep your purchase receipt as proof of purchase.