
Weston 36-0003-W
Weston Tinned Manual Sausage Stuffer User Manual
Model: 36-0003-W
Introduction
This manual provides instructions for the safe and efficient operation, maintenance, and troubleshooting of your Weston Tinned Manual Sausage Stuffer. Please read this manual thoroughly before first use and retain it for future reference.
The Weston Tinned Manual Sausage Stuffer is designed for home and commercial use, allowing for precise control over the sausage stuffing process. It includes a 3-piece funnel kit for various sausage sizes.
Safety Precautions
- Always ensure the stuffer is securely mounted to a stable surface before operation.
- Keep hands and fingers clear of moving parts during operation.
- Use caution when handling sharp edges of components.
- Clean all parts thoroughly before and after each use to prevent contamination.
- Do not attempt to modify the stuffer or use it for purposes other than its intended design.
Product Components
The Weston Tinned Manual Sausage Stuffer comes with the following main components:
- Stuffer Body (main housing with crank mechanism)
- Plunger/Piston
- Crank Handle
- Retaining Ring/Nut
- 3 Stainless Steel Funnels (various sizes)
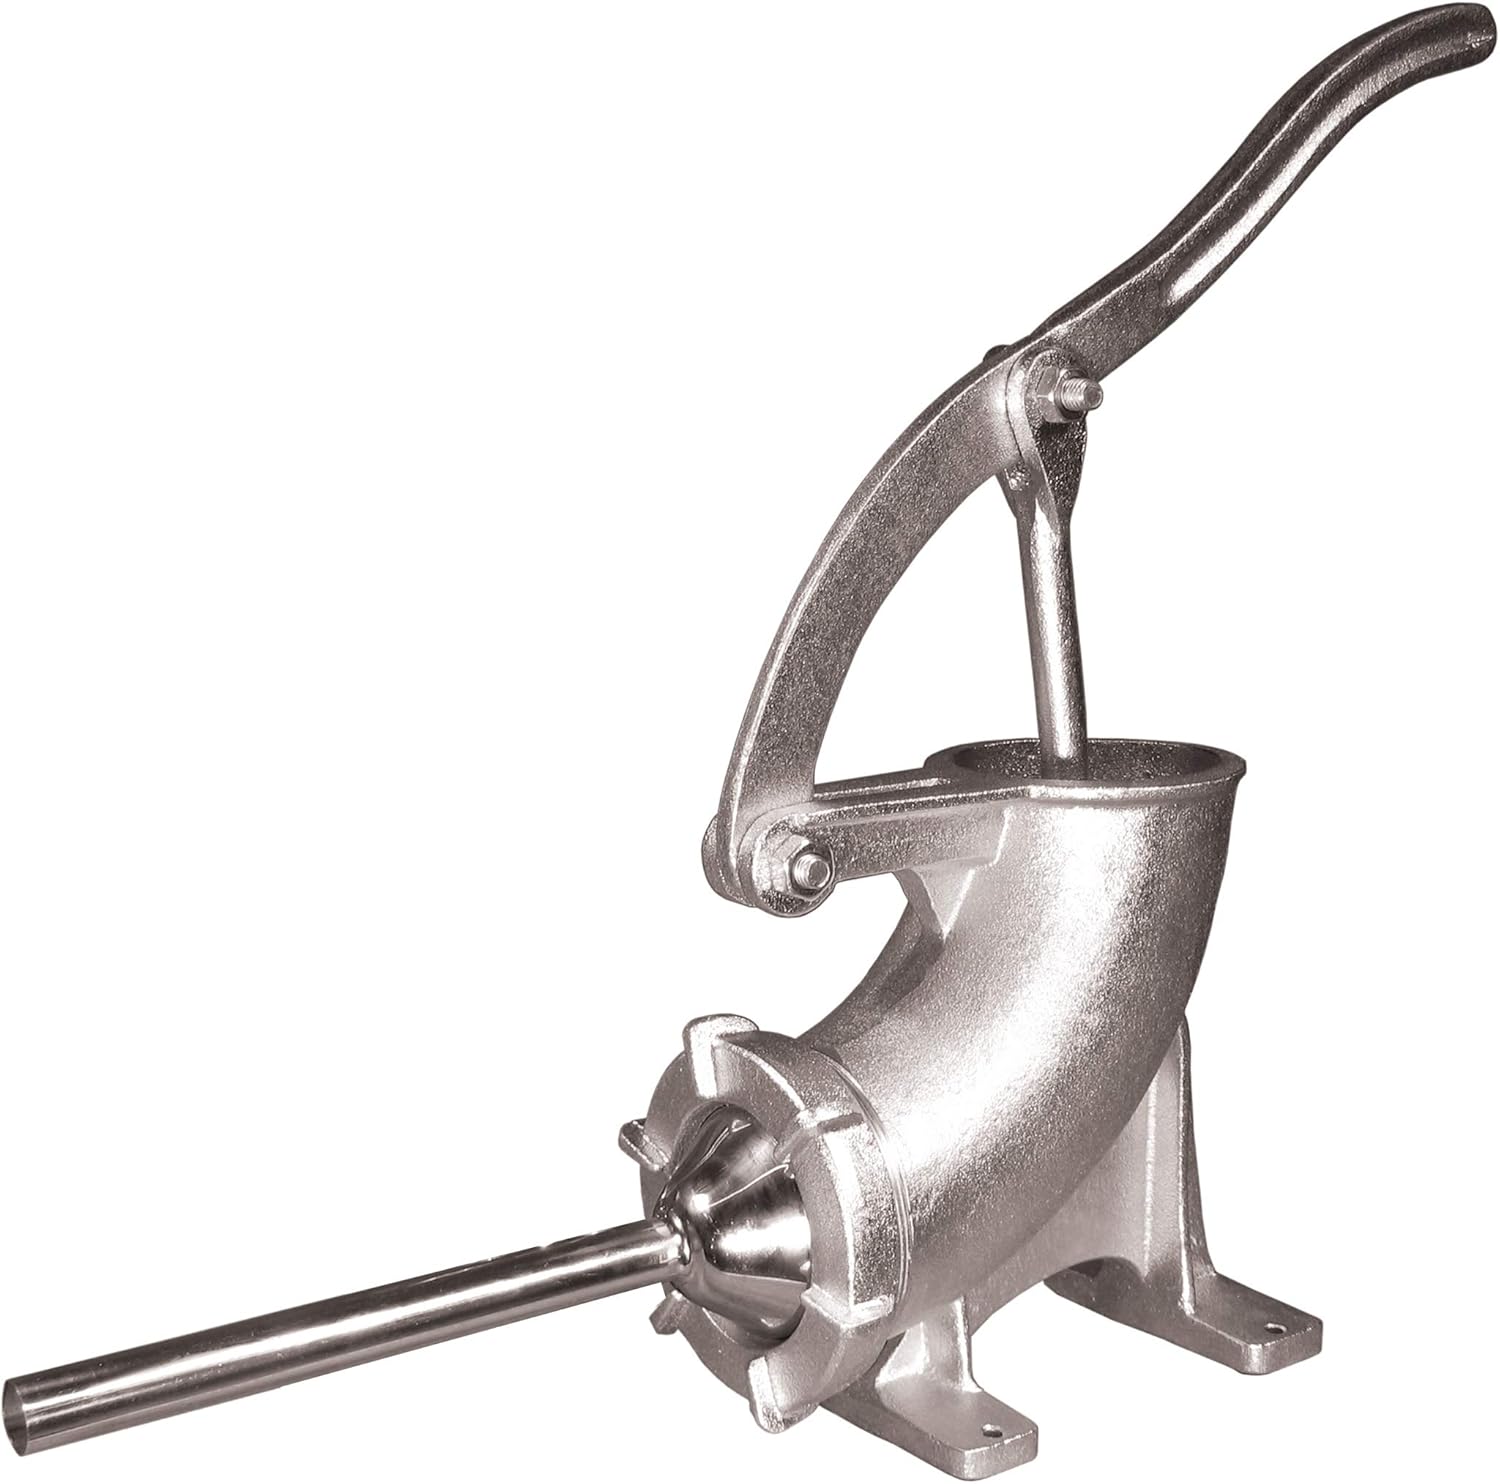
Figure 1: Fully assembled Weston Tinned Manual Sausage Stuffer, showing the main body, handle, and one of the funnels attached.
Setup and Assembly
- Unpacking: Carefully remove all components from the packaging. Inspect for any damage.
- Initial Cleaning: Wash all parts that will come into contact with food (stuffer body interior, plunger, funnels, retaining ring) with warm, soapy water. Rinse thoroughly and dry completely.
- Mounting: Secure the stuffer to a sturdy countertop or work surface using the integrated mounting holes. Ensure it is stable and will not tip during operation.
- Assemble Funnel: Select the desired funnel size. Attach the funnel to the front opening of the stuffer body and secure it with the retaining ring, twisting until tight.
- Insert Plunger: Lift the crank handle and insert the plunger into the stuffer body from the top opening. Ensure it slides smoothly.
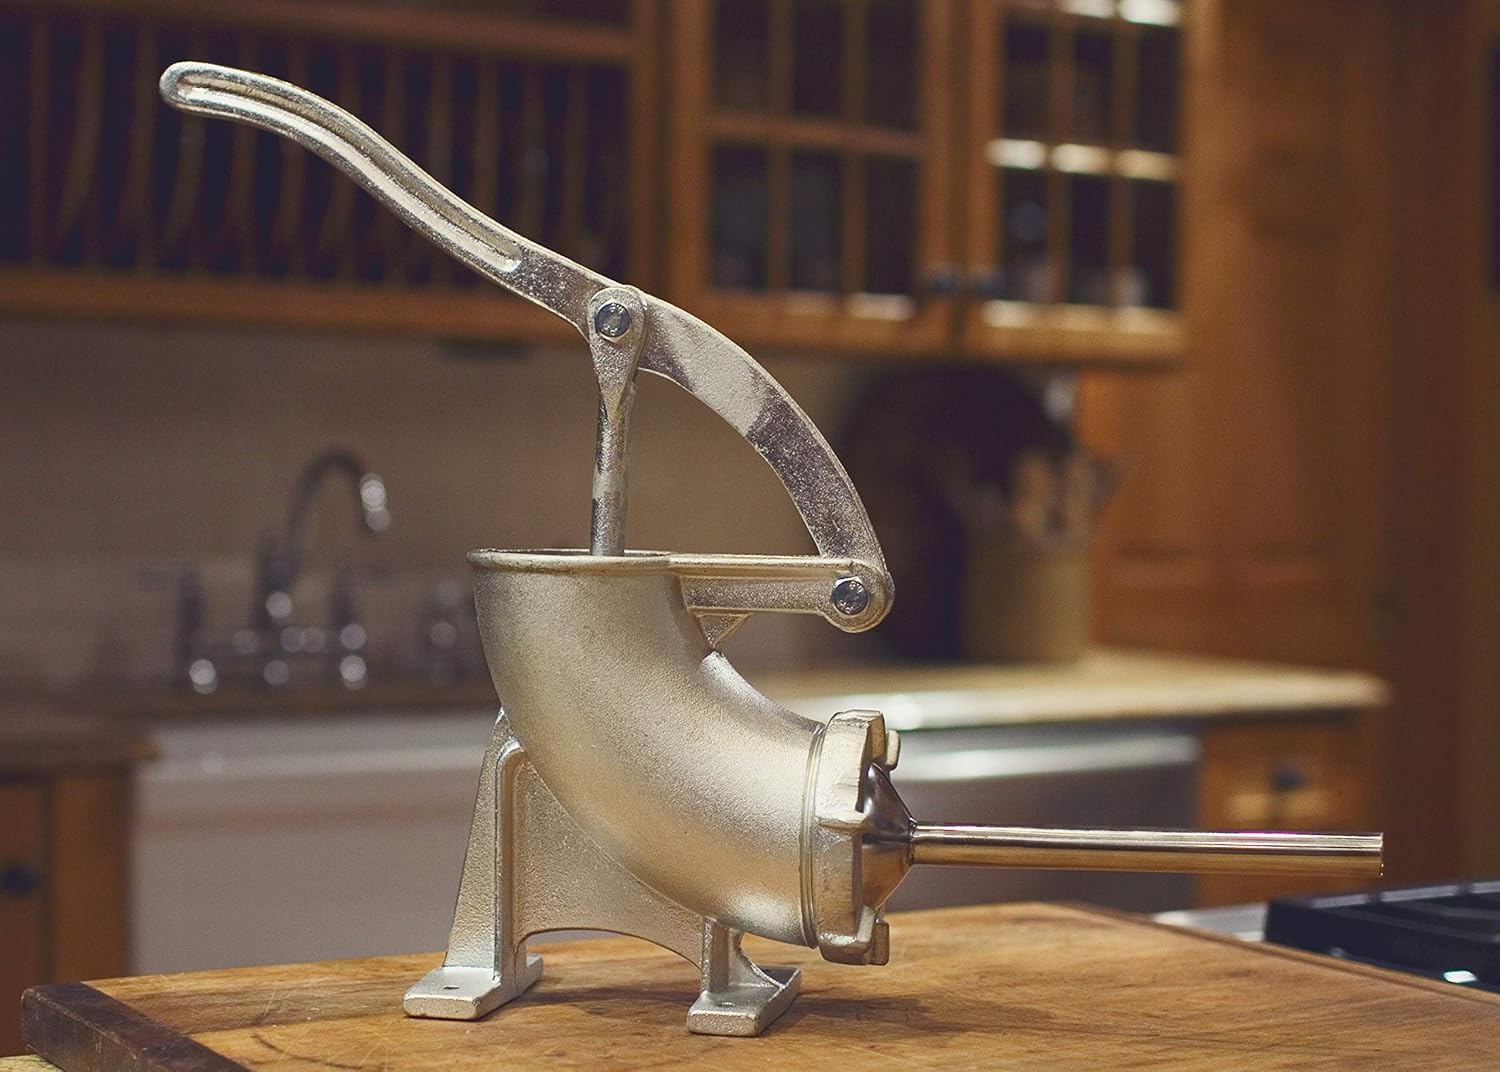
Figure 2: The sausage stuffer positioned on a wooden countertop, ready for use. Note the stable base for secure operation.
Operating Instructions
- Prepare Meat Mixture: Ensure your sausage meat mixture is properly prepared and chilled.
- Load Casing: Slide the desired length of sausage casing onto the chosen funnel, gathering it at the end. Leave a small overhang at the tip of the funnel.
- Load Stuffer: Lift the plunger and fill the stuffer body with your prepared meat mixture. Pack it down firmly to remove air pockets.
- Begin Stuffing: Slowly turn the crank handle clockwise. The plunger will descend, pushing the meat mixture through the funnel and into the casing.
- Control Flow: Use your free hand to guide the casing as it fills, ensuring even distribution and preventing air bubbles. Do not overfill the casing.
- Tie Off: Once the casing is filled to the desired length, remove it from the funnel and tie off the ends. You can then twist or link the sausages as desired.
- Repeat: Refill the stuffer with meat mixture and repeat the process until all meat is used.
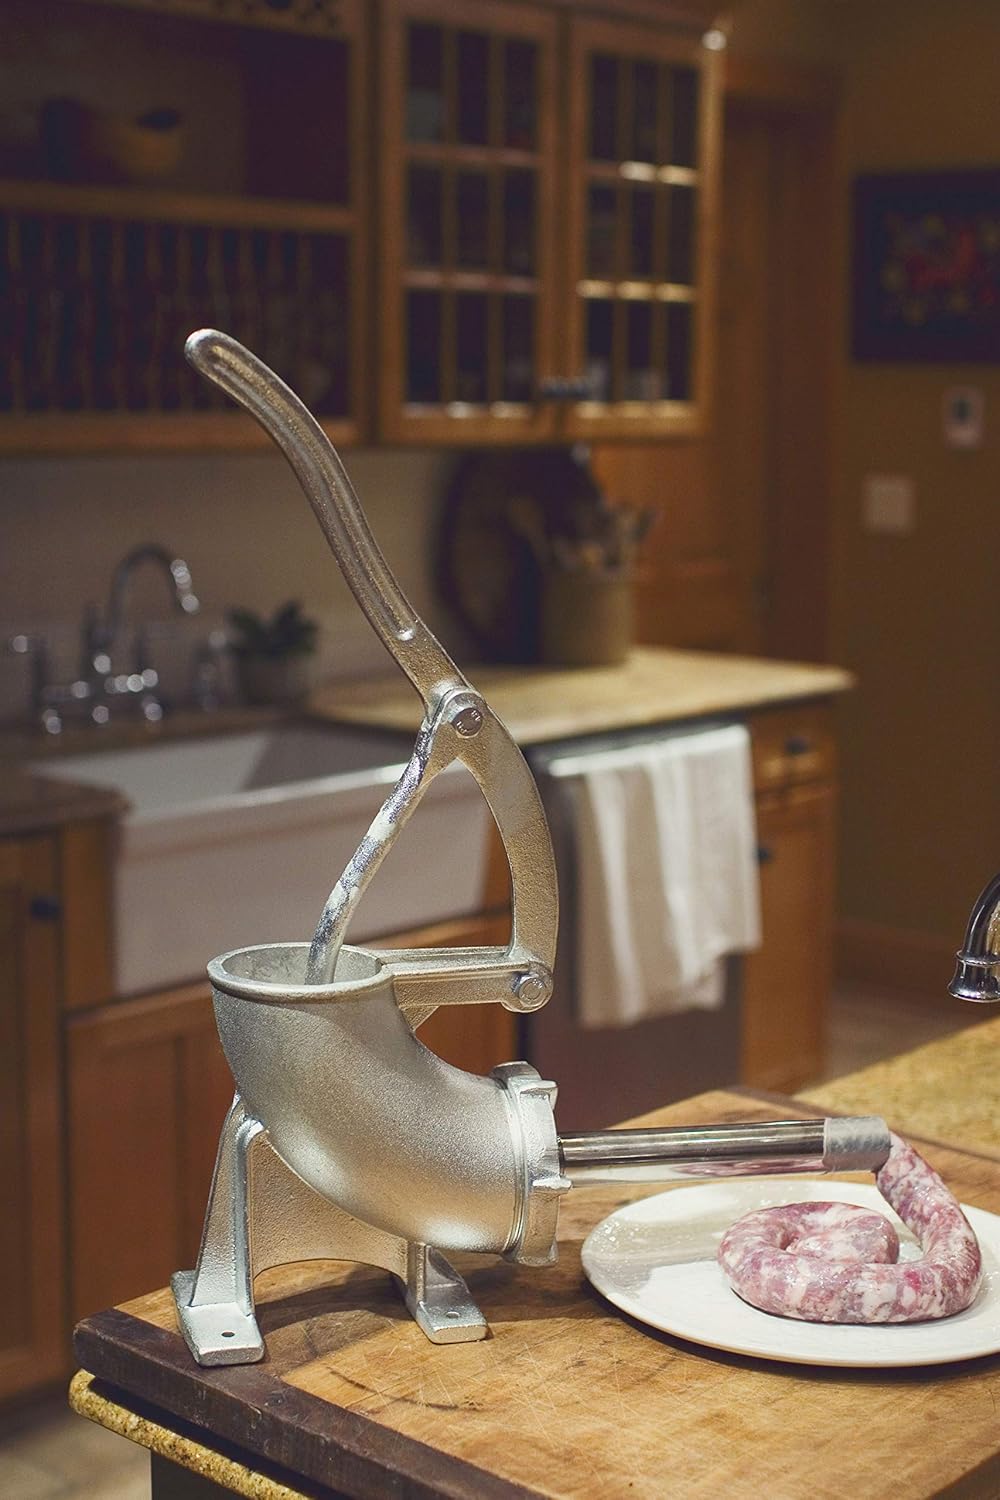
Figure 3: The sausage stuffer actively processing meat into a casing, demonstrating the manual operation and the resulting sausage coil.
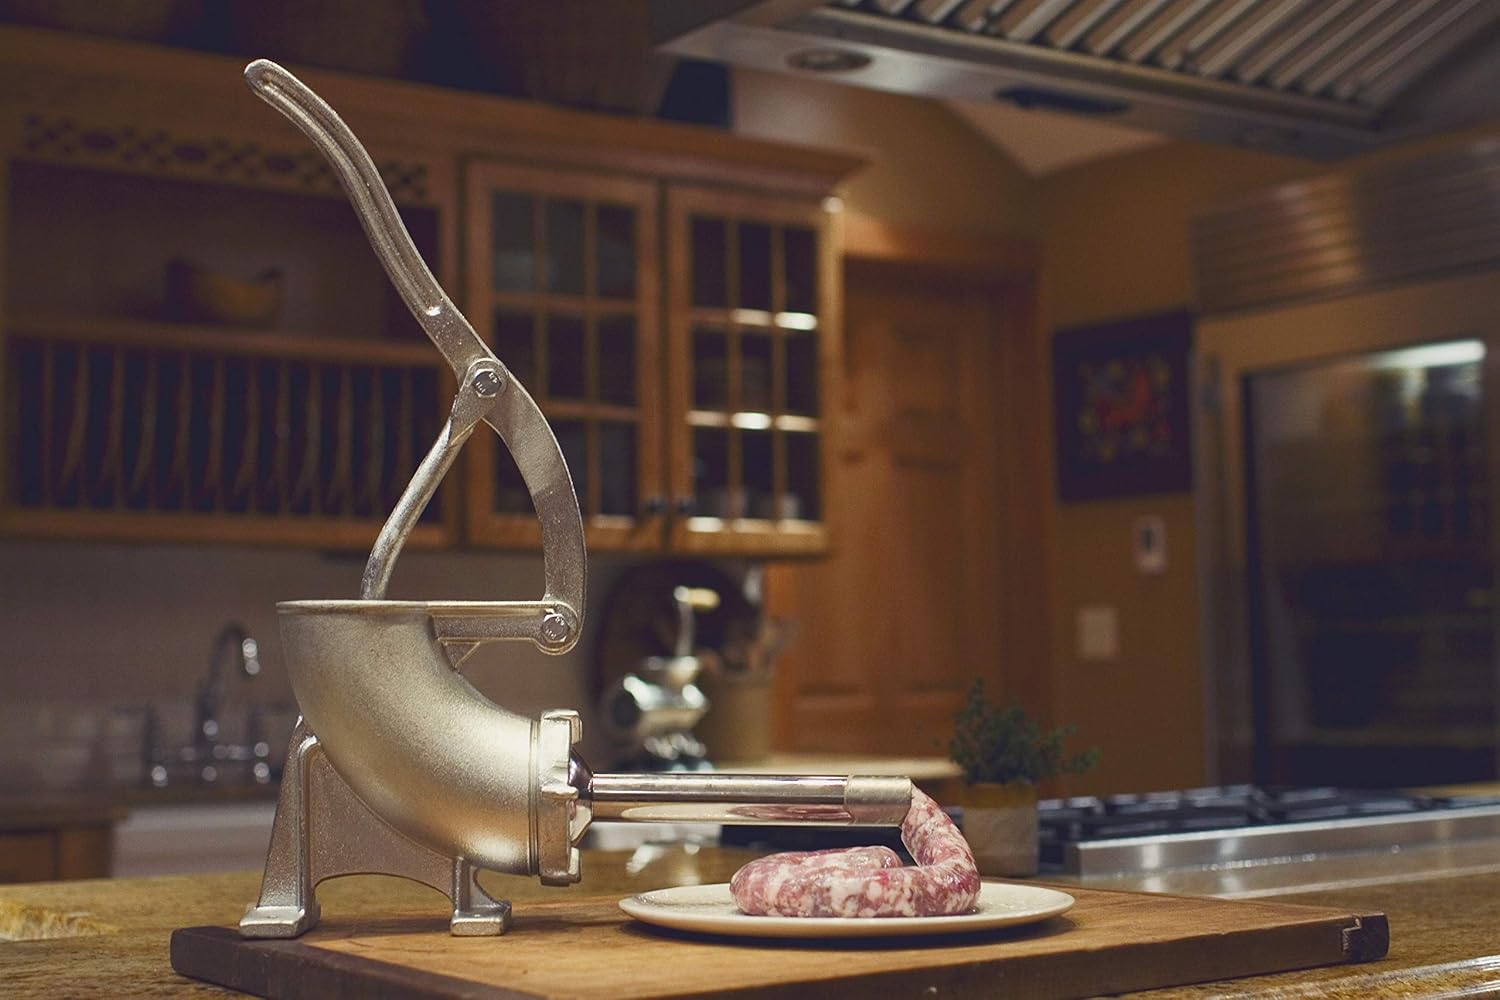
Figure 4: A closer view of the sausage stuffer in operation, showing the meat mixture being extruded into a casing, forming a coil on a plate.
Maintenance and Cleaning
Proper cleaning and maintenance will extend the life of your sausage stuffer.
- Disassembly: After each use, disassemble the stuffer by removing the funnel, retaining ring, and plunger.
- Washing: Wash all parts immediately with warm, soapy water. Use a brush to remove any meat residue from crevices.
- Rinsing: Rinse all components thoroughly with clean water.
- Drying: Dry all parts completely with a clean cloth or allow them to air dry before reassembly or storage. Ensure no moisture remains to prevent rust.
- Lubrication (Optional): For smooth operation, a thin layer of food-grade mineral oil can be applied to the plunger shaft and inside the stuffer cylinder periodically.
- Storage: Store the clean, dry stuffer in a cool, dry place.
Troubleshooting
| Problem | Possible Cause | Solution |
|---|---|---|
| Difficulty turning crank | Meat mixture too cold or too thick; insufficient lubrication. | Allow meat mixture to warm slightly; add a small amount of liquid (e.g., water or broth) to mixture; apply food-grade mineral oil to plunger. |
| Air pockets in sausage | Meat mixture not packed firmly; air trapped in casing. | Pack meat mixture tightly into stuffer; gently prick casing with a sterile needle to release trapped air. |
| Casing bursting | Overfilling casing; too much pressure. | Reduce cranking speed; do not overfill casing; ensure casing is properly hydrated. |
| Stuffer unstable | Not properly mounted. | Ensure stuffer is securely clamped or bolted to a stable, flat surface. |
Specifications
- Model: 36-0003-W
- Capacity: 3-Pound
- Material: Tinned Cast Iron / Stainless Steel Funnels
- Color: Silver
- Dimensions (Overall): Approximately 6.5 inches (Depth) x 14.75 inches (Width) x 12 inches (Height)
- Item Weight: Approximately 12.6 pounds
- Included Funnels: 3 Stainless Steel Funnels (sizes may vary, typically 10mm for snack sticks and small sausages, and larger sizes for breakfast and bratwurst)
Warranty and Support
The Weston Tinned Manual Sausage Stuffer comes with a 1-Year Limited Warranty from the date of purchase. This warranty covers defects in materials and workmanship under normal use.
For warranty claims, technical support, or replacement parts, please contact Weston Customer Service:
- Website: www.westonproducts.com
- Phone: Refer to the Weston website for current contact numbers.
Please have your model number (36-0003-W) and proof of purchase ready when contacting support.
Related documents36-0003-W

Ask a question about this manual
Ask about setup, troubleshooting, compatibility, parts, safety, or missing instructions. Manuals+ will review the question and use this page’s manual context to help answer it.