
1. Introduction
The Tamiya Ajinomoto Honda NSR250 '90 is a highly detailed scale model kit designed for enthusiasts. This kit allows for the construction of a replica of the iconic Honda NSR250 '90 motorcycle, featuring intricate components and realistic detailing.
This model kit is manufactured by Tamiya, a brand recognized for its commitment to quality in hobby products.
Product Overview:
- Highly detailed scale model.
- Designed for accurate replication of the Honda NSR250 '90.
- Manufactured with high-quality components and materials.

Image Description: A fully assembled Tamiya Ajinomoto Honda NSR250 '90 model kit, showcasing its detailed white, blue, and green racing livery with sponsor decals.
2. Safety Information
This model kit contains small parts and sharp components. Adult supervision is recommended for builders under the age of 14.
- Keep out of reach of small children to prevent choking hazards.
- Use appropriate tools safely, such as hobby knives and nippers.
- Work in a well-ventilated area when using paints, glues, and solvents.
- Avoid contact of glues and paints with skin and eyes. In case of contact, rinse immediately with water and seek medical attention if irritation persists.
- Dispose of waste materials responsibly.
3. Parts List and Preparation
Before beginning assembly, carefully unpack all components and compare them against the parts list provided in the physical kit box. Ensure all parts are present and undamaged.
Remove parts from their sprues using a hobby nipper or knife, trimming any excess plastic (flash). Smooth rough edges with sandpaper or a hobby file.
It is recommended to wash plastic parts with mild detergent and water to remove mold release agents, which can interfere with paint adhesion. Allow parts to dry completely.
4. Assembly Instructions
Follow the step-by-step diagrams and instructions provided in the physical instruction booklet included with your kit. The general assembly process involves:
- Engine Assembly: Construct the engine block and attach peripheral components.
- Frame and Suspension: Assemble the main frame, front forks, and rear swingarm.
- Wheel Assembly: Mount tires onto the wheel rims and attach to the suspension.
- Bodywork and Exhaust: Attach fairings, fuel tank, seat, and exhaust system.
- Detailing: Add smaller components such as handlebars, footpegs, and clear parts.
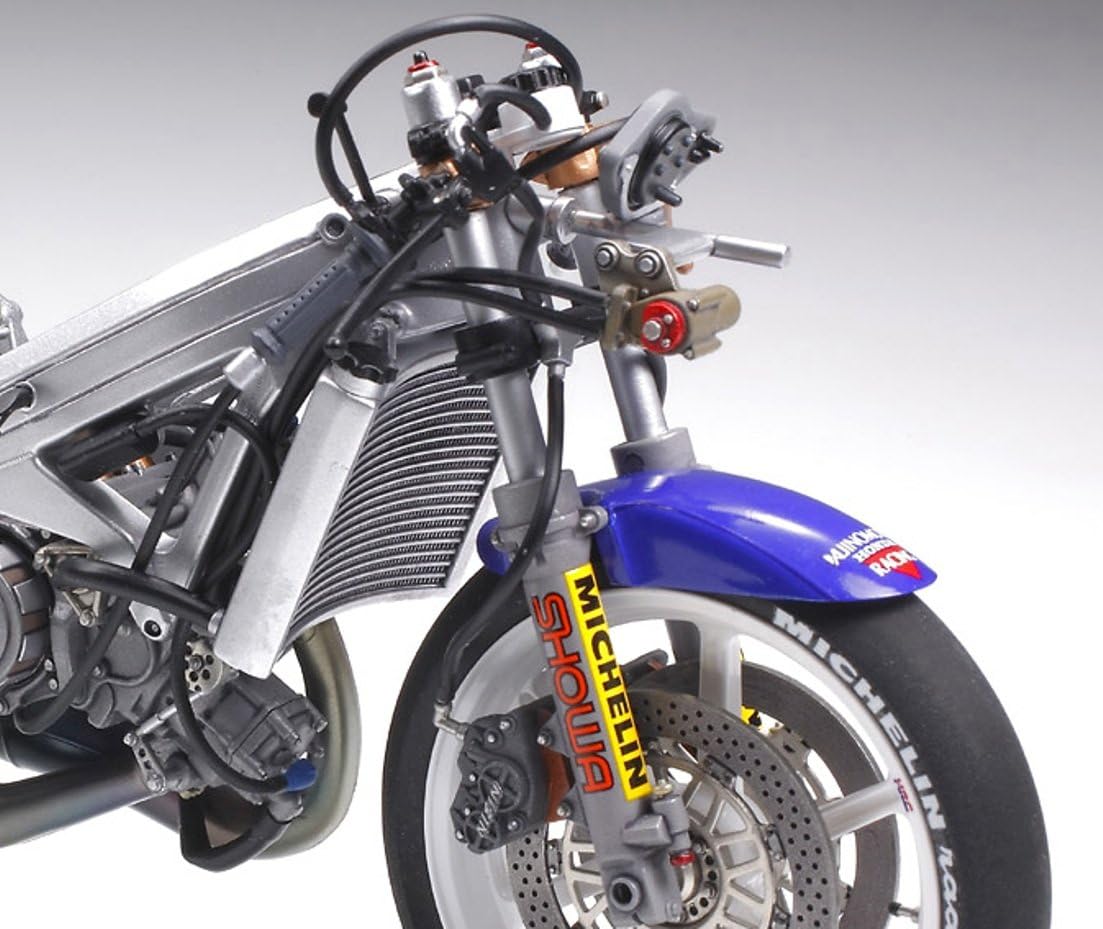
Image Description: A close-up view of the front section of the Tamiya Ajinomoto Honda NSR250 '90 model kit, highlighting the detailed front wheel, disc brakes, suspension forks, and radiator.

Image Description: A detailed view of the rear section of the Tamiya Ajinomoto Honda NSR250 '90 model kit, showing the rear wheel, exhaust pipes, and suspension components.
Use plastic cement specifically designed for model kits. Apply sparingly to avoid damaging plastic surfaces. Allow sufficient drying time between steps.
5. Painting and Decal Application
Refer to the color guide in your kit for recommended paint colors. Apply paint in thin, even coats to achieve a smooth finish. Allow each coat to dry thoroughly before applying the next.
For decals, cut them carefully from the sheet. Dip each decal in lukewarm water for a few seconds until it can slide freely from the backing paper. Position the decal on the model and gently slide the backing paper away. Use a soft cloth or cotton swab to carefully press out any air bubbles and excess water. A decal softener may be used to help decals conform to curved surfaces.
6. Maintenance
To preserve the appearance of your finished model:
- Keep the model in a dust-free environment, ideally in a display case.
- Clean gently with a soft, dry brush or a slightly damp cloth. Avoid harsh chemicals or abrasive cleaners.
- Protect from direct sunlight and extreme temperatures to prevent fading or warping.
7. Troubleshooting Common Issues
Problem: Parts do not fit together correctly.
- Solution: Check for excess plastic (flash) on the edges of the parts and trim as necessary. Ensure parts are oriented correctly according to the instructions.
Problem: Paint finish is uneven or rough.
- Solution: Ensure surfaces are clean and free of dust before painting. Apply paint in multiple thin coats rather than one thick coat. Allow adequate drying time between coats.
Problem: Decals do not adhere or wrinkle.
- Solution: Ensure the surface is smooth and glossy. Use decal setting solution to help decals conform and adhere better. Gently remove air bubbles.
8. Specifications
| Feature | Detail |
|---|---|
| Brand | TAMIYA |
| Model Number | TMYTAM14110 |
| Product Dimensions | 12 x 12 x 5 inches |
| Item Weight | 10.6 ounces |
| Manufacturer Recommended Age | 4 - 9 years |
| Date First Available | November 25, 2007 |
9. Warranty and Support
For specific warranty information and customer support regarding your Tamiya model kit, please refer to the documentation included in the product packaging or visit the official Tamiya website.
Tamiya is committed to providing high-quality products. If you encounter any issues or require assistance, please contact Tamiya customer service directly.