
1. Introduction
This manual provides essential information for the safe and efficient installation, operation, and maintenance of the Schneider Electric Harmony XB4BW33G5 Illuminated Push Button. Please read this manual thoroughly before installation and operation to ensure proper functionality and safety.
The Harmony XB4BW33G5 is a modular, illuminated green push button designed for industrial control applications. It features a metal bezel, spring return mechanism, and an integrated LED for illumination. It is rated for 110-120V AC operation and connects via screw terminals.
2. Safety Information
WARNING: Risk of electric shock. Installation and maintenance should only be performed by qualified personnel.
- Always disconnect power before installing, servicing, or removing the device.
- Ensure all wiring complies with local and national electrical codes.
- Do not operate the device if it appears damaged.
- Use appropriate personal protective equipment (PPE).
- The device is designed for specific voltage and current ratings. Exceeding these ratings can cause damage or injury.
3. Product Overview
The Schneider Electric Harmony XB4BW33G5 is an illuminated push button designed for robust industrial environments. Key features include:
- Illuminated Push Button: Green, with an integrated LED.
- Bezel Material: Chrome-plated metal for durability.
- Operation: Spring return mechanism.
- Voltage Rating: 110-120V AC/DC, 50/60Hz.
- Contact Configuration: 1 Normally Open (NO) + 1 Normally Closed (NC).
- Connection Type: Screw terminals.
- Mounting: Standard 22mm diameter panel cutouts.
- Environmental Protection: IP66 / IP67 / IP69 / IP69K certified for shock, dust, water, and vibration resistance.

Figure 3.1: Angled view of the Schneider Electric Harmony XB4BW33G5 illuminated push button, showing the green button and metal bezel.
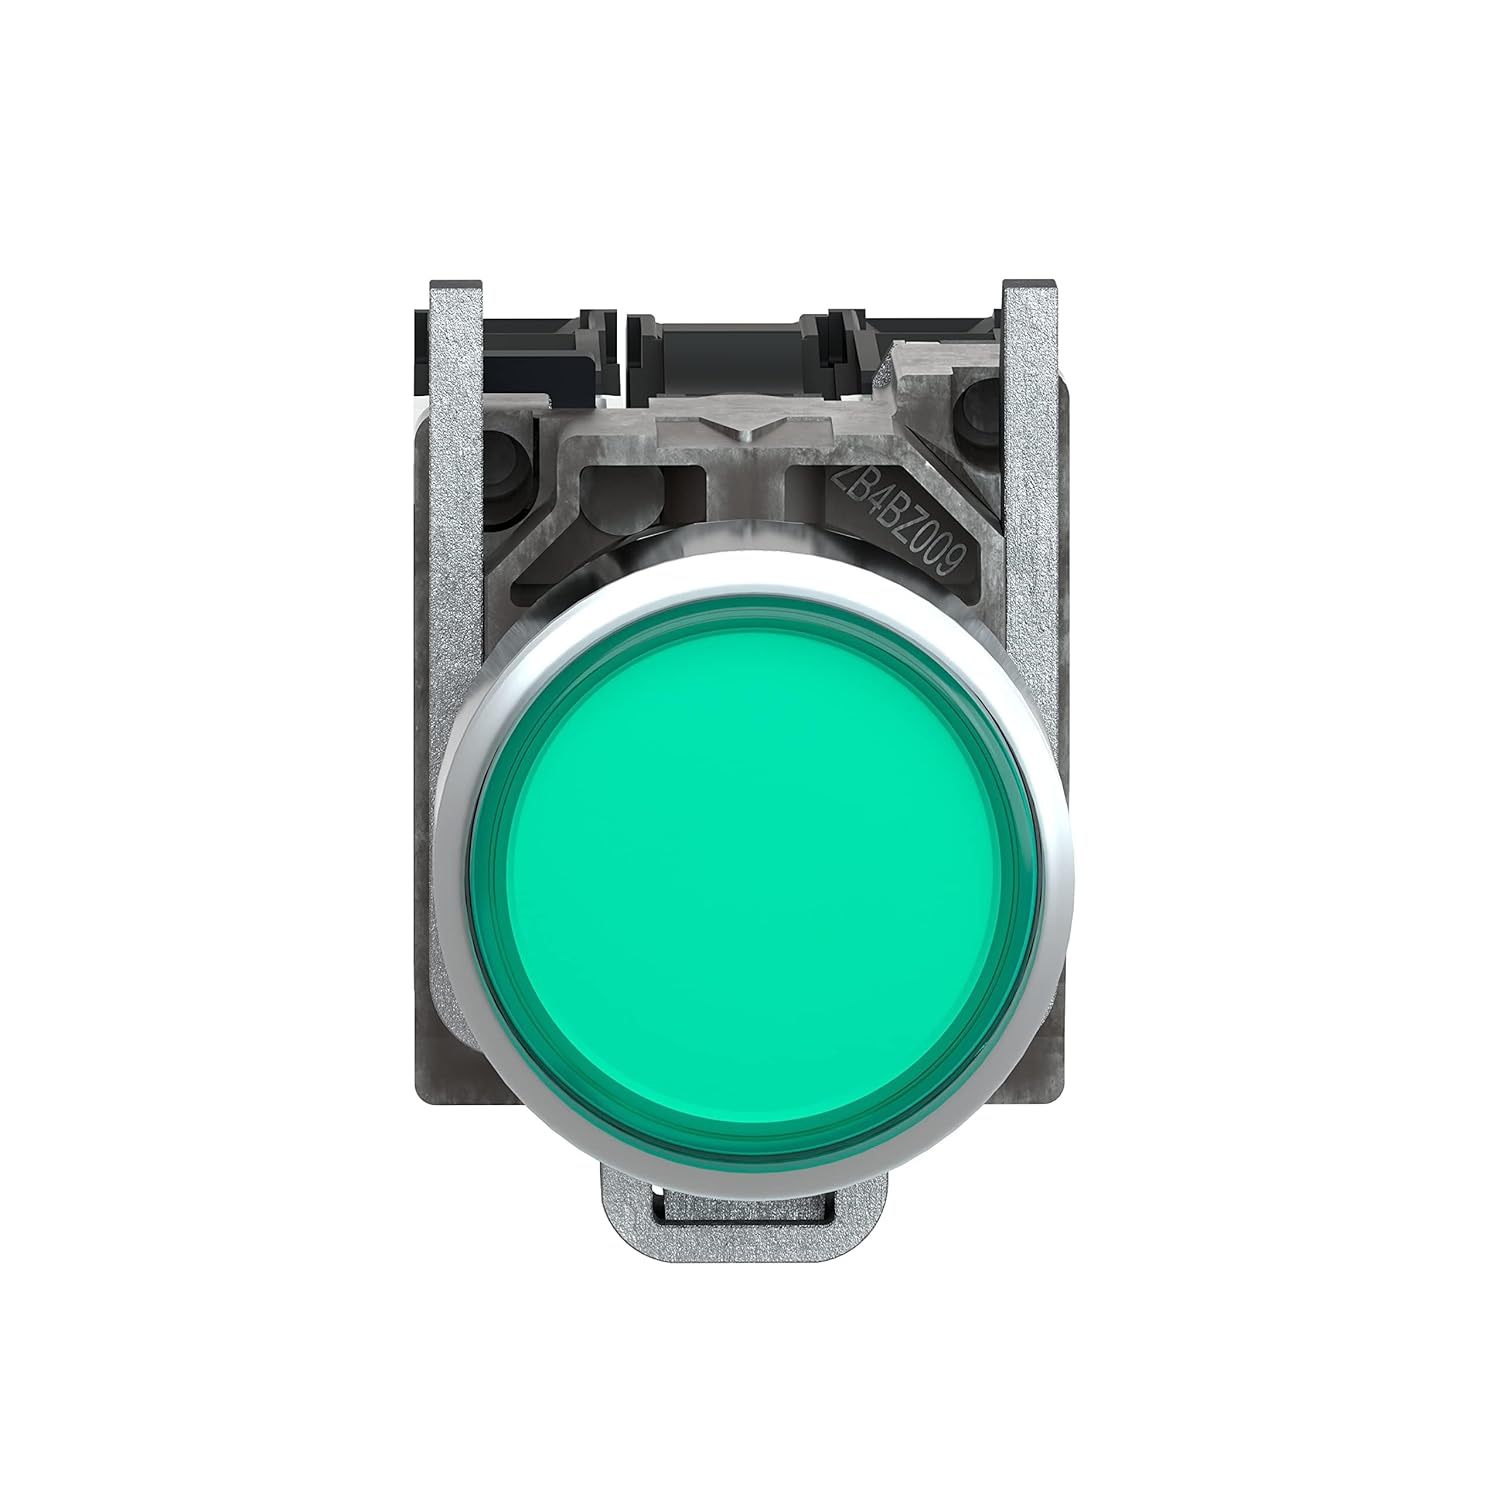
Figure 3.2: Front view of the push button, highlighting the green illuminated surface.
4. Setup and Installation
Follow these steps for proper installation of the Harmony XB4BW33G5 push button:
- Power Disconnection: Ensure all power to the control panel or machine is disconnected and locked out before beginning installation.
- Panel Cutout: Create a standard 22mm diameter cutout in the control panel. Ensure the panel thickness is within the specified range for the device's mounting bracket.
- Mounting the Head: Insert the push button head (actuator) through the front of the panel cutout.
- Securing the Bezel: From the rear of the panel, place the mounting bracket and tighten the securing nut or ring to firmly hold the push button head in place. Do not overtighten.
- Attaching Contact Blocks: Attach the contact blocks (1 NO and 1 NC) and the integrated LED unit to the rear of the push button assembly. Ensure they are securely clicked into place.
- Wiring: Connect the control circuit wires to the screw terminals on the contact blocks.
- Connect the power supply (110-120V AC/DC) to the integrated LED terminals (typically marked X1 and X2).
- Connect the Normally Open (NO) contacts to the circuit that should close when the button is pressed.
- Connect the Normally Closed (NC) contacts to the circuit that should open when the button is pressed.
- Ensure all connections are tight and secure.
- Verification: Double-check all connections and ensure no loose wires are present.
- Power Restoration: Restore power and test the functionality of the push button.

Figure 4.1: Side view of the push button assembly, showing the actuator, bezel, and contact blocks.

Figure 4.2: Rear view of the contact blocks, illustrating the screw terminals for electrical connections. Note the NO (Normally Open) and NC (Normally Closed) markings.
5. Operating Instructions
The Harmony XB4BW33G5 is a simple momentary push button with a spring return mechanism.
- Activation: Press the green button to activate the associated circuit. The integrated LED will illuminate when power is supplied to its terminals.
- Momentary Action: The button will return to its original position when released, deactivating the circuit.
- Contact Behavior:
- Normally Open (NO) contacts close when the button is pressed.
- Normally Closed (NC) contacts open when the button is pressed.
6. Maintenance
The Harmony XB4BW33G5 push button is designed for minimal maintenance due to its robust construction and high IP ratings. However, periodic checks are recommended:
- Cleaning: Clean the button surface and bezel periodically with a soft, damp cloth. Avoid abrasive cleaners or solvents.
- Connection Checks: Annually, or as required by your maintenance schedule, inspect wiring connections for tightness and signs of corrosion.
- Physical Inspection: Check for any physical damage to the button, bezel, or contact blocks. Replace damaged components immediately.
- Environmental Seals: Ensure the environmental seals (gaskets) are intact, especially if the device is exposed to harsh conditions.
CAUTION: Always disconnect power before performing any maintenance or inspection.
7. Troubleshooting
| Problem | Possible Cause | Solution |
|---|---|---|
| Button does not activate circuit. |
|
|
| LED does not illuminate. |
|
|
| Button sticks or does not return. |
|
|
8. Specifications
| Feature | Detail |
|---|---|
| Model Number | XB4BW33G5 |
| Brand | Schneider Electric |
| Actuator Type | Push Button (Illuminated, Green) |
| Operation Mode | Spring Return (Momentary) |
| Rated Supply Voltage | 110-120V AC/DC, 50/60Hz |
| Contact Configuration | 1 Normally Open (NO) + 1 Normally Closed (NC) |
| Current Rating | 10 Amps |
| Operating Voltage (Contacts) | 250 Volts (Max) |
| Connector Type | Screw Terminals |
| Mounting Diameter | 22mm |
| Product Dimensions (L x W x H) | 2.13 x 3.46 x 1.34 inches |
| Weight | 3.42 ounces |
| Environmental Protection | IP66 / IP67 / IP69 / IP69K |
| National Stock Number | 5930-01-565-6250 |
| Date First Available | January 18, 2015 |
9. What's in the Box
The product package for the Schneider Electric Harmony XB4BW33G5 includes:
- 1 x Illuminated Push Button (complete assembly including actuator, bezel, contact blocks, and integrated LED)
10. Warranty and Support
For warranty information and technical support, please refer to the official Schneider Electric website or contact their customer service directly. Warranty terms and conditions may vary by region and product. Please retain your proof of purchase for warranty claims.
Schneider Electric Official Website: www.se.com
For specific product inquiries or troubleshooting assistance not covered in this manual, please contact Schneider Electric customer support.


