
1. Product Overview
The Sealey SA621 is a robust 13mm Ø air drill designed for professional and demanding applications. It features a composite lightweight moulded housing that reduces the effects of chill on the operator's hands, enhancing comfort during prolonged use. The drill is fully reversible with a convenient thumb control located above the motor housing, allowing for easy direction changes. Its air motor is equipped with quality bearings, ensuring smooth and powerful operation. A built-in muffler in the handle exhaust helps to reduce noise levels, contributing to a quieter working environment. The drill is fitted with a Jacobs keyless chuck, enabling fast and efficient bit changes.

Figure 1.1: Front view of the Sealey SA621 Air Drill, showcasing its ergonomic design, keyless chuck, and auxiliary handle.
2. Safety Instructions
Always adhere to general workshop safety practices when using this equipment. Ensure that all safety warnings and instructions are read and understood before operating the drill. Failure to do so may result in electric shock, fire, and/or serious injury.
2.1. Personal Protective Equipment (PPE)
- Always wear approved eye protection (safety glasses or goggles) to protect against flying debris.
- Wear hearing protection (earplugs or earmuffs) to prevent noise-induced hearing loss, especially during prolonged use.
- Wear appropriate work gloves to improve grip and protect hands.
- Do not wear loose clothing, ties, or jewelry that could get caught in moving parts. Tie back long hair.
2.2. Air Supply Safety
- Ensure the air supply is clean and dry. Moisture in the air line can damage the tool.
- Do not exceed the maximum recommended air pressure for the tool (refer to specifications).
- Always disconnect the air supply before changing accessories, performing maintenance, or when the tool is not in use.
- Never point the air tool or air hose at yourself or others.
2.3. Work Area Safety
- Keep the work area clean, well-lit, and free from clutter.
- Ensure adequate ventilation, especially when working with materials that produce dust or fumes.
- Secure the workpiece firmly to prevent movement during drilling.
3. Package Contents
Upon opening the package, please verify that all components are present and undamaged. If any items are missing or damaged, contact your supplier immediately.
- 1 x Sealey SA621 Air Drill with 13mm Keyless Chuck
4. Setup
4.1. Connecting to Air Supply
- Ensure your air compressor is capable of providing the required air pressure and volume (refer to specifications).
- Connect a suitable air hose (minimum 3/8" I.D.) to the air inlet of the drill. It is recommended to use an in-line air filter/lubricator unit to ensure clean, lubricated air supply.
- Secure all connections to prevent air leaks.
- Set the air compressor regulator to the recommended operating pressure.
4.2. Installing Drill Bits (Keyless Chuck)
- Ensure the air supply is disconnected from the drill.
- Rotate the chuck collar counter-clockwise to open the chuck jaws.
- Insert the drill bit fully into the chuck, ensuring it is centered.
- Rotate the chuck collar clockwise to tighten the jaws firmly around the drill bit. Hand-tighten only; do not use tools to overtighten.
- Verify the bit is securely held before reconnecting the air supply.
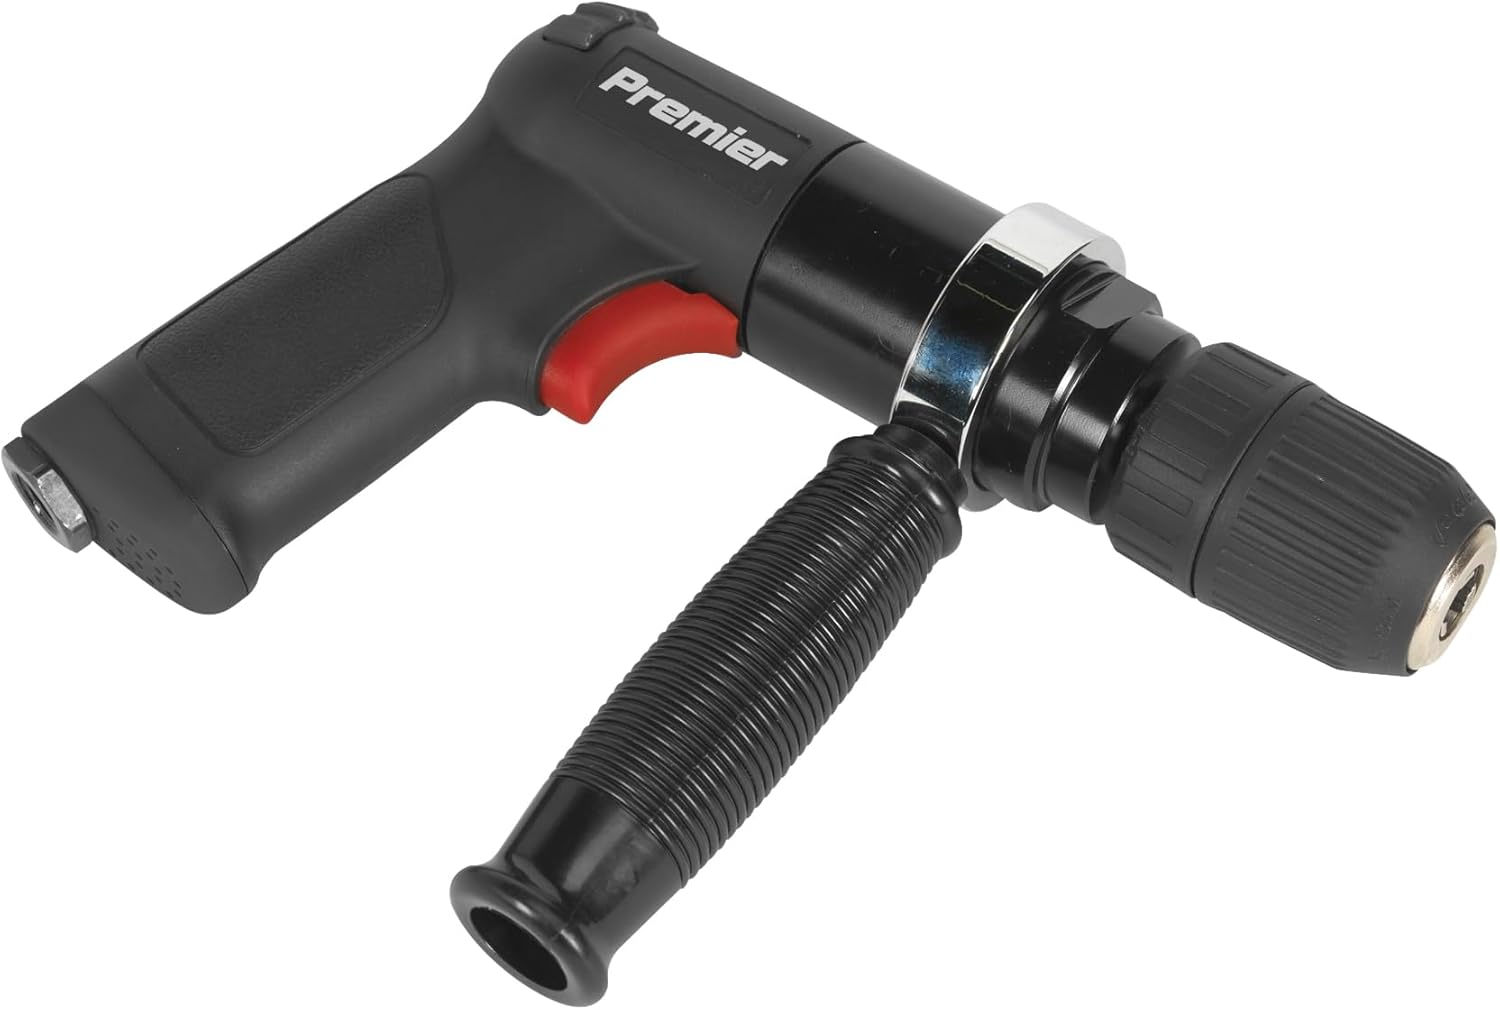
Figure 4.1: Side view of the Sealey SA621 Air Drill, showing the auxiliary handle attachment point and the keyless chuck.
5. Operating Instructions
5.1. Starting and Stopping
- To start the drill, depress the trigger. The speed is controlled by the amount of trigger depression.
- To stop the drill, release the trigger.
5.2. Reversible Function
The drill features a reversible function for driving screws or extracting bits. The direction control is a thumb switch located above the motor housing.
- Push the switch to the left for forward (clockwise) rotation.
- Push the switch to the right for reverse (counter-clockwise) rotation.
- Always ensure the drill has come to a complete stop before changing the direction of rotation.
5.3. Drilling Techniques
- Always apply steady, even pressure. Do not force the drill, allow the tool to do the work.
- For drilling into metal, use a center punch to mark the drilling point to prevent the bit from wandering.
- Use appropriate drill bits for the material being drilled.
- Clear chips regularly, especially when drilling deep holes, to prevent overheating and binding.
- When drilling through thin materials, place a scrap piece of wood underneath to prevent splintering or tearing.

Figure 5.1: The Sealey SA621 Air Drill in operation, demonstrating its use for precision drilling in automotive applications.

Figure 5.2: Another view of the Sealey SA621 Air Drill being used on a vehicle panel, highlighting its maneuverability.
6. Maintenance
Regular maintenance ensures the longevity and optimal performance of your Sealey SA621 Air Drill. Always disconnect the air supply before performing any maintenance.
6.1. Lubrication
- Air tools require regular lubrication. Add a few drops of good quality air tool oil into the air inlet before and after each use, or if the tool is stored for an extended period.
- If using an in-line lubricator, ensure it is filled with air tool oil and adjusted correctly.
6.2. Cleaning and Storage
- Clean the exterior of the drill with a damp cloth. Do not use harsh solvents.
- Store the drill in a dry, secure location, away from direct sunlight and extreme temperatures.
- If storing for an extended period, apply a light coat of oil to metal parts to prevent corrosion.
6.3. Chuck Maintenance
- Periodically inspect the chuck jaws for wear or damage. Replace if necessary.
- Keep the chuck jaws clean and free of debris to ensure proper gripping of drill bits.
7. Troubleshooting
This section addresses common issues you might encounter with your Sealey SA621 Air Drill. For problems not listed here, contact qualified service personnel.
| Problem | Possible Cause | Solution |
|---|---|---|
| Drill loses power or runs slowly. | Low air pressure; insufficient air volume; clogged air filter; lack of lubrication. | Check compressor pressure and hose size; clean/replace air filter; lubricate tool. |
| Chuck does not hold bit securely. | Chuck jaws worn or dirty; bit shank damaged. | Clean chuck jaws; replace worn chuck; use bits with undamaged shanks. |
| Excessive noise or vibration. | Lack of lubrication; internal damage; loose components. | Lubricate tool; inspect for loose parts; if problem persists, seek professional service. |
8. Specifications
The following table provides the technical specifications for the Sealey SA621 Air Drill.
| Feature | Detail |
|---|---|
| Brand | Sealey |
| Model Number | SA621 |
| Chuck Size | 13mm Ø (Keyless) |
| Power Source | Wind Powered (Air) |
| Maximum Rotational Speed | 800 RPM |
| Number of Speeds | 1 |
| Material | Composite Housing |
| Item Weight | 1.53 Kilograms (3.37 pounds) |
| Product Dimensions | 0.39"L x 0.39"W x 0.39"H (Approximate) |
| Special Features | Keyless Chuck, Lightweight, Reversible, Muffler |
9. Warranty and Support
Sealey products are manufactured to high standards and, subject to proper use and maintenance, will give years of trouble-free performance. This product is covered by a manufacturer's warranty.
9.1. Warranty Information
The EU Spare Part Availability Duration for this product is 1 year. For specific warranty terms and conditions, please refer to the warranty card included with your product or visit the official Sealey website. Keep your proof of purchase for warranty claims.
9.2. Customer Support
For technical assistance, spare parts, or service inquiries, please contact your authorized Sealey dealer or visit the official Sealey website for contact information. When contacting support, please have your product model number (SA621) and serial number (if applicable) ready.


