
1. Introduction
This manual provides essential information for the safe and effective installation, operation, and maintenance of your Powermaster 18252 Alternator. This unit is a 120 Amp, 6-groove pulley, chrome-finished alternator designed for specific Ford 6G applications, including 4.6L SOHC Mustang models with I-D-A VR wiring. Please read these instructions thoroughly before proceeding with installation or use.
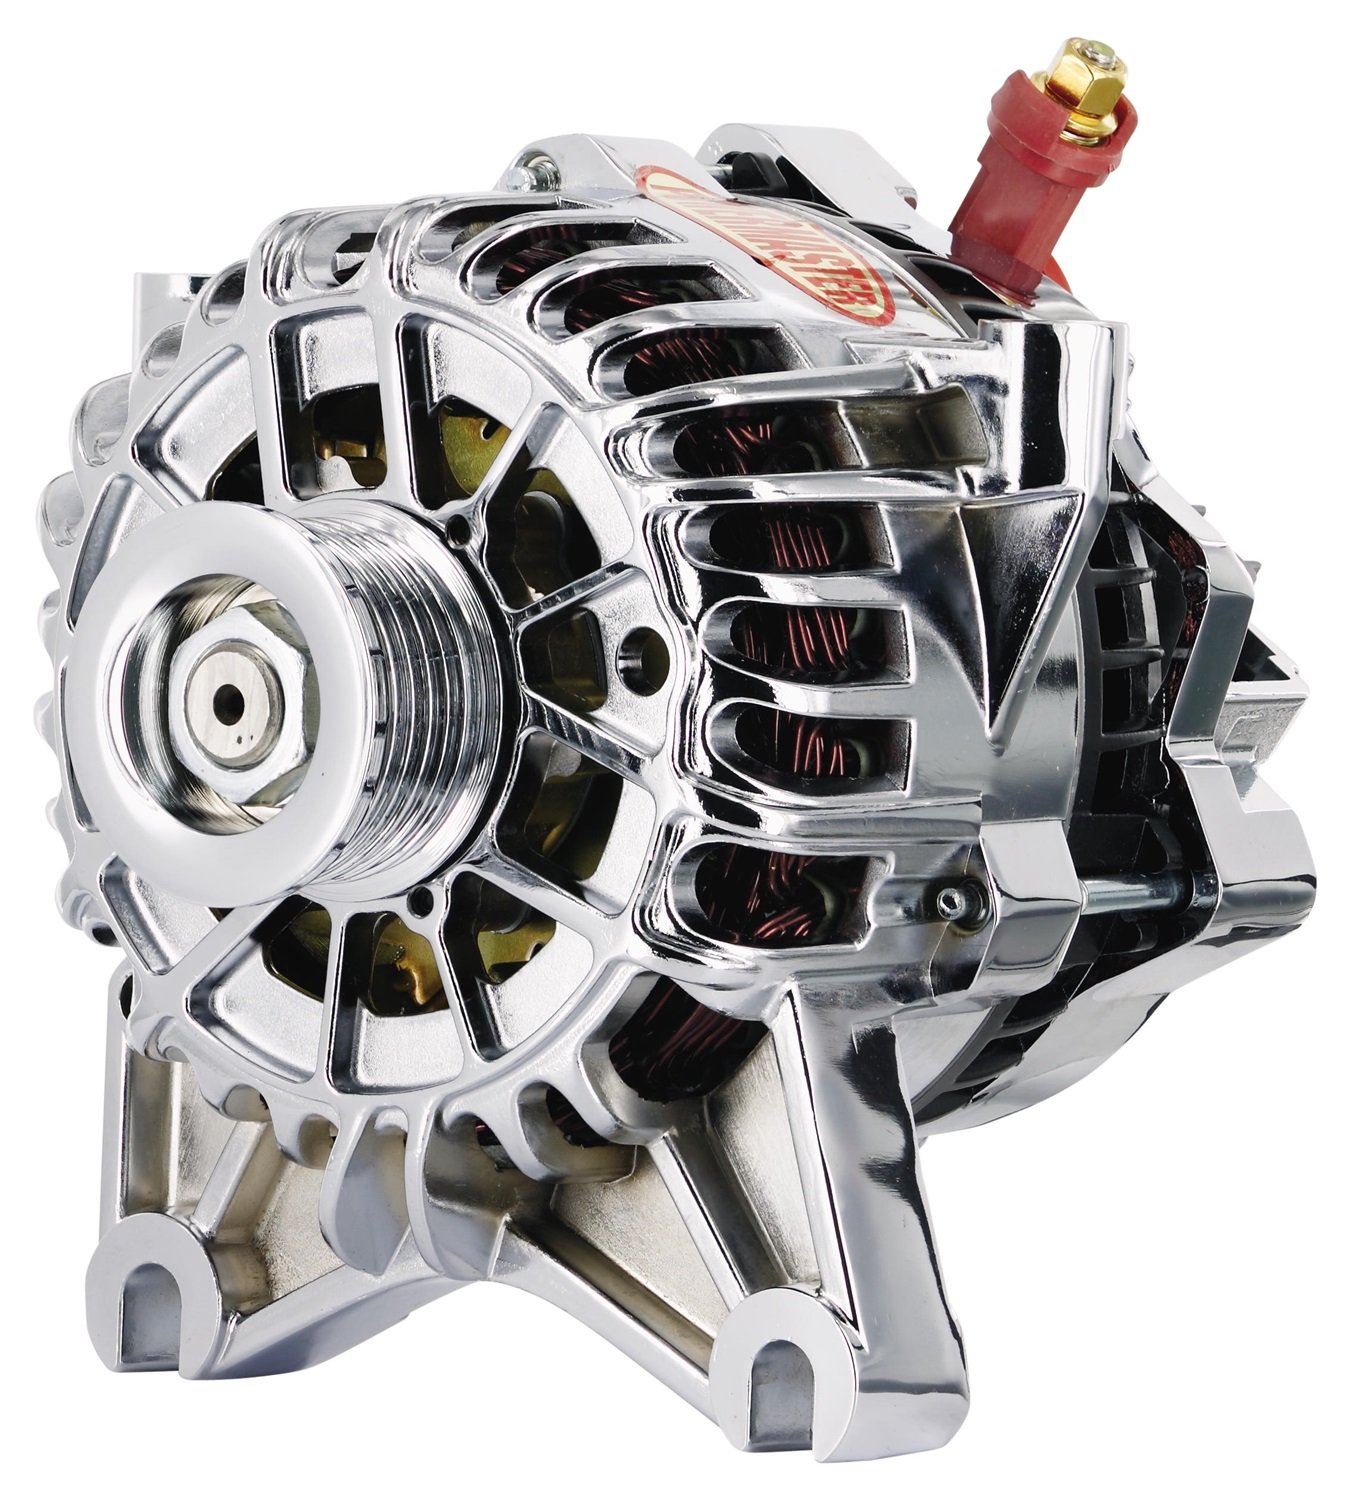
Figure 1: Powermaster 18252 Alternator, front view. This image displays the chrome finish, the 6-groove pulley, and the general housing design of the alternator.
2. Safety Information
Always observe the following safety precautions when working with automotive electrical systems:
- Disconnect the vehicle's battery before beginning any work on the electrical system to prevent electrical shock or short circuits.
- Wear appropriate personal protective equipment, including safety glasses and gloves.
- Ensure the vehicle is securely supported on a level surface if lifting is required.
- Avoid contact with hot engine components.
- Consult your vehicle's service manual for specific procedures and torque specifications.
- If you are unsure about any step, seek assistance from a qualified automotive technician.
3. Setup and Installation
Proper installation is crucial for the performance and longevity of your alternator. Follow these general steps:
3.1 Preparation
- Park the vehicle on a level surface and engage the parking brake.
- Disconnect the negative (-) battery cable, followed by the positive (+) battery cable.
- Locate the existing alternator. Note the routing of the serpentine belt and the electrical connections. It is often helpful to take a photograph for reference.
3.2 Removal of Old Alternator
- Loosen the belt tensioner and remove the serpentine belt from the alternator pulley.
- Disconnect all electrical connections from the old alternator. This typically includes the main battery output wire and the regulator plug.
- Remove the mounting bolts securing the old alternator to the engine bracket. Carefully remove the old alternator from the vehicle.
3.3 Installation of New Alternator
- Compare the new Powermaster 18252 Alternator with the old unit to ensure they are compatible in terms of mounting points and pulley type.
- Position the new alternator into the mounting brackets. Install the mounting bolts and tighten them to the vehicle manufacturer's specifications. Do not overtighten.
- Route the serpentine belt correctly around all pulleys, including the alternator pulley. Adjust the belt tensioner to the manufacturer's recommended tension.
- Reconnect the electrical wiring. For the Powermaster 18252, ensure the main battery output wire is securely fastened to the B+ terminal and the I-D-A VR plug is correctly seated. Refer to your vehicle's wiring diagram if necessary.
- Reconnect the positive (+) battery cable, then the negative (-) battery cable.
3.4 Post-Installation Check
- Start the engine and observe the dashboard warning lights. The battery light should turn off.
- Using a voltmeter, check the charging voltage at the battery terminals. It should typically read between 13.8V and 14.8V with the engine running.
- Listen for any unusual noises from the alternator or belt.
4. Operating Instructions
Once correctly installed, the Powermaster 18252 Alternator operates automatically to maintain the vehicle's electrical system and recharge the battery. No user intervention is typically required during normal operation.
- Monitor your vehicle's dashboard for any battery or charging system warning lights.
- Ensure all electrical accessories are functioning correctly.
5. Maintenance
The Powermaster 18252 Alternator is designed for minimal maintenance. However, periodic checks can help ensure its longevity and optimal performance:
- Belt Tension: Periodically check the serpentine belt tension. A loose belt can cause slippage, leading to undercharging and premature wear. A belt that is too tight can damage alternator bearings.
- Wiring Connections: Inspect all electrical connections to the alternator for corrosion or looseness. Ensure they are clean and secure.
- Cleanliness: Keep the alternator free from excessive dirt, oil, and debris. A clean unit dissipates heat more effectively.
- Noise: Listen for any unusual noises (e.g., grinding, squealing) that might indicate a bearing issue or belt problem.
6. Troubleshooting
If you experience issues with your charging system, consider the following common troubleshooting steps:
| Symptom | Possible Cause | Solution |
|---|---|---|
| Battery light on / Low voltage | Loose or worn serpentine belt Corroded or loose wiring connections Blown fuse in charging circuit Faulty battery Internal alternator failure | Check and adjust belt tension or replace belt Inspect and clean all connections Check and replace fuses Test battery; replace if necessary Consult a professional for diagnosis |
| Alternator noise (squealing, grinding) | Loose or worn belt Worn alternator bearings | Check and adjust belt tension or replace belt Alternator may require service or replacement |
| Overcharging (high voltage) | Faulty internal voltage regulator | Alternator requires service or replacement |
For complex issues, it is recommended to consult a certified automotive technician.
7. Specifications
Key specifications for the Powermaster 18252 Alternator:
- Model Name: 18252
- Part Number: 18252
- Brand: Powermaster
- Output: 120 Amps
- Pulley Type: 6-Groove
- Finish: Chrome
- Application: Ford 6G, Small Frame, V MTG, 4.6L SOHC Mustang (I-D-A VR)
- Item Dimensions (LxWxH): 11 x 7.25 x 5.5 inches
- Package Dimensions (LxWxH): 7 x 5 x 2 inches
- Package Weight: 16 ounces
- Material: Plastic (Note: This refers to specific components, not the entire unit.)
- Included Components: Powermaster - Alt Ford 6G Chrome 120A 6 grv Pulley
8. Warranty Information
This product is covered by a Manufacturer Warranty. For specific details regarding warranty terms, coverage, and claims procedures, please refer to the official Powermaster website or contact their customer service directly. Retain your proof of purchase for warranty purposes.
9. Support
For technical assistance, installation questions, or troubleshooting beyond the scope of this manual, please contact Powermaster customer support. You may also consult a qualified automotive professional for expert advice and service.
Powermaster Contact Information: Please visit the official Powermaster website for the most current contact details, including phone numbers, email, and support resources.
